Invite a user
Note: Only the user with the Administrator role can add new users to the account. 1. Navigate to Users. 2. Click Invite user.

- If a user isn’t yet in the Gcore system, when you try to add them, an email will be sent to their email address with a link to create a password. The invited user should accept the invitation and create a password. Then, they can log in to the account.
- If a user already exists in the Gcore system, a notification about the new account access will be sent to their email address. After accepting the invitation, users can log in to their account during authorization.
- Client. The scope will be applied to all projects. You can either grant no access or assign the administrator role.
- Project. You set up roles for each project. Select the project in the left part and the role on the right. Learn more about which actions are available for each role.
Sending and resending the invitation
Note: The invitation link is valid only for 24 hours. It will expire if users don’t confirm their email by clicking the link in that timeframe. Account administrators can resend an invitation on the Users page by clicking the three dots on the right of the user’s row and clicking Resend invite. After the user has been sent an invitation, their user row will show whether they have accepted the invitation (“Status” column) and whether they have enabled two-factor authentication (column “Two-Factor authentication.”)
Change the user’s account information
Note: Only the user and the account administrator can change the user account information.- If you are an account administrator, go to the Users section. Click three dots next to the user, then click Edit.

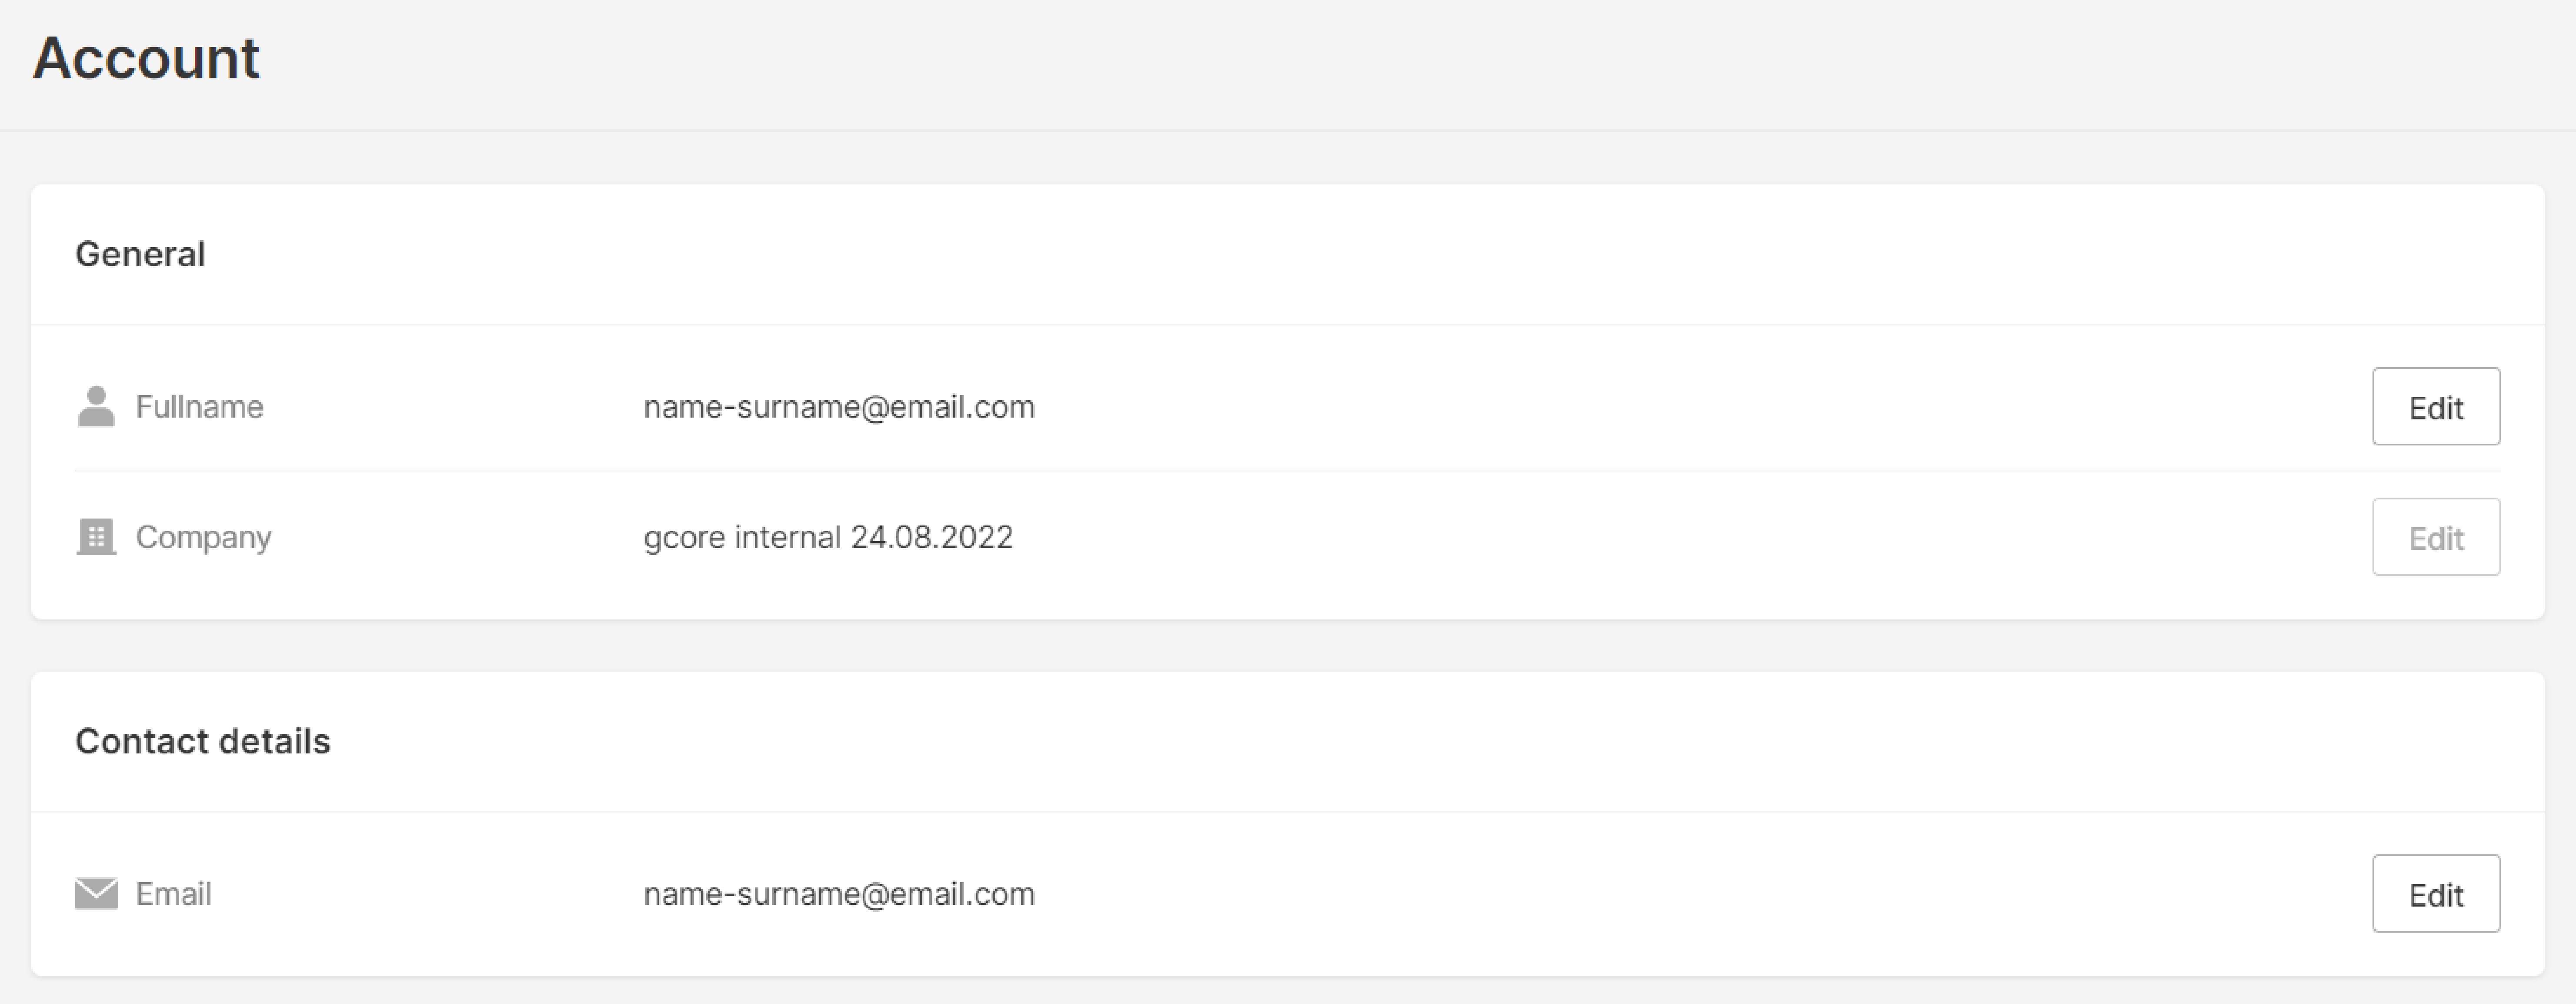
- If you are a user, edit your info in the General section of the Account page.
Delete a user
Navigate to Users, click the three dots next to the user, then click Delete.
Deletion features
- If a user has roles in several accounts and you want to delete the user from all of them, you should do the steps above from each account.
- If a permanent API token was issued by a user who will be deleted, first delete the required token. Otherwise, an error will appear: “You can’t remove the user as they have active tokens.”
- After deleting a user, their name and email address will be crossed out in the API tokens section next to the tokens issued by them. When you roll over their name, you will see “The user has been deleted”:
