Step 1. Add a container image
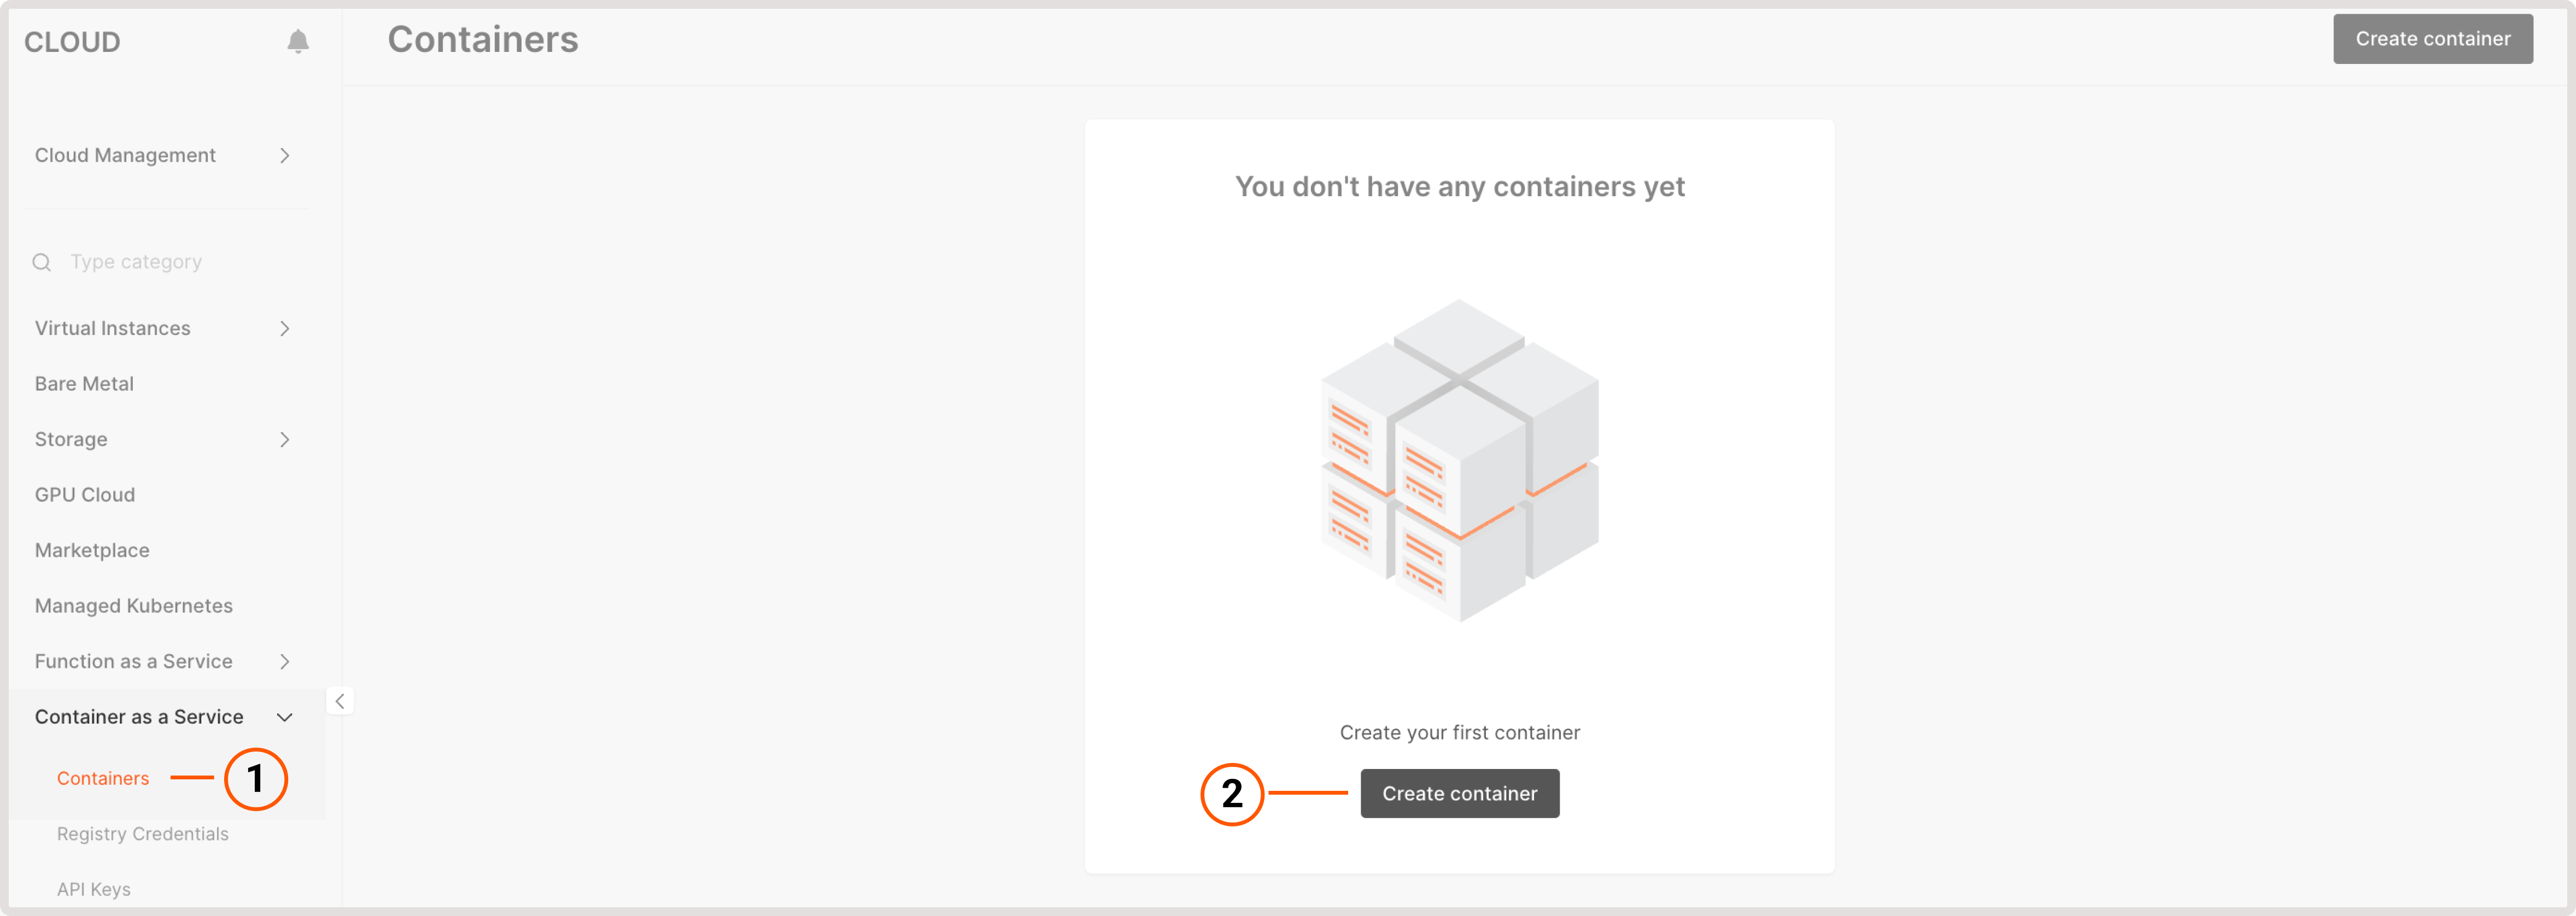
TipIf you don’t have sufficient resources to a create a Container, request quota increase.
https://registry.mysite.com.
5. (Optional) Specify registry credentials. If you selected private image in the previous step, enter credentials for accessing that image. If you’ve already added createntials to the Customer Portal, choose them from the Credentials dropdown.
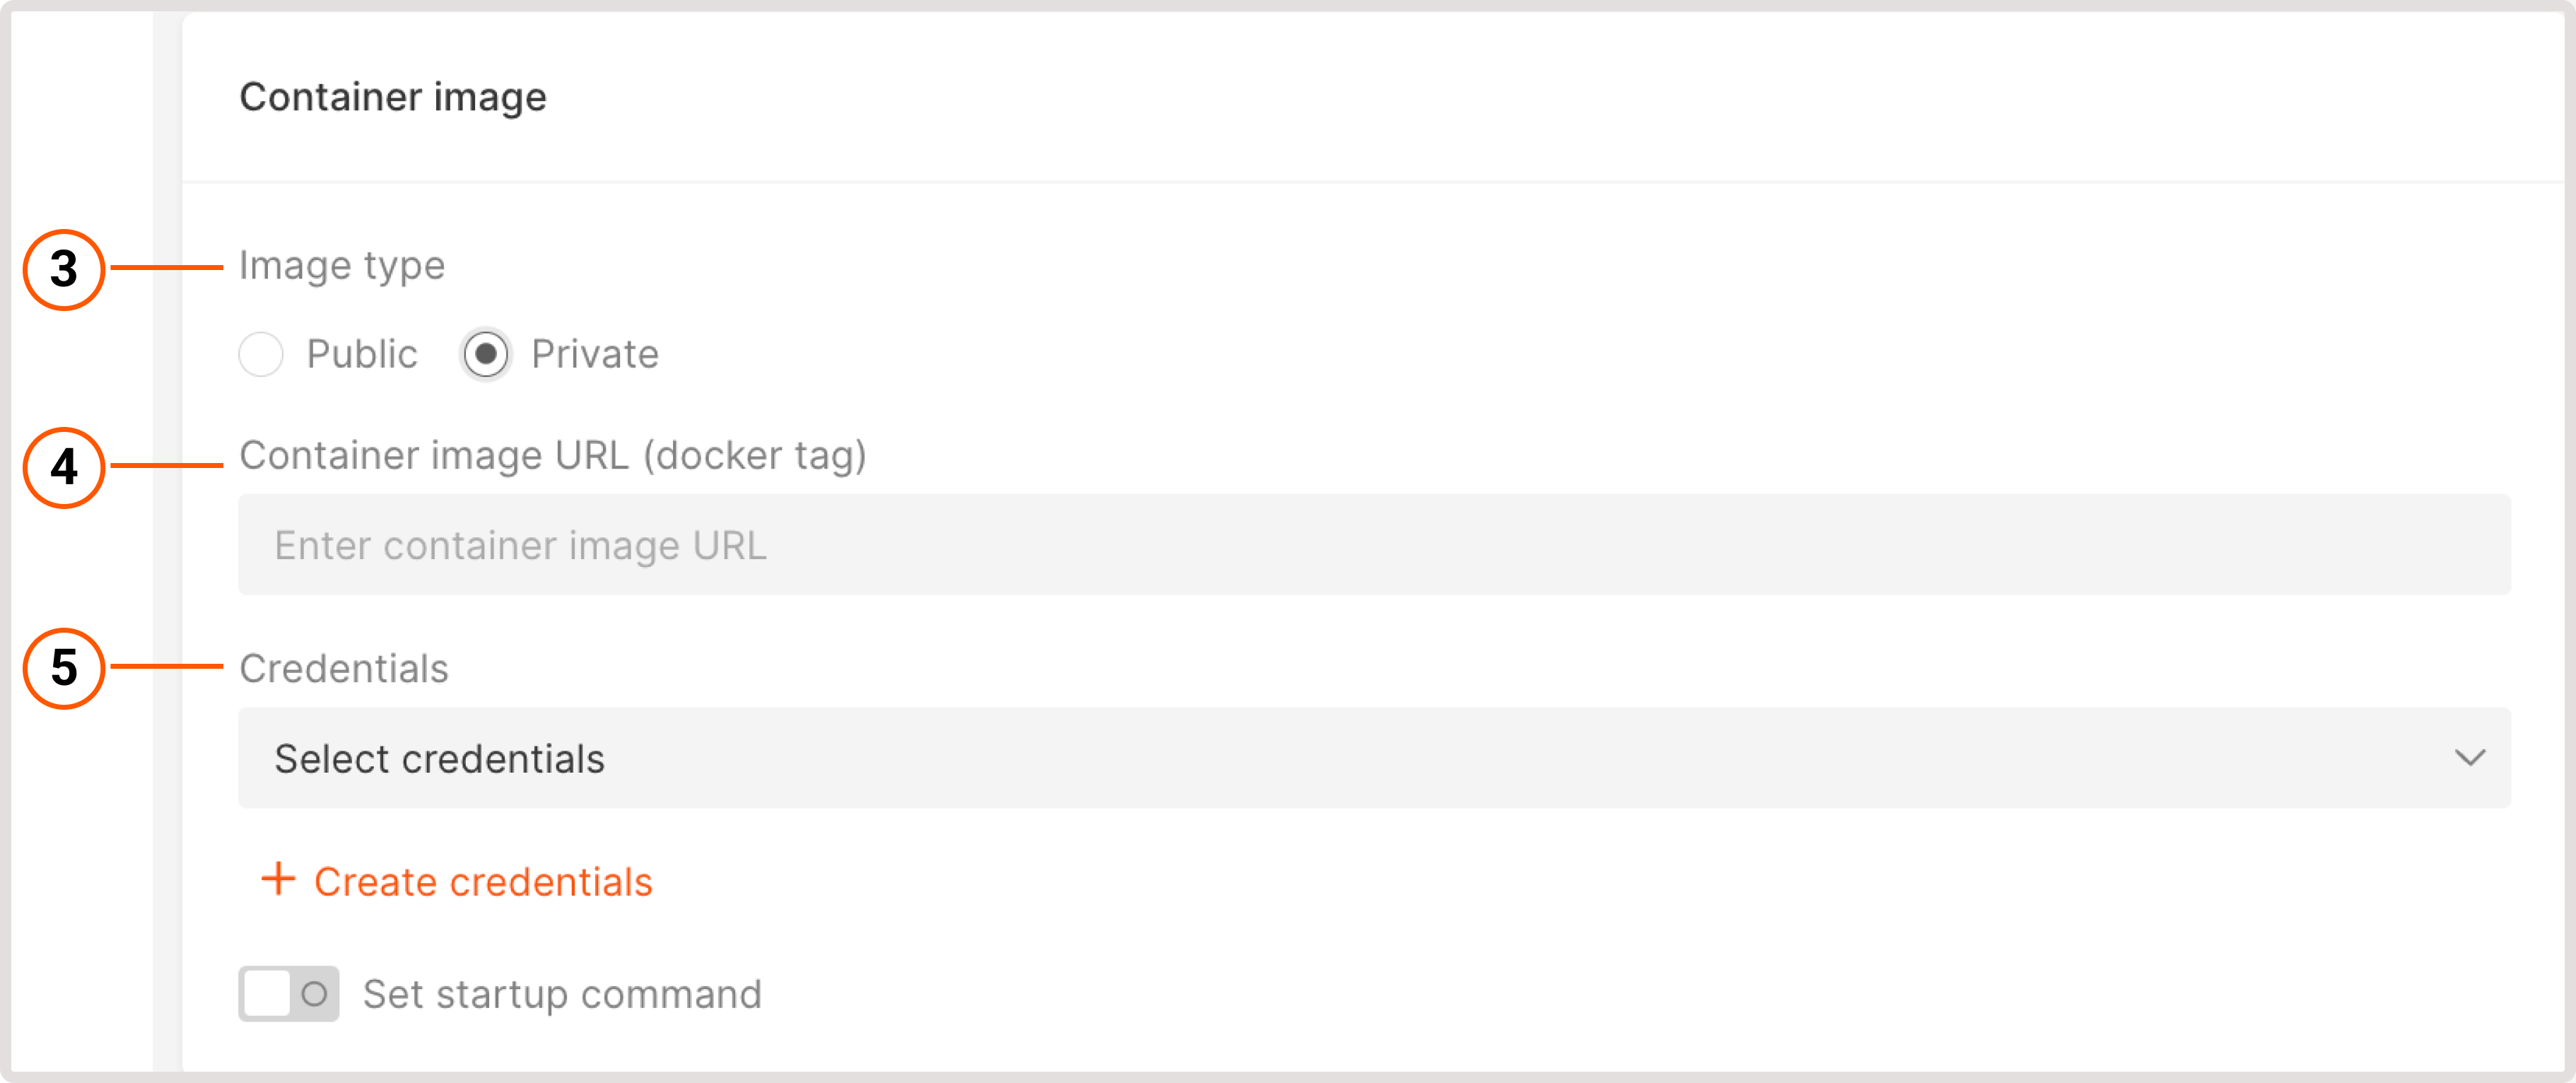
- Image registry name : Registry name that will be displayed in the Credentials dropdown.
- Image registry URL : Link to the location where your application is stored.
- Image registry username : Username you use to access the storage location of your application.
- Image registry password : Password you use to access the storage location of your application.
Step 2. Specify port
In the Port section, specify the port for connection to your container.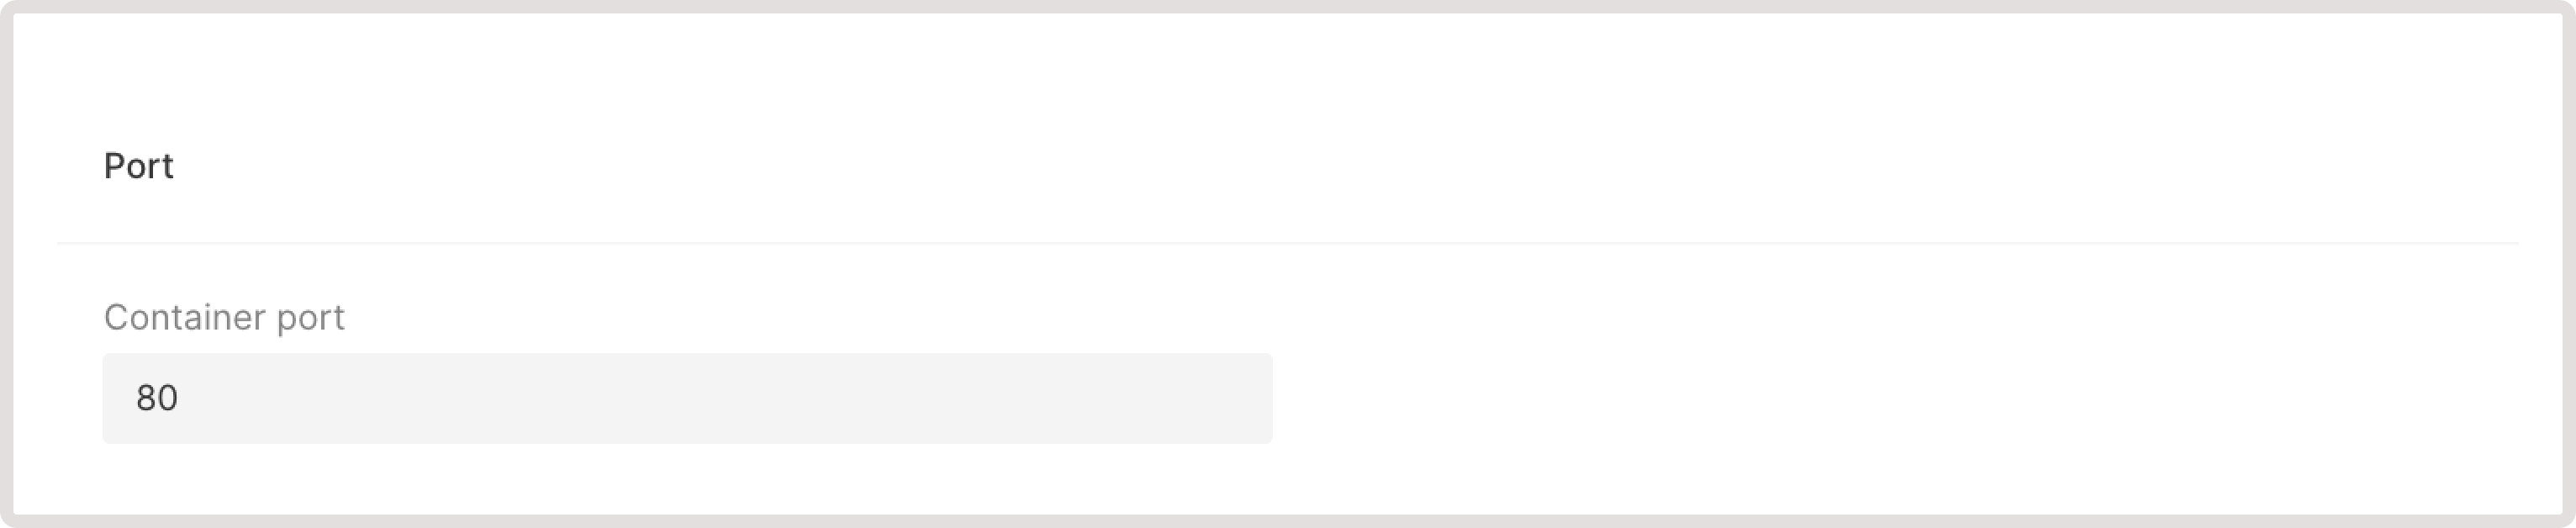
InfoCurrently, we support only one port for the container. If you need to add additional data, create a separate container.
Step 3. Choose container configuration
Select the required MB of memory and mCPU (up to 2260 mCPU and 4096 MB). This configuration will be used for the deployed Kubernetes pod, where your container will be placed after creation.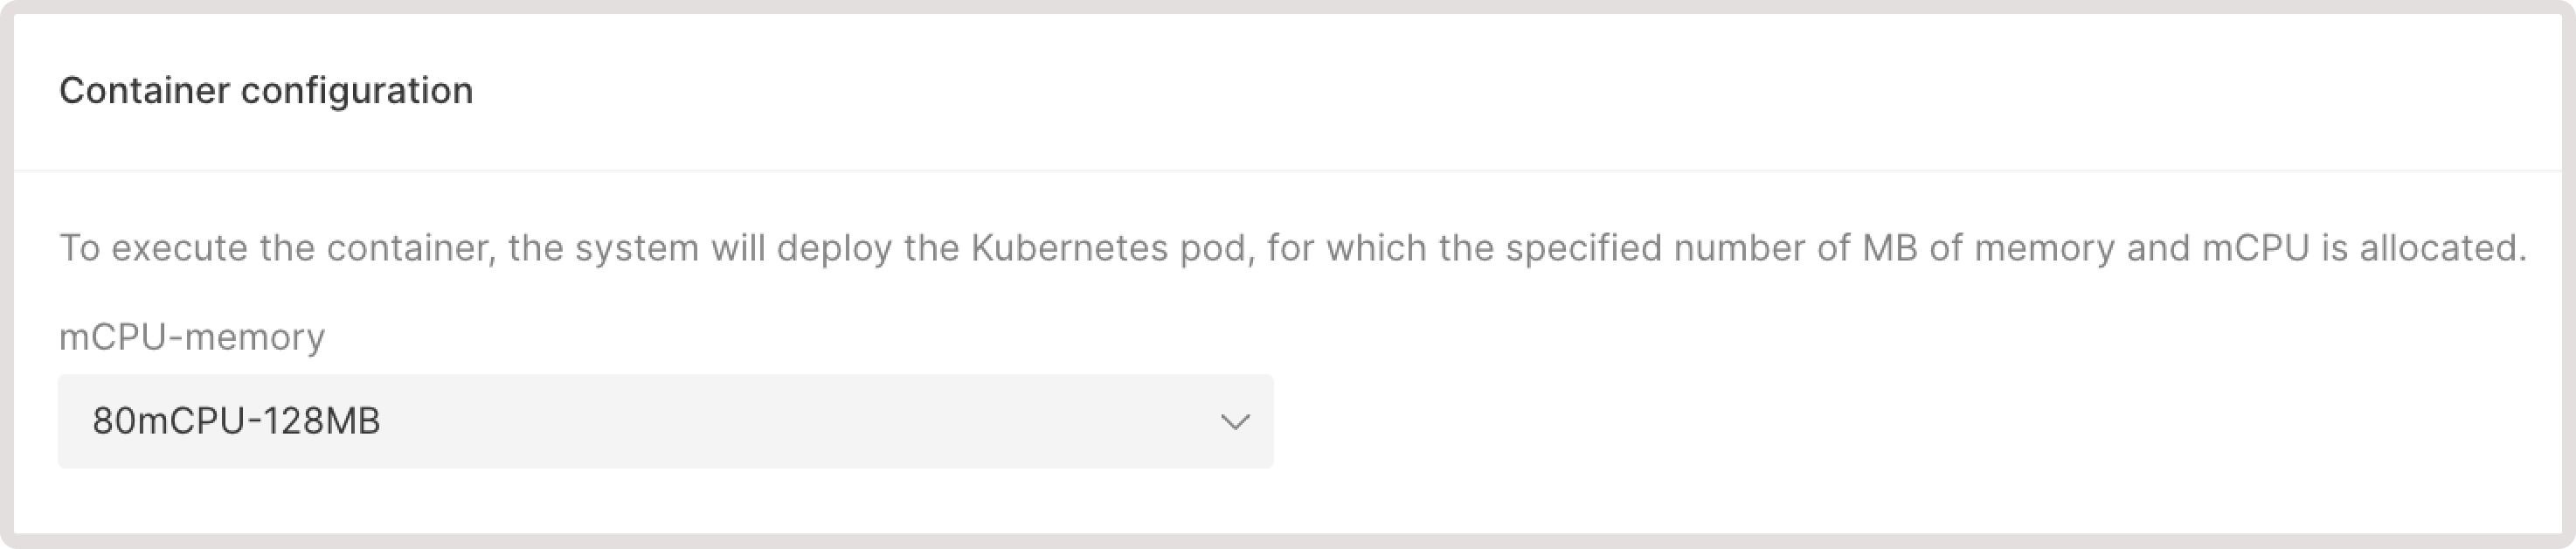
Step 4. Configure autoscaling
In the Limits of autoscaling section, enter the range for the number of nodes you want to maintain under Minimum pods and Maximum pods.
- The minimum setting is 1% of the resource capacity. Only HTTP requests trigger can scale pods to and from 0.
- The maximum setting is 100% of the resource capacity.
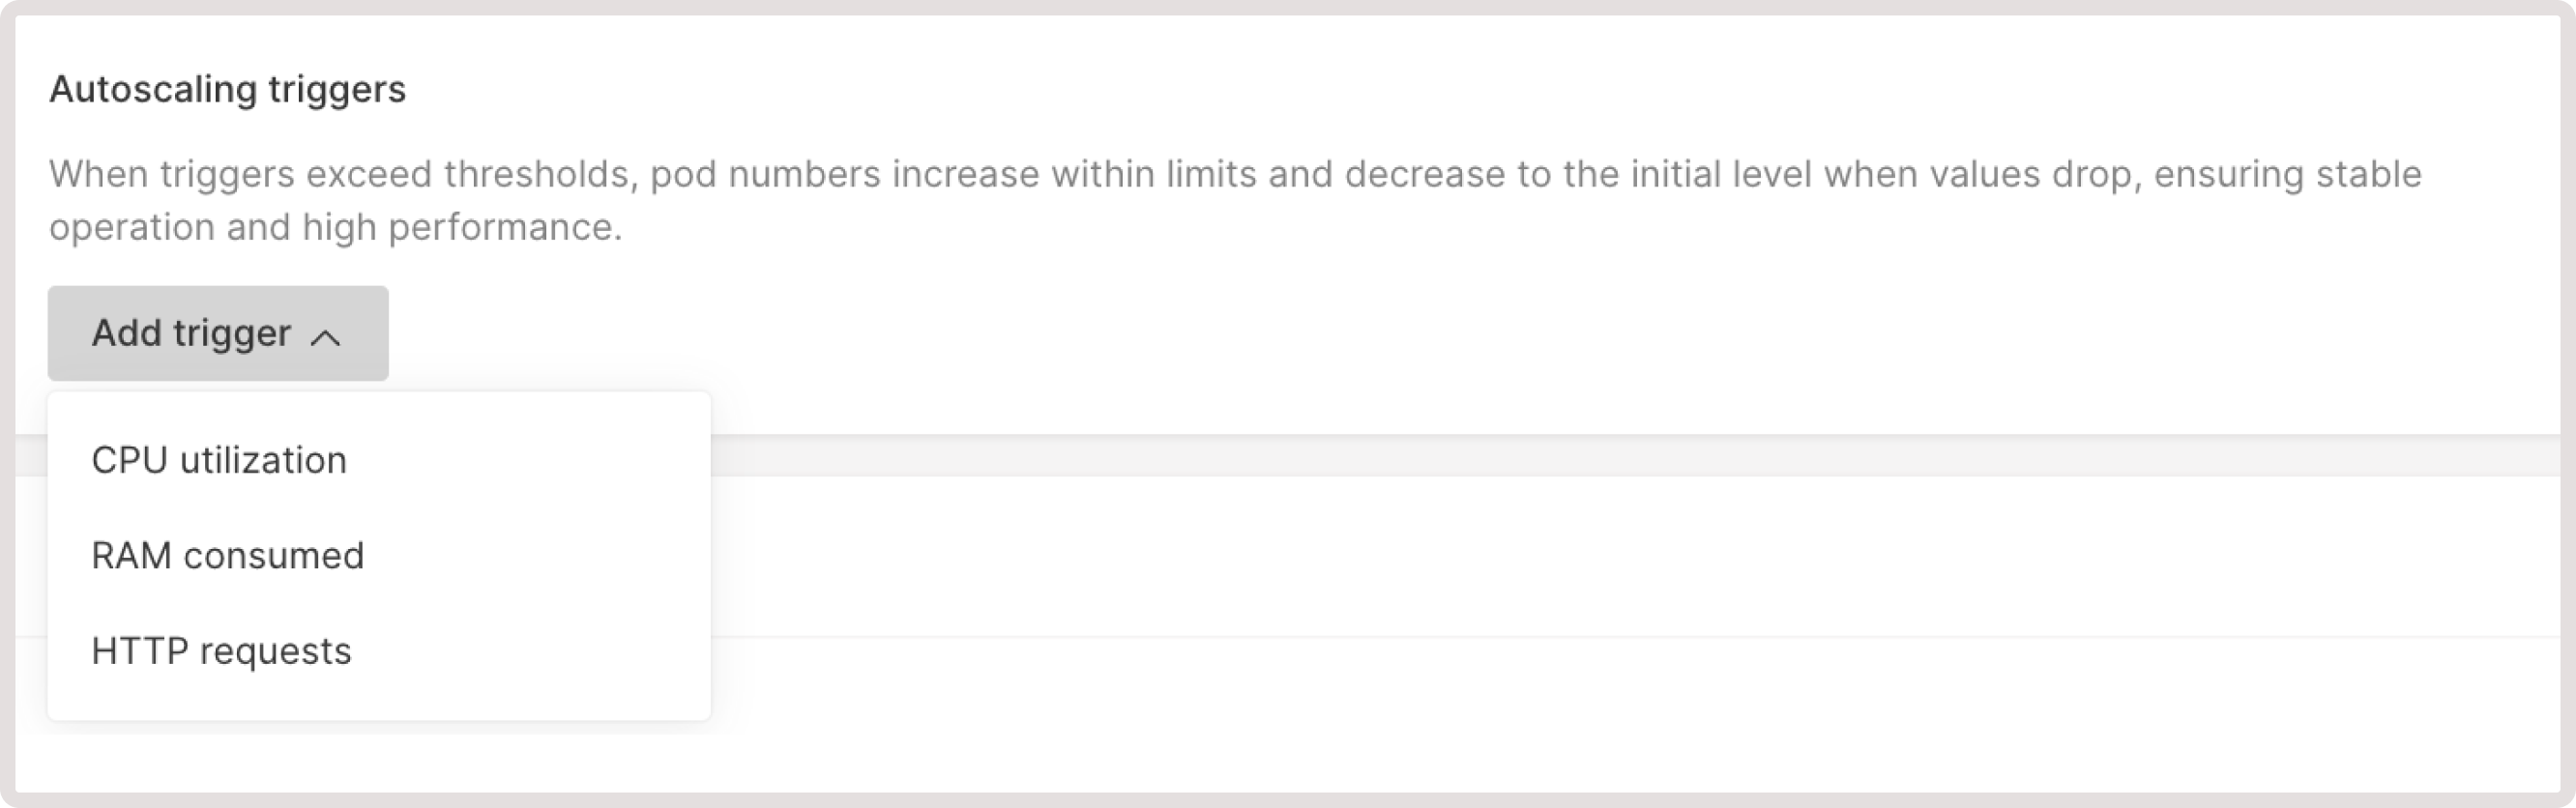
WarningWhen setting up the cooldown period or HTTP scaling, use small values with caution because they may affect the scale window.For the cooldown period, small values can lead to random unexpected scale triggers. For HTTP scaling, small values might affect the time it takes to aggregate HTTP request rates for making scaling decisions.
Step 5. Specify container lifetime
Enter the number of seconds after which a pod will be deleted when there are no requests to your pod. For example, if you enter 600, the pod will be deleted in 600 seconds—equal to ten minutes.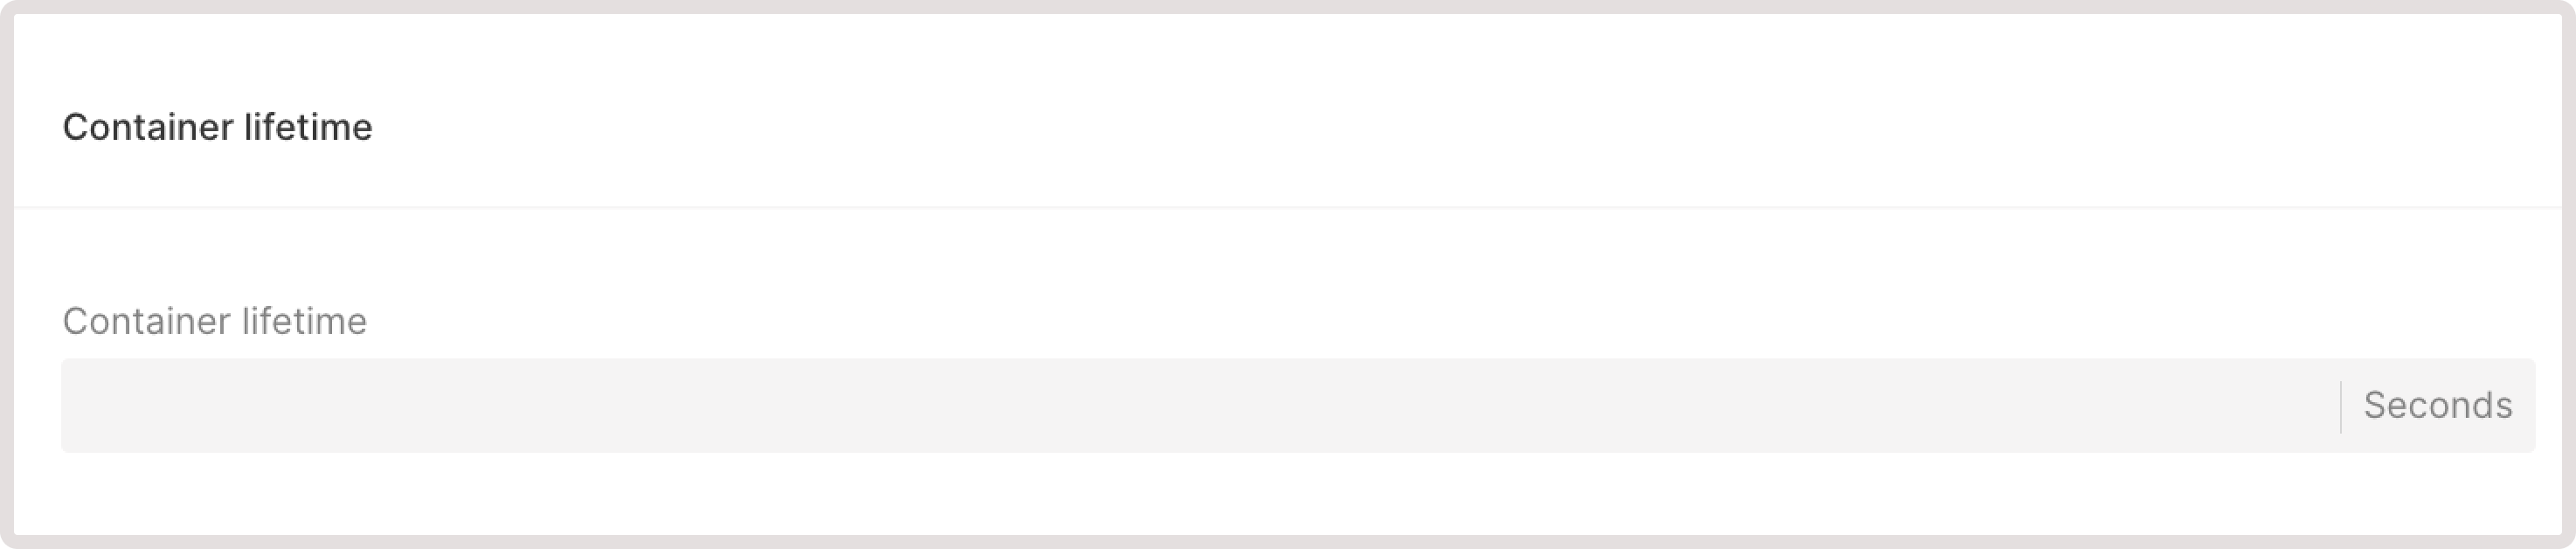
TipIf you specify 0, the container will take approximately one minute to scale down.
Step 6 (optional). Add environment variables
(Optional) If you want to add metadata to your container, create variables in a form of key-value pairs. These variables will only be used in the environment of the created container.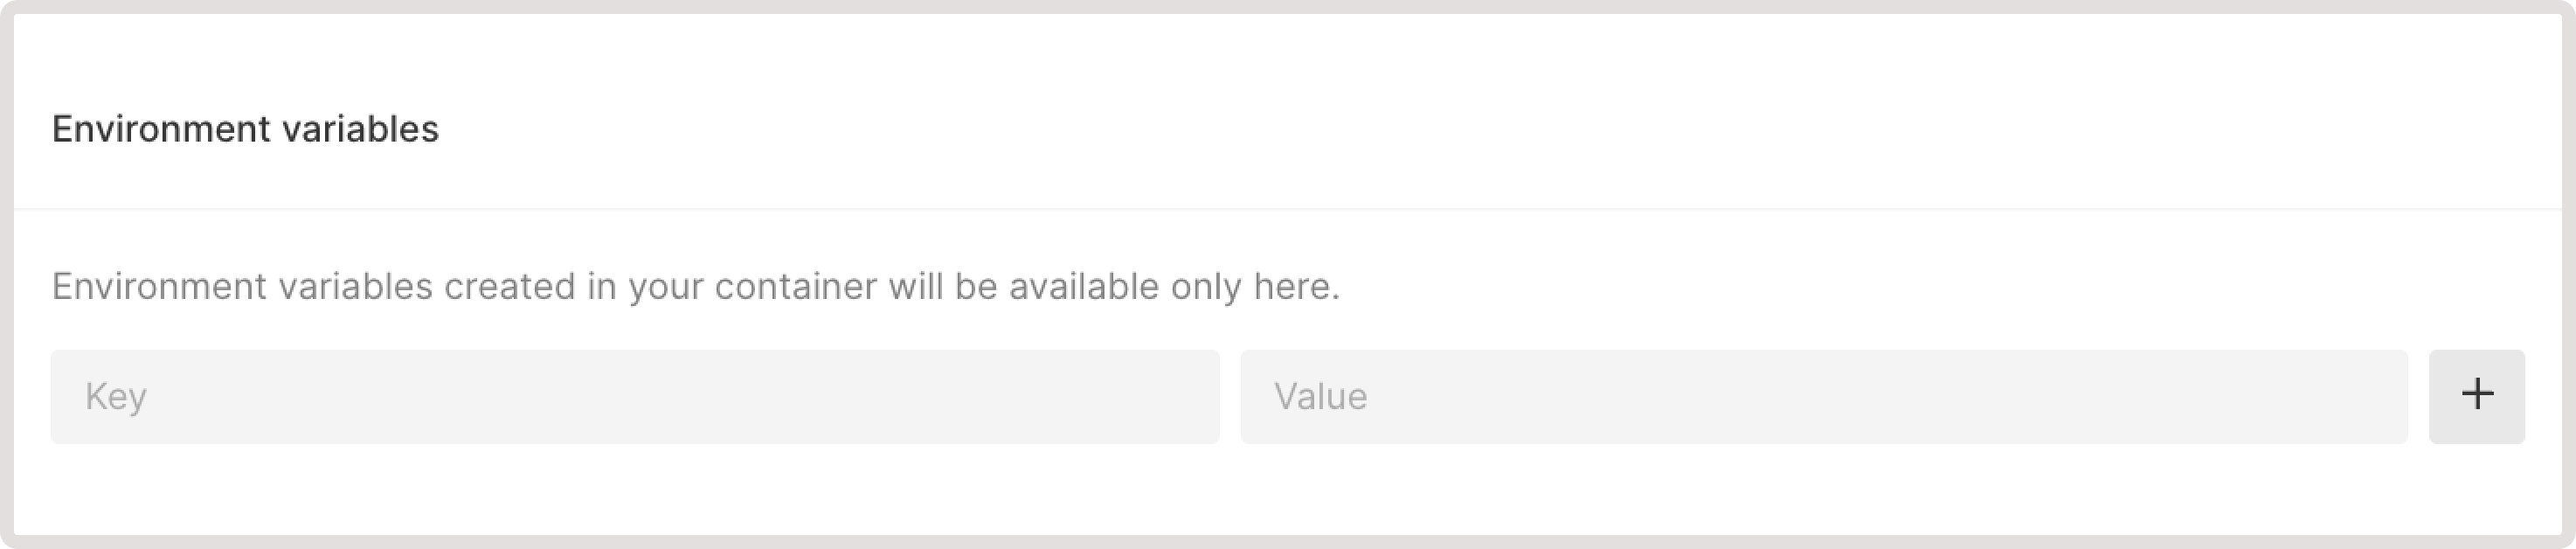
- Key:
LOG_FILE_PATH - Value:
/var/log/myapp.log
Step 7 (optional). Configure authentication via API
To protect your container endpoints from unauthorized access, enable the API Key authentication feature. Either select an existing API key or create a new one.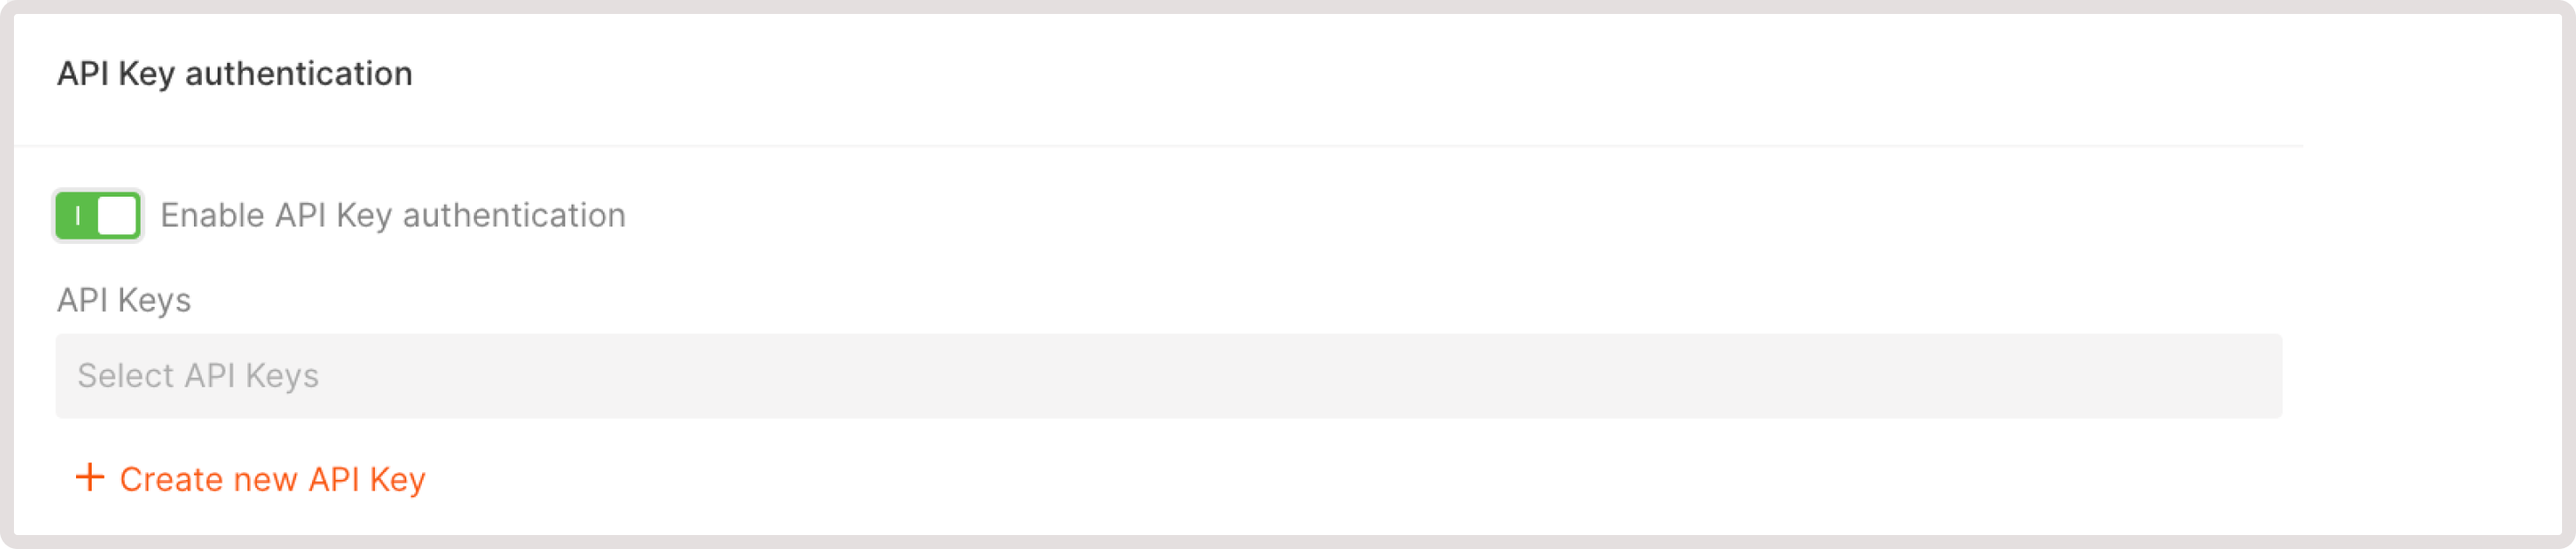
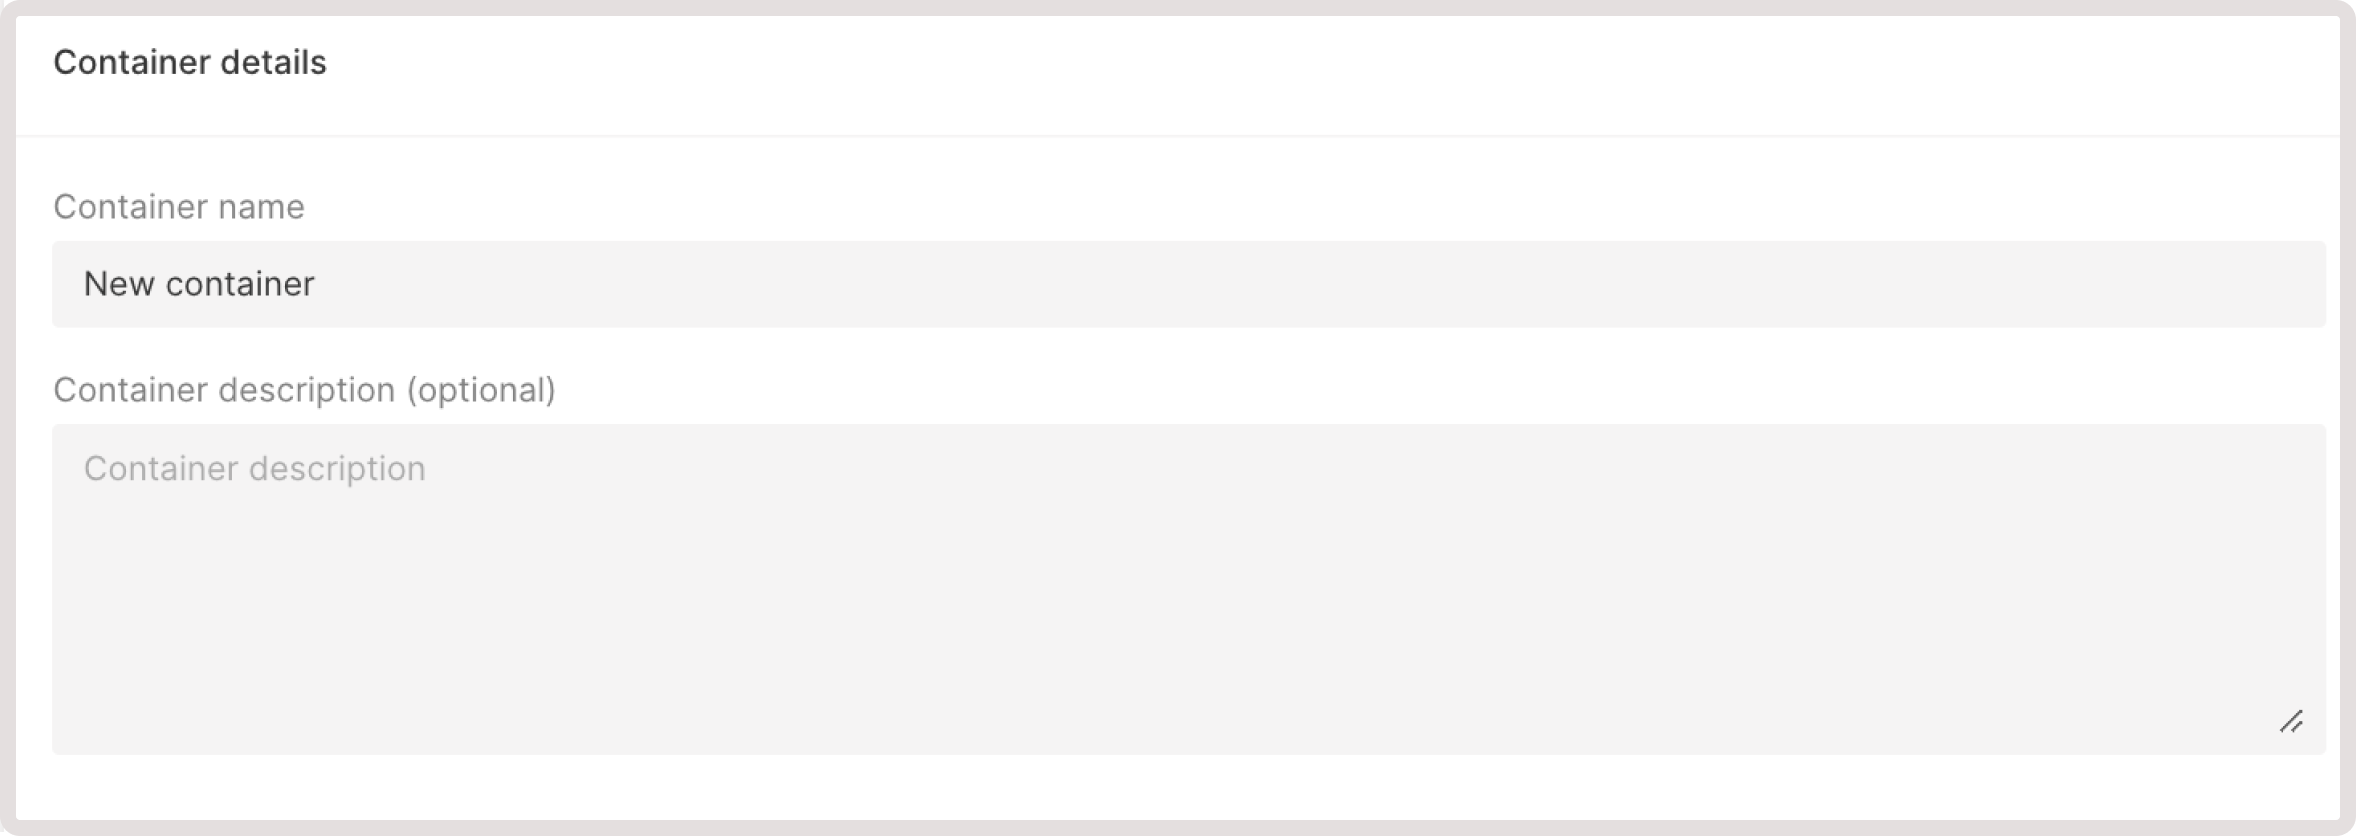
Step 8. Finalize container configuration
Specify the container name (this will be displayed in the Customer Portal) and additional information if needed.