Enable OIDC authentication for Managed Kubernetes
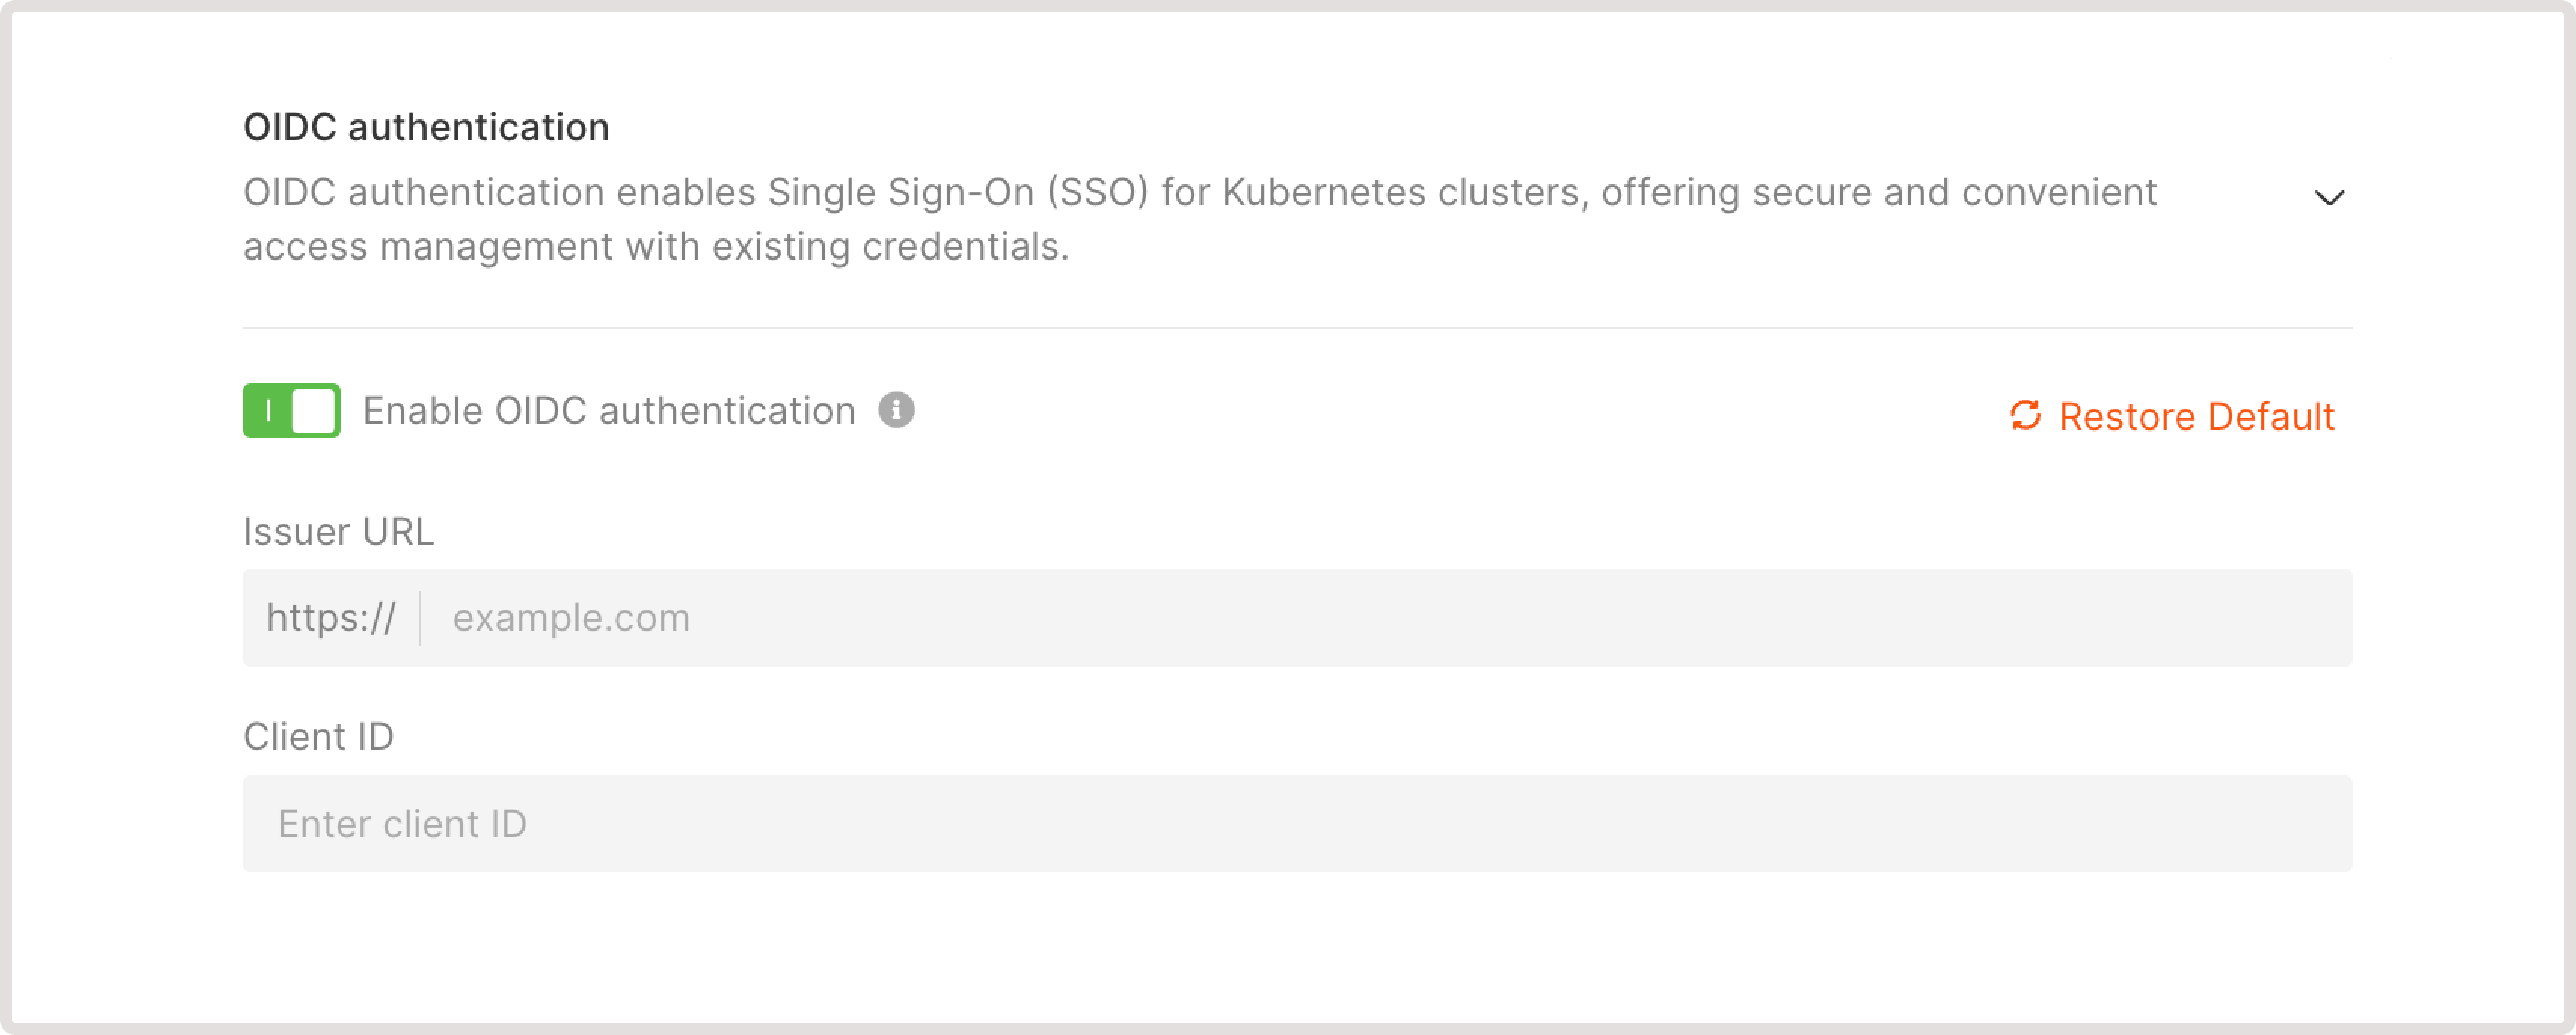
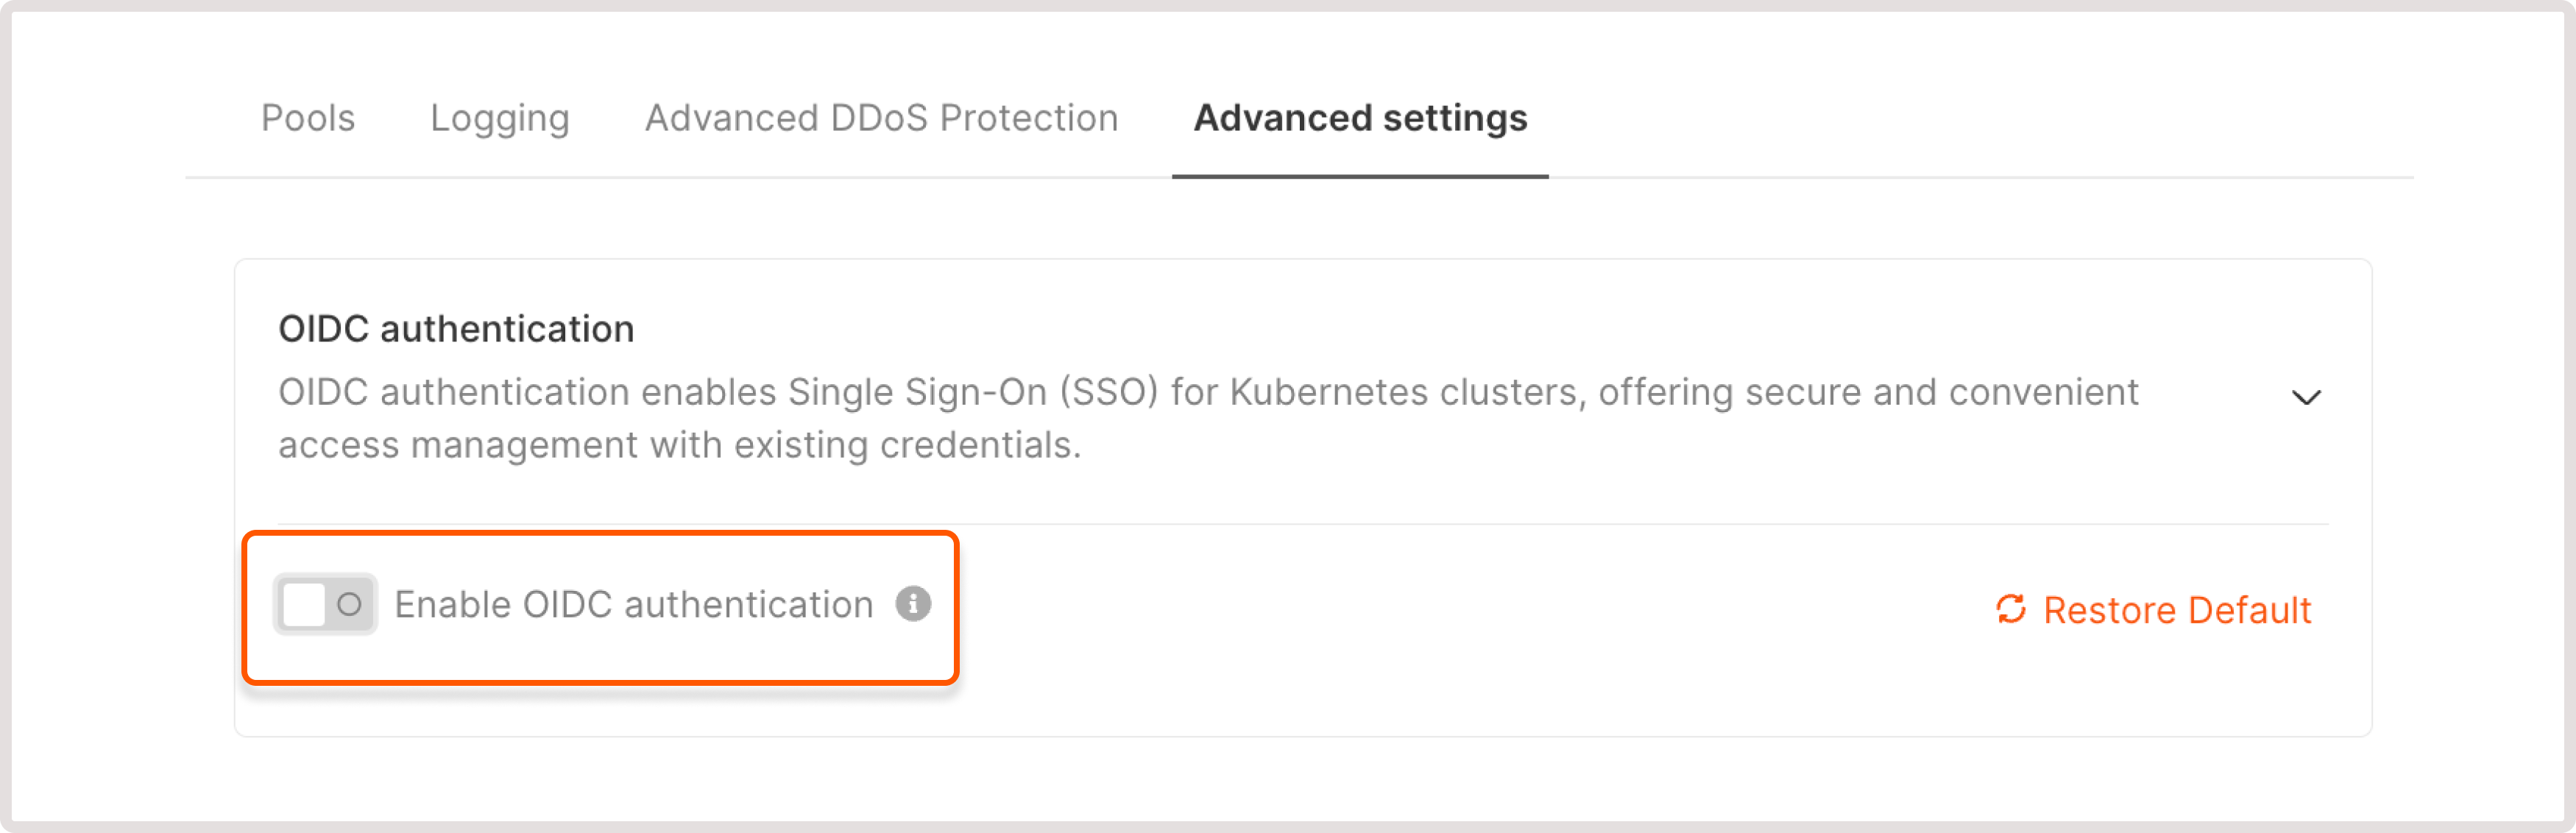
You can enable authentication during cluster creation or in the settings of an existing cluster. Regardless of where you start, the configuration process remains the same. To enable OIDC authentication for your cluster: 1. If you’re creating a new cluster, scroll down to the OIDC authentication section. If you want to enable authentication for an existing cluster, open the cluster overview and click the Advanced settings tab. 2. Click Enable OIDC authentication toggle and configure the following settings:- Issuer URL : Enter the URL of the OIDC provider. For example, https://login.microsoftonline.com.
- Client ID : Enter a unique identifier that will be assigned for the cluster.
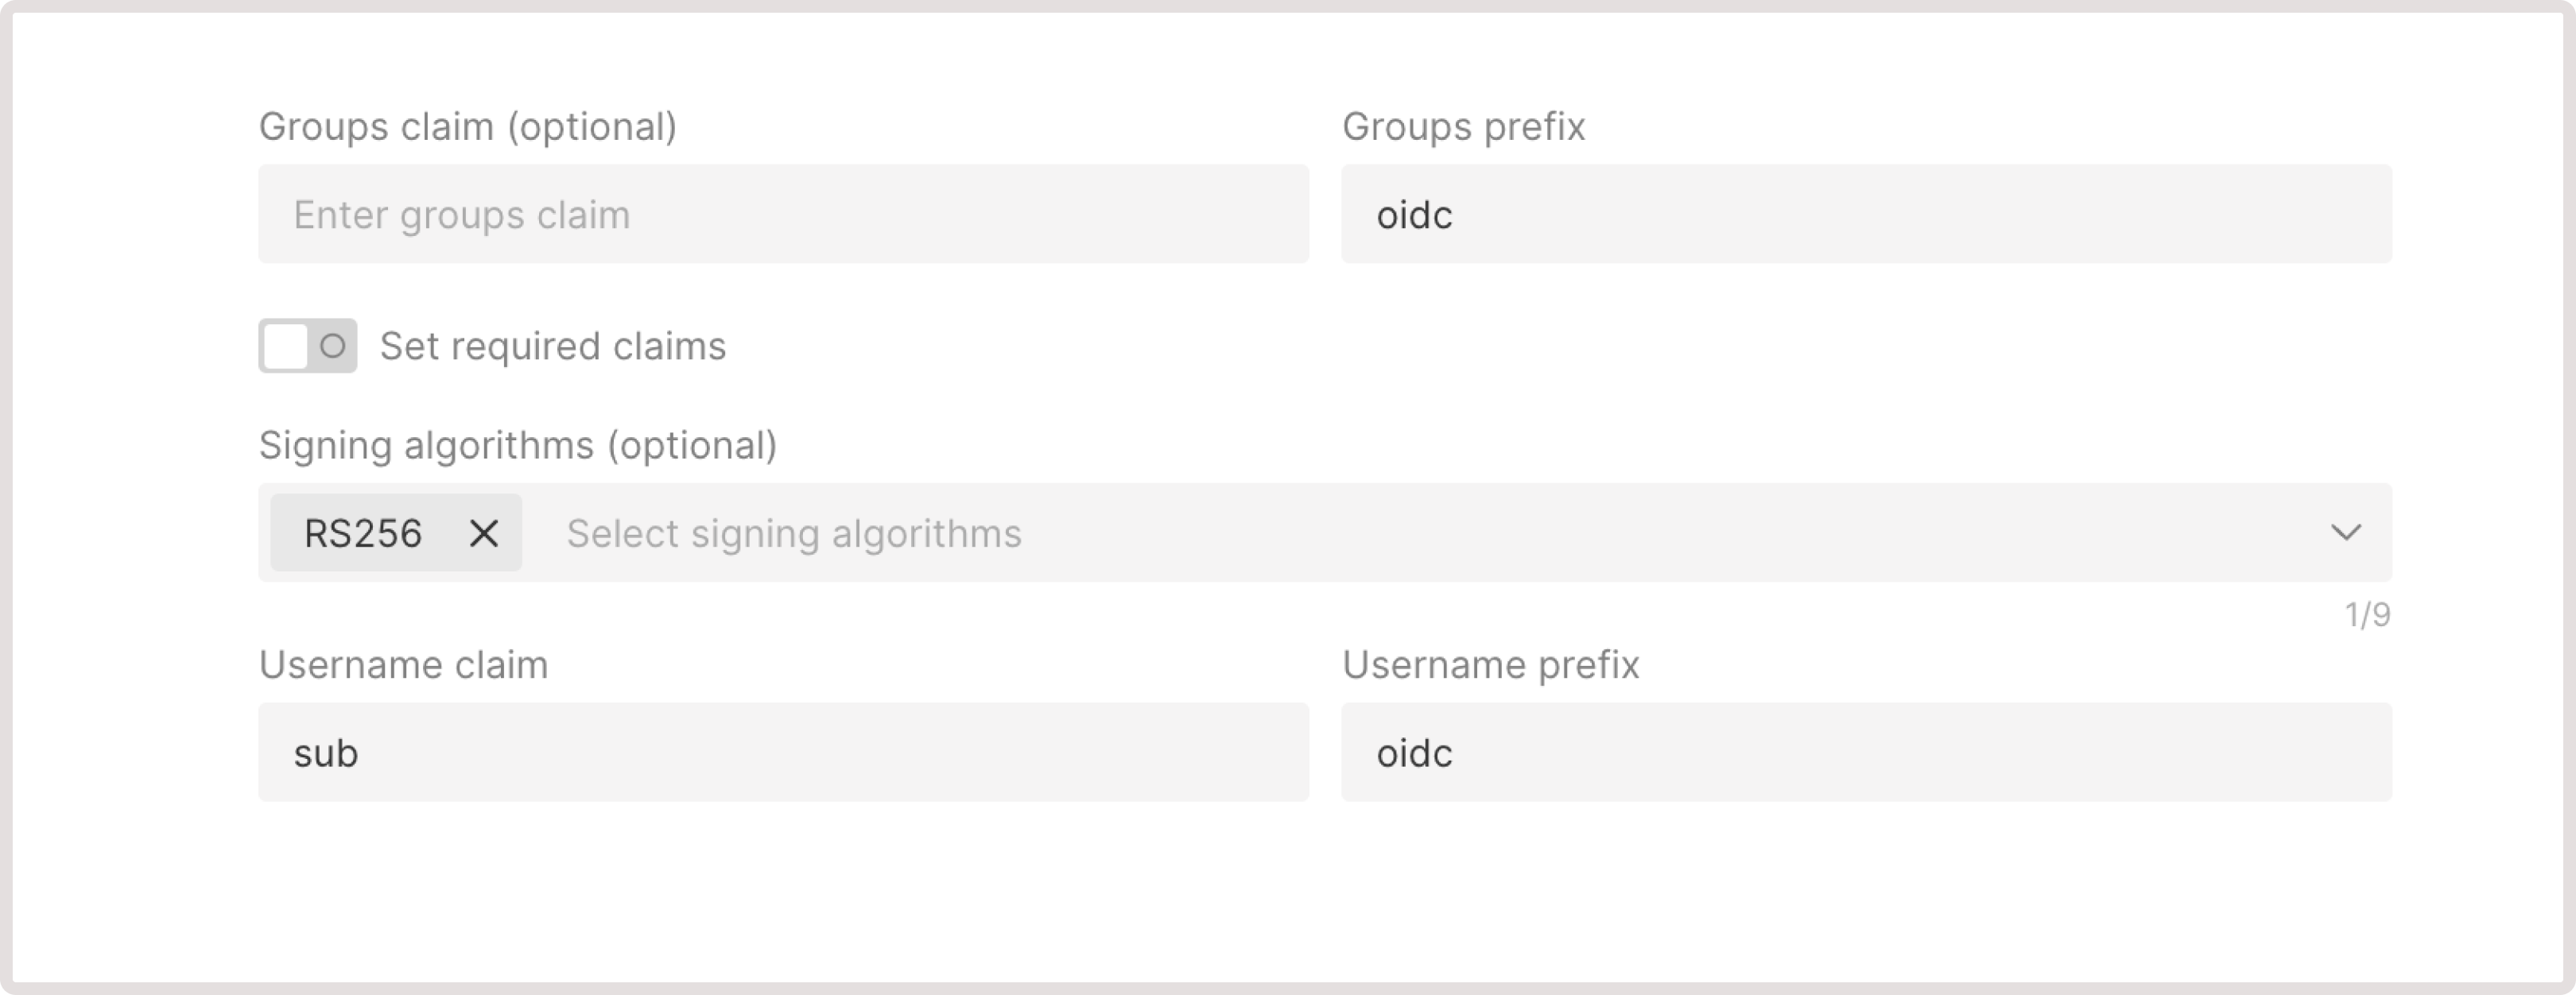
- Groups claim (optional): Specify the name of the claim in ID token that stores a group name. If you don’t add user groups, each user will be treated independently.
- Set required claims toggle: Enter any additional claims that must be present in the ID token. If a token is missing any of these claims, a user will not be authenticated.
- Signing algorithms : Choose which cryptographic algorithms the API server should accept when verifying ID tokens. By default, tokens are required to be signed using the RS256 algorithm.
- Username claim : Specify the name of the claim in ID token that contains a username.
Disable OIDC authentication for Kubernetes
WarningDisabling OIDC authentication in your cluster settings will remove your current configuration. If you enable the authentication later, you’ll need to configure all the settings again.
Update OIDC authentication settings
InfoIf you want to reset any previous configuration, click Restore Default. Be cautious when using this option because it will undo any OIDC configurations you’ve set up.