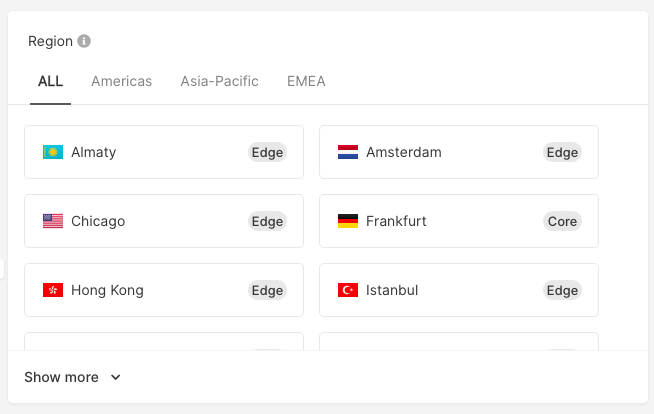
Step 1. Select a region
1. In the Gcore Customer Portal, open Instances tab and click Create Instance.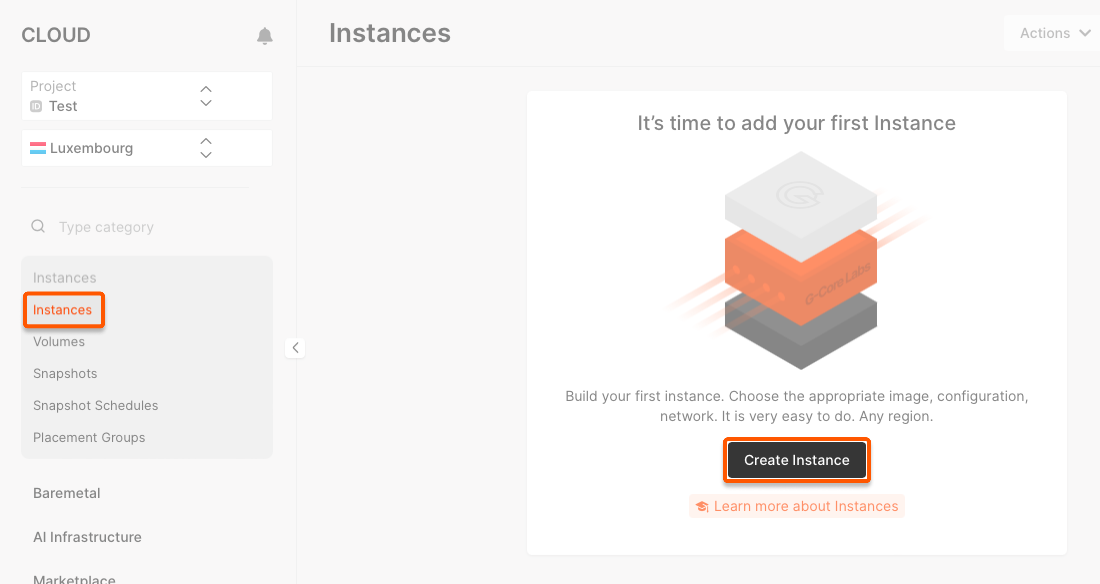
| Core | Edge* | |
|---|---|---|
| Equipment generation | The latest | Different |
| Designed for high scalability on the fly | Yes | Not |
| Available resources | 1000 cores and 30 TB of RAM | Up to 300 cores and 1 TB of RAM |
| Ports for user traffic and storage | Separate | Shared |
| Price | Higher | Lower |
- Edge regions can be transformed into Core regions. Just send us a request.
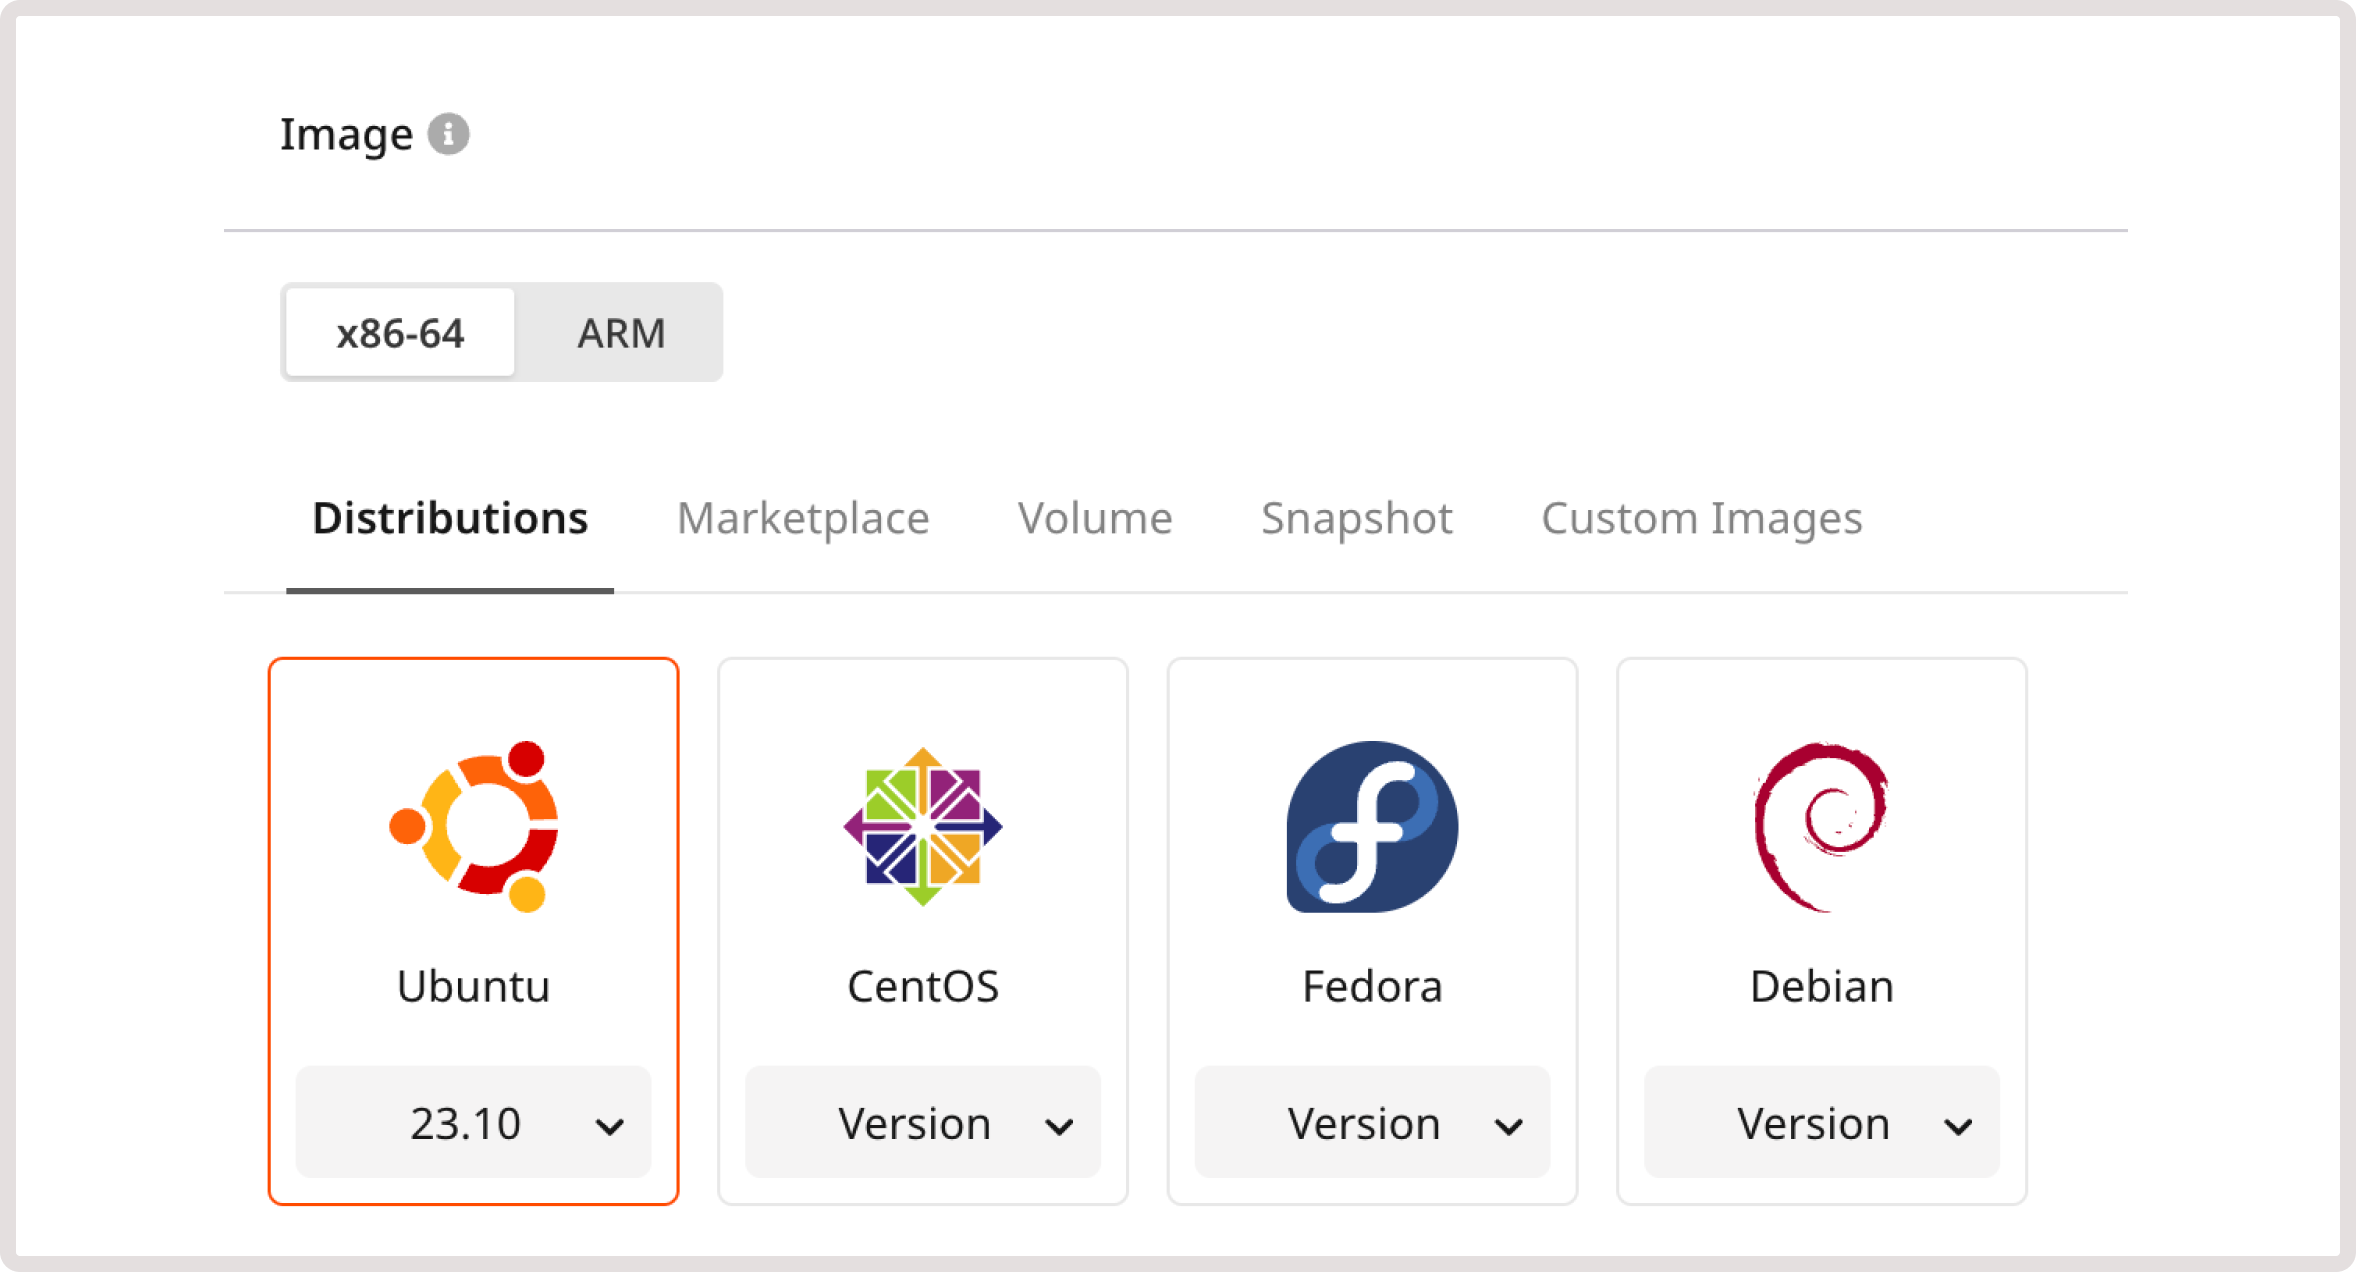
Step 2. Configure the image
Select the type of hardware architecture on which your VM will be running:- x86-64 : This architecture is known for its broad compatibility with Linux operating systems and Windows distributions. It is commonly used in general purpose computing applications.
- ARM : ARM architecture is designed for energy efficiency and low power consumption, which also supports strong performance, making it ideal for high-performance computing tasks. However, ARM Virtual Machines are compatible with fewer OS distributions.
Step 3. Choose the VM type
Select the appropriate CPU generation:- Intel® Xeon® Scalable, 3rd Gen or 2nd Gen if you’ve selected x-86-64 architecture at the previous step.
- ARM Ampere® Altra® Max Family if you selected ARM architecture in the previous step.
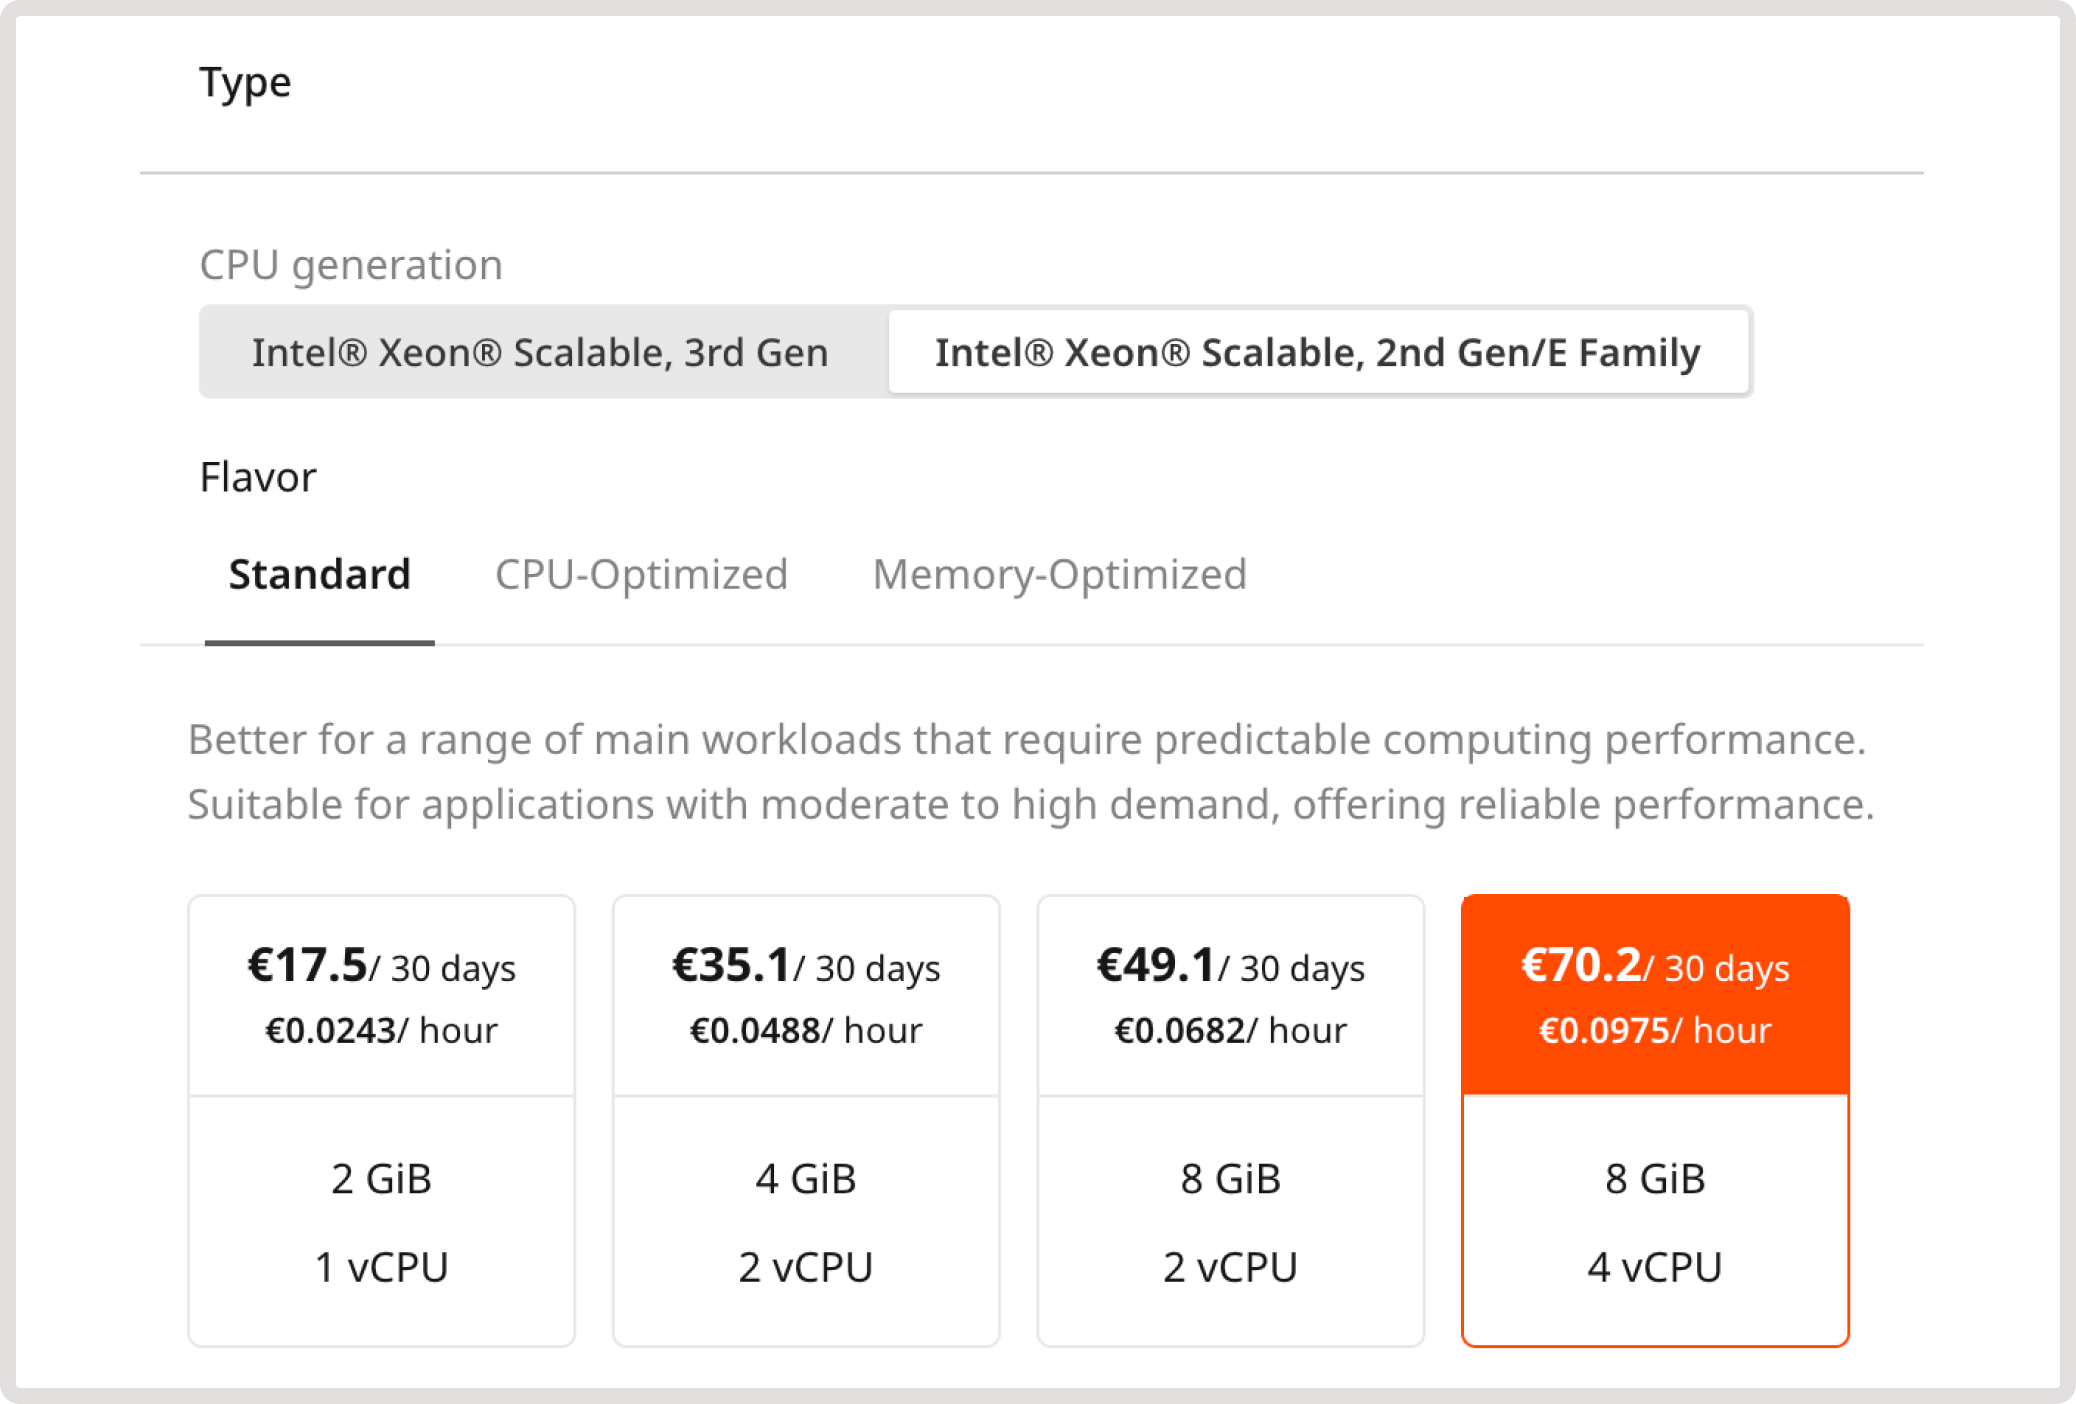
Description of flavors
Description of flavors
- Shared. VMs that share the core of a physical machine with other VMs. They are designed for workloads that don’t require high performance. Availability: Luxembourg
InfoThe bandwidth limit for the Shared flavor is up 100 Mbps. For other configurations it’s up 1 Gbps.
- Standard. VMs best suited for a wide range of workloads that require predictable computing performance. Availability: all regions.
- vCPU. CPU-optimized VMs. Ideal for CPU-intensive tasks that require predictable computing performance, such as batch processing of large data sets and video encoding. Availability: all Core regions.
- Memory. Memory-optimized VMs. Suitable for memory-intensive tasks such as databases, SRM/ERP or data warehouses. Availability: all Core regions.
- High Frequency. VMs with a high CPU clock rate (3.7 GHz in the basic configuration). Ideal for applications requiring single-threaded performance, financial and probabilistic analytics, and automation of computational processes. Availability: Luxembourg, Manassas, Frankfurt.
- SGX. VMs that support Intel SGX (Security Guard Extension) that helps to protect data from disclosure or modification by isolating private parts of code and data (enclaves). The best option for storing critical or sensitive data in the cloud. Availability: Luxembourg, Manassas, Singapore.
- GPU. VMs with a graphics card. Suitable for working with graphic information, deep and machine learning applications, and high-performance computing. Availability: Luxembourg.
- GPU-HF. VMs with a high clock rate of the CPU and with a graphics card, suitable for complex calculations that require graphics accelerator resources, high performance, and speed. Availability: Luxembourg.
Step 4. Set up volumes
Enter a volume name, choose its type, and set its size in GiB.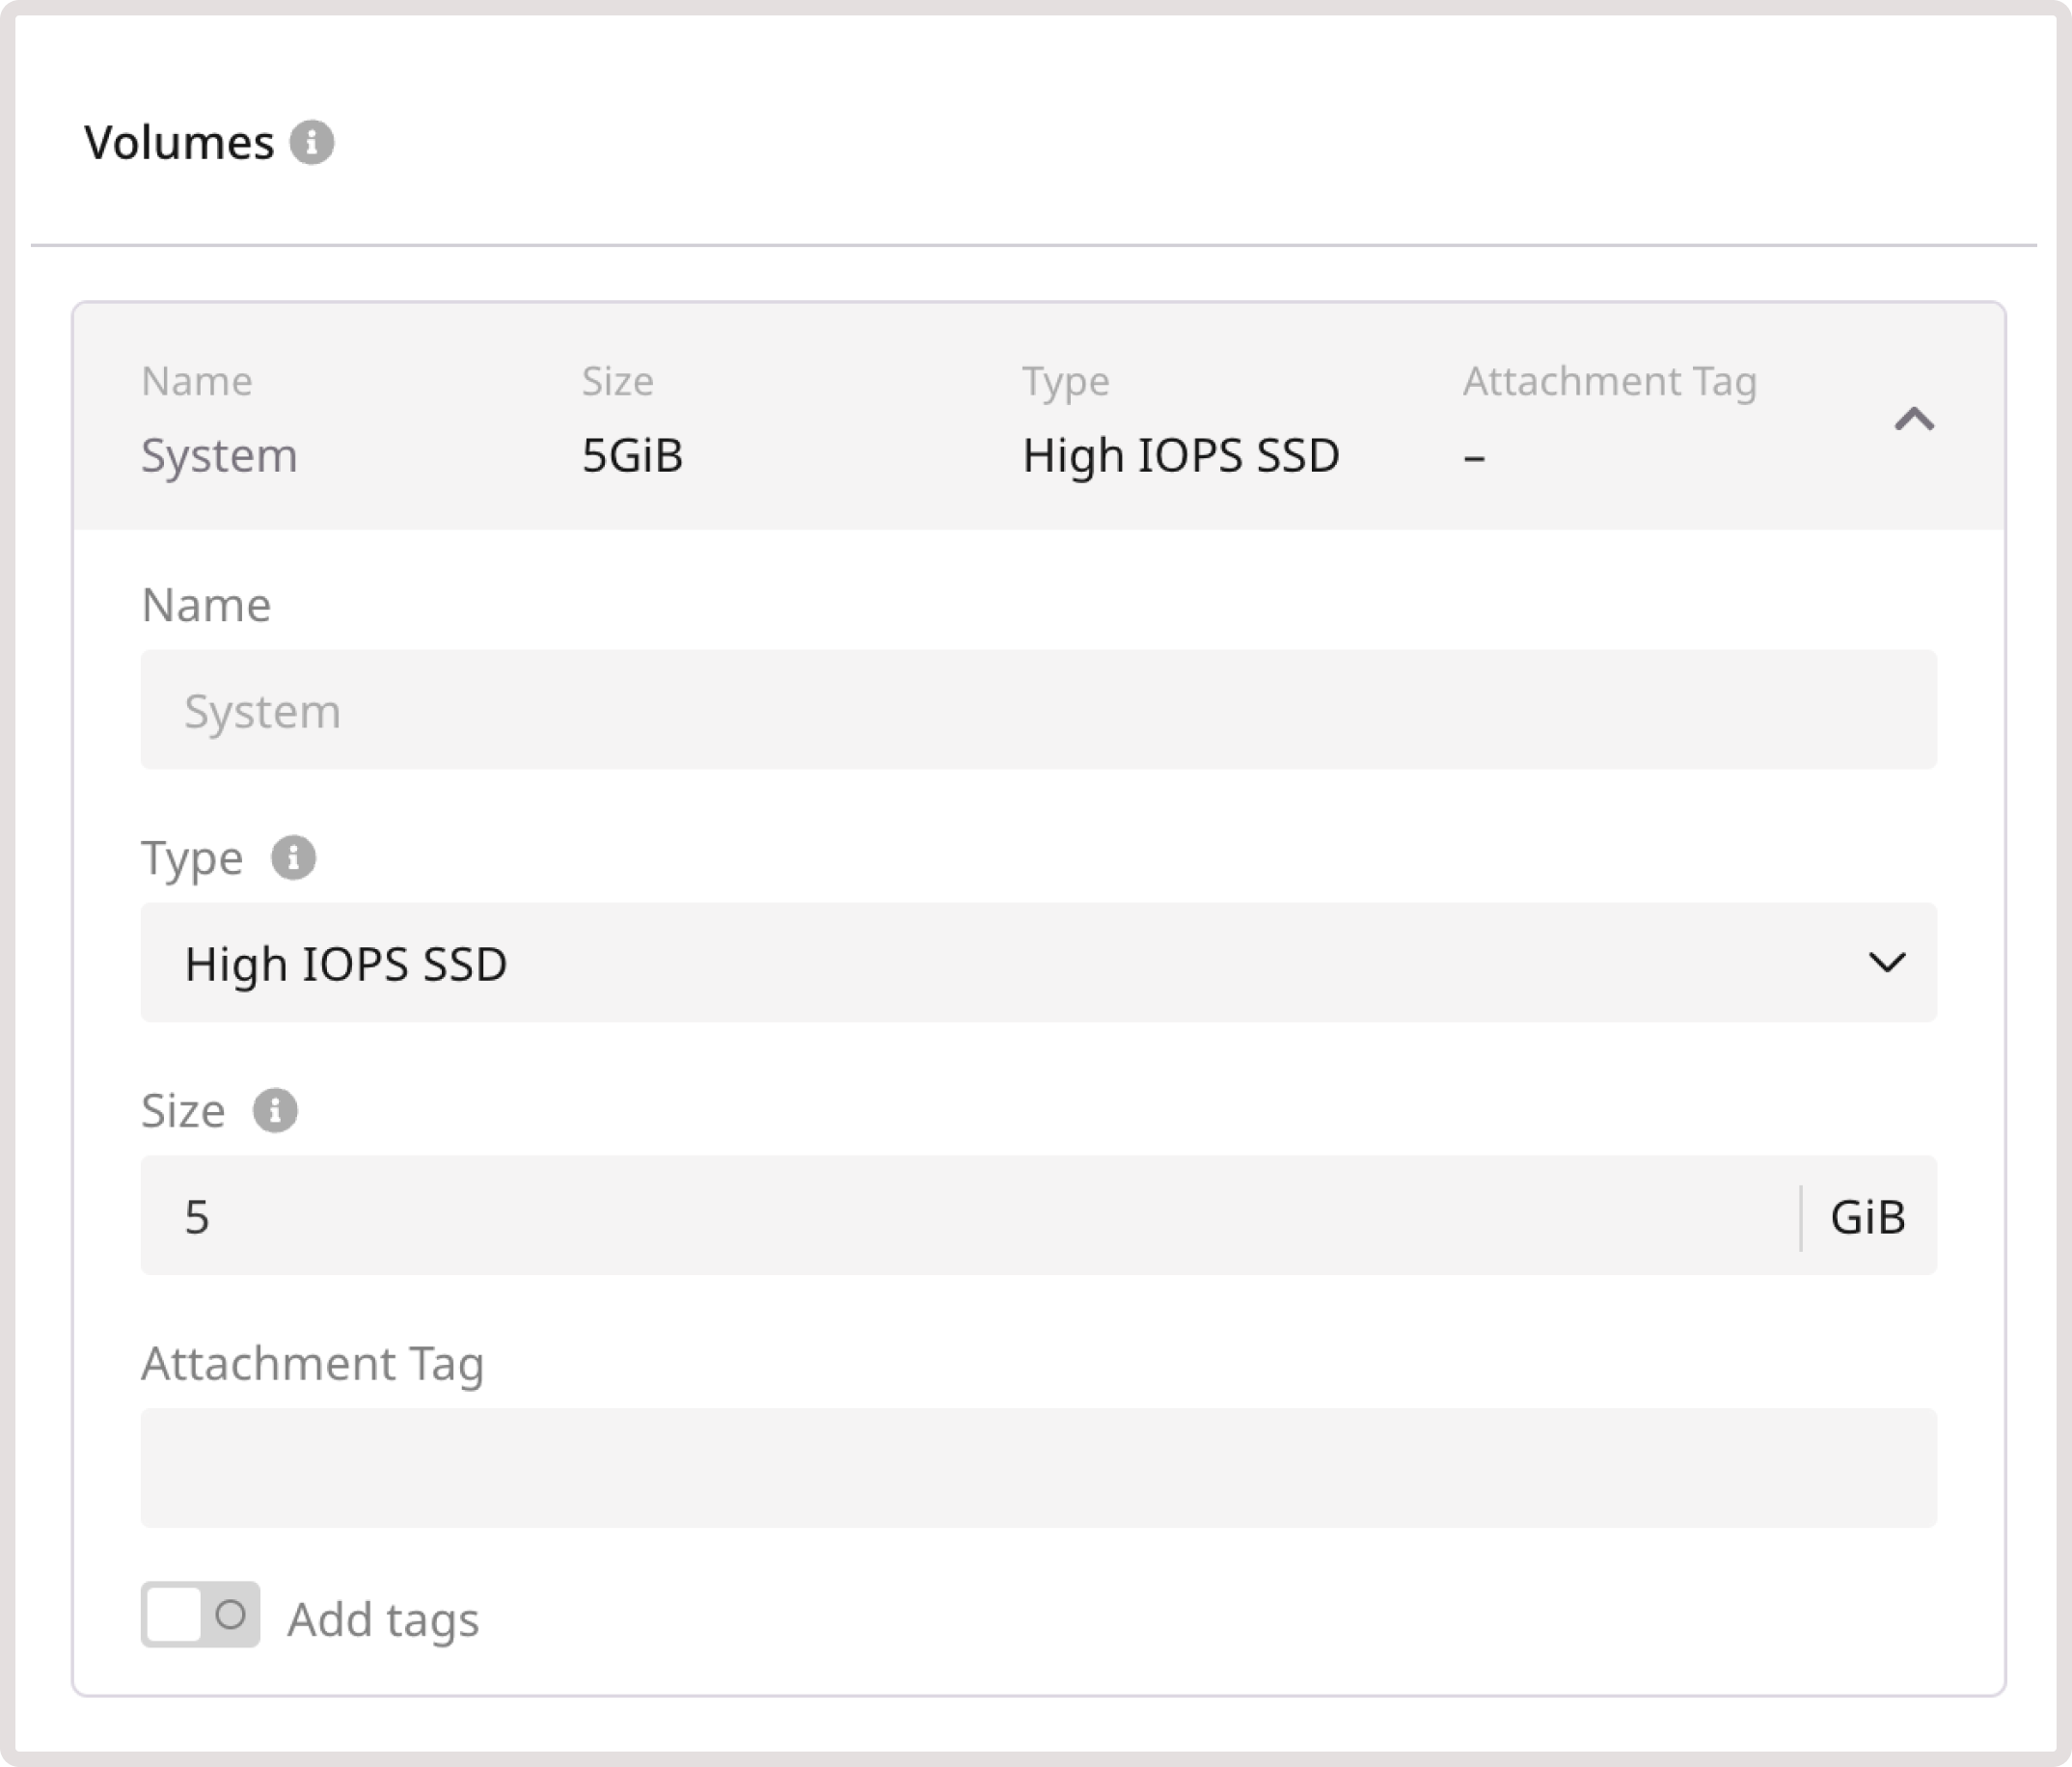
Available volume types
Available volume types
- High IOPS SSD. High-performance SSD block storage designed for latency-sensitive transactional workloads (60 IOPS per 1 GiB; 2.5 MB/s per 1 GiB). The IOPS performance limit is 9,000. The bandwidth limit is 500 MB/s.
- Standard. Network SSD disk, which provides stable and high random I/O performance, as well as high data reliability (6 IOPS per 1 GiB; 0.4 MB/s per 1 GiB). The IOPS performance limit is 4,500. The bandwidth limit is 300 MB/s.
- Cold. Network HDD disk, suitable for less frequently accessed workloads. The maximum number of IOPS is 1,000. The bandwidth limit is 100 MB/s.
- Ultra. Network block storage option, recommended for non-critical data and workloads that are accessed less frequently. The maximum number of IOPS is 1,000. The bandwidth limit is 100 MB/s.
- SSD Low-Latency. SSD block storage, designed for applications that require low-latency storage and real-time data processing. It can achieve IOPS performance of up to 5000, with an average latency of 300 µs.
Step 5. Add network interfaces
If you select a public interface, you can turn on the Use reserved IP toggle and assign a reserved IP address to your VM. Enable the IPv6 dual-stack toggle to use IPv6 addresses.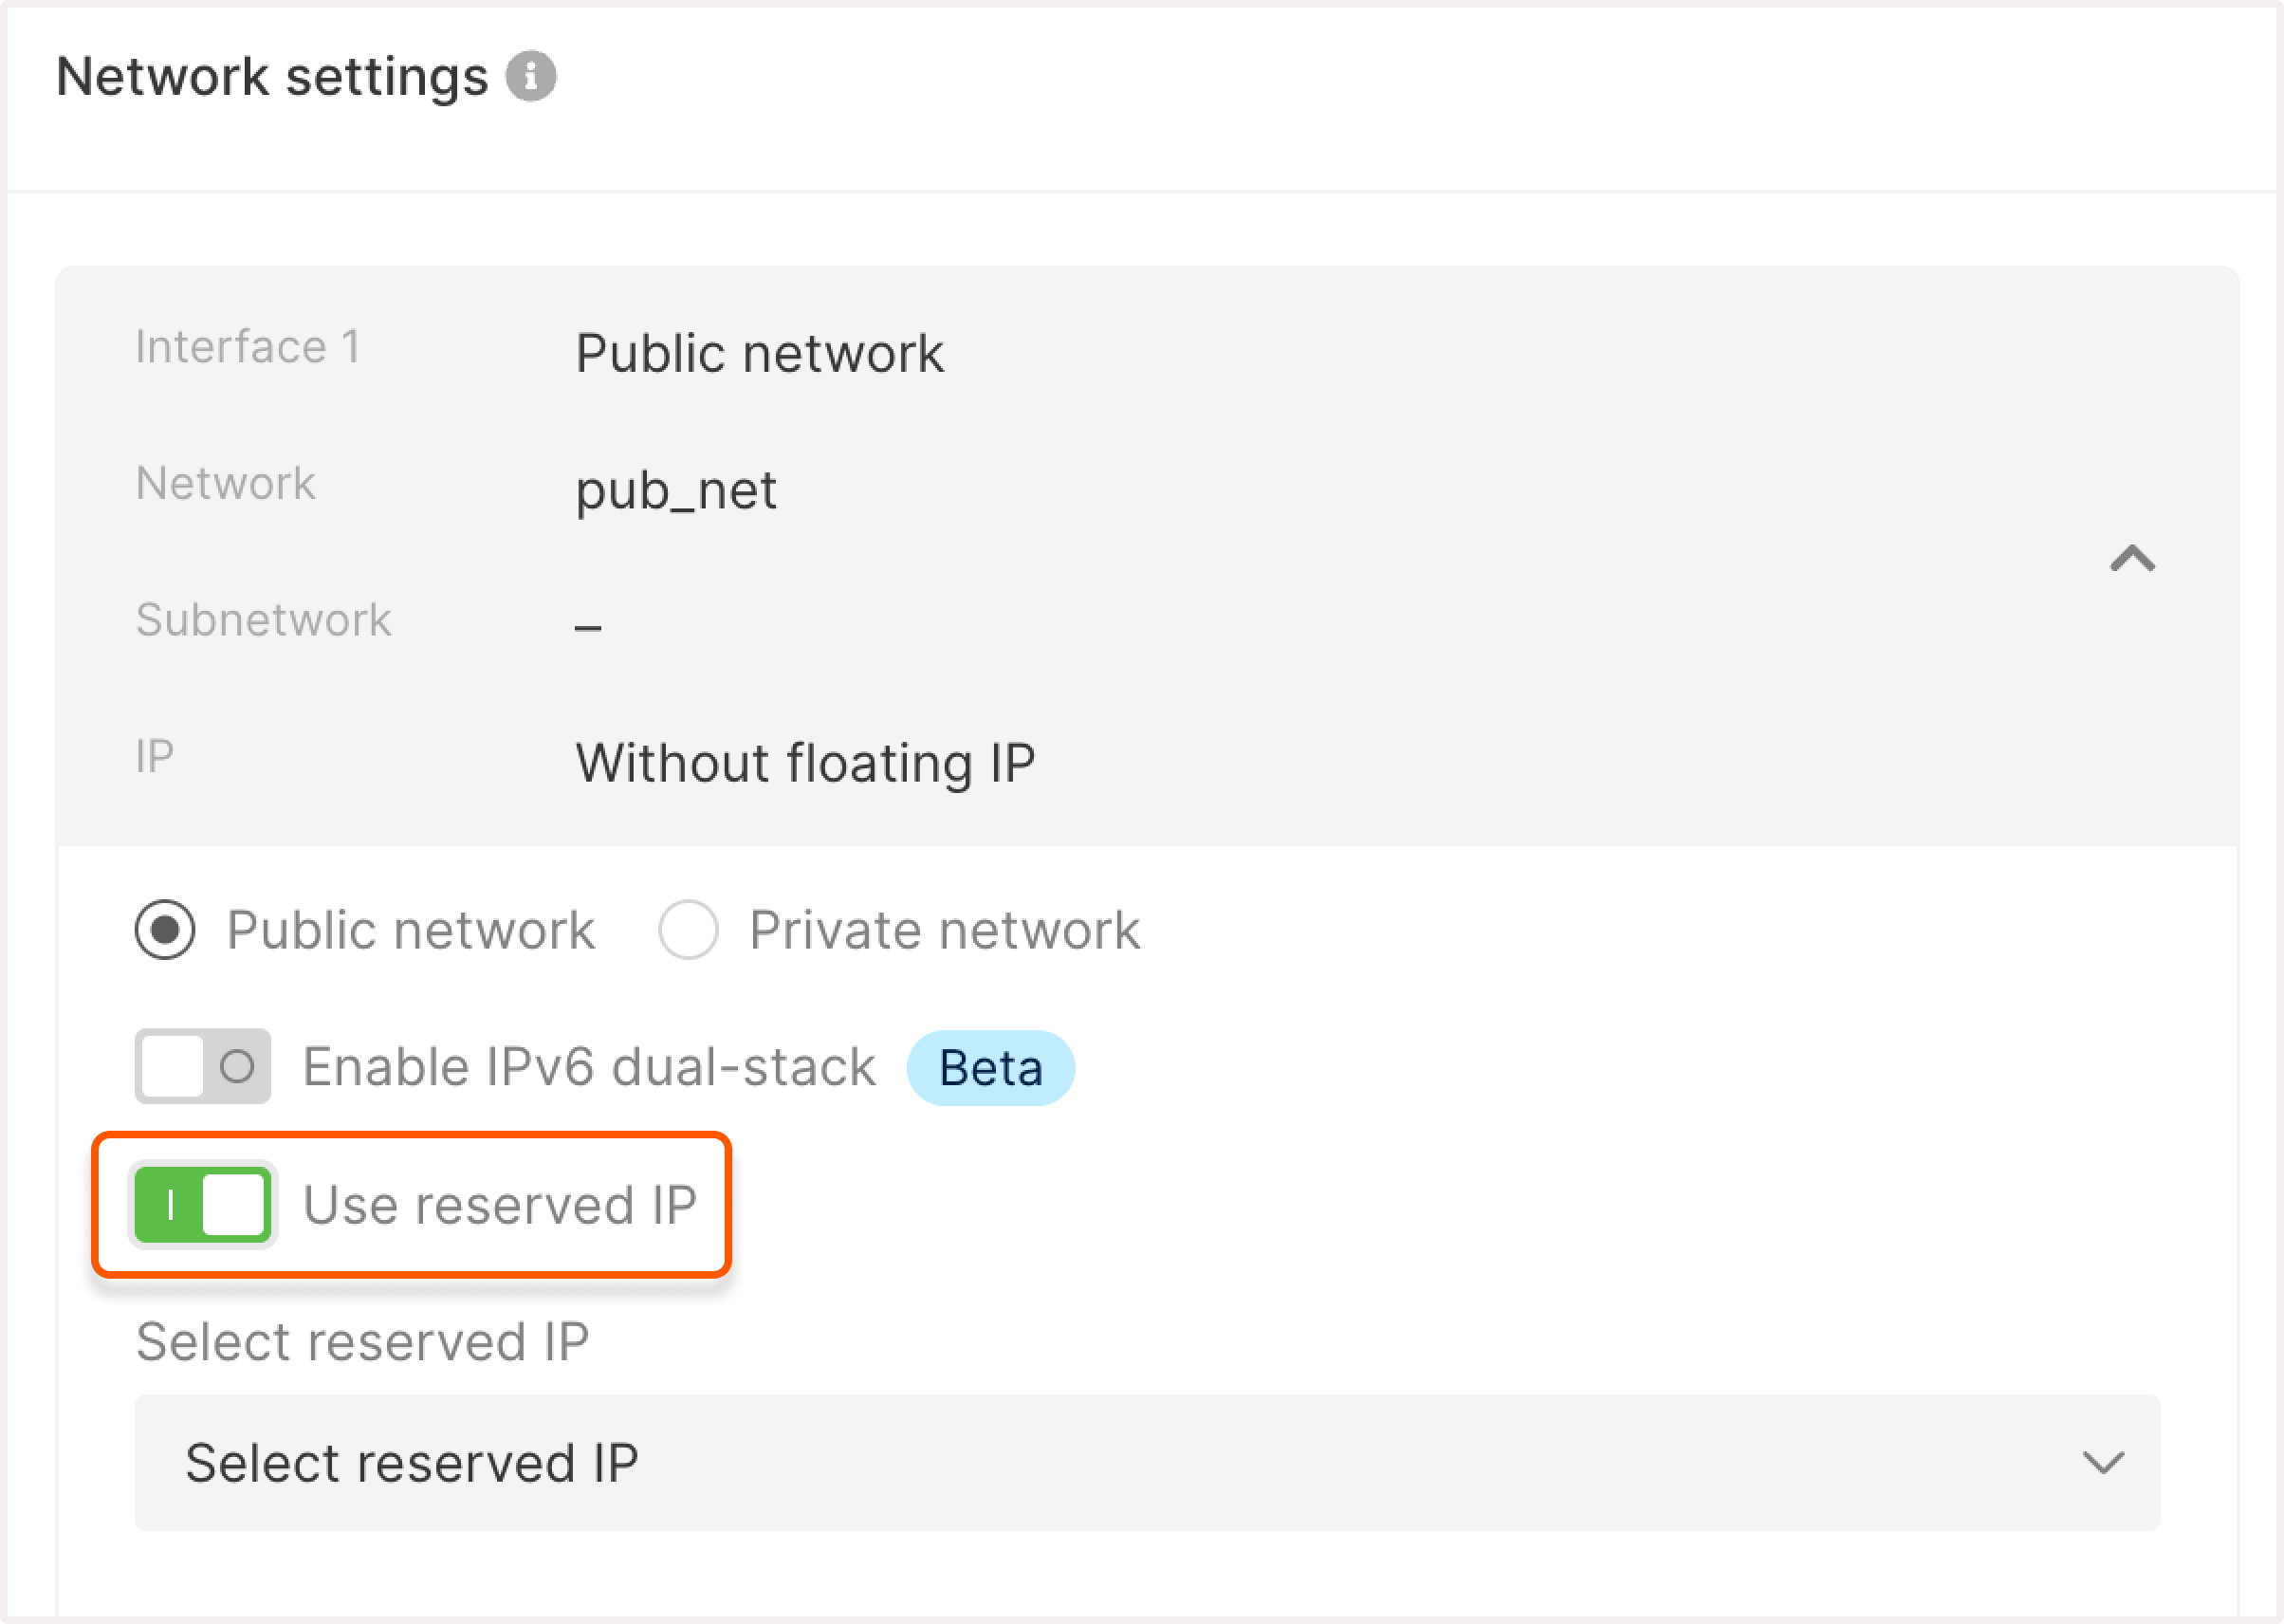
InfoIf you need both a public and private interface, disable the default gateway on the private network’s subnetwork and assign a floating IP to the private interface.
Select an existing network from the dropdown list or create a new one by clicking Add a new network.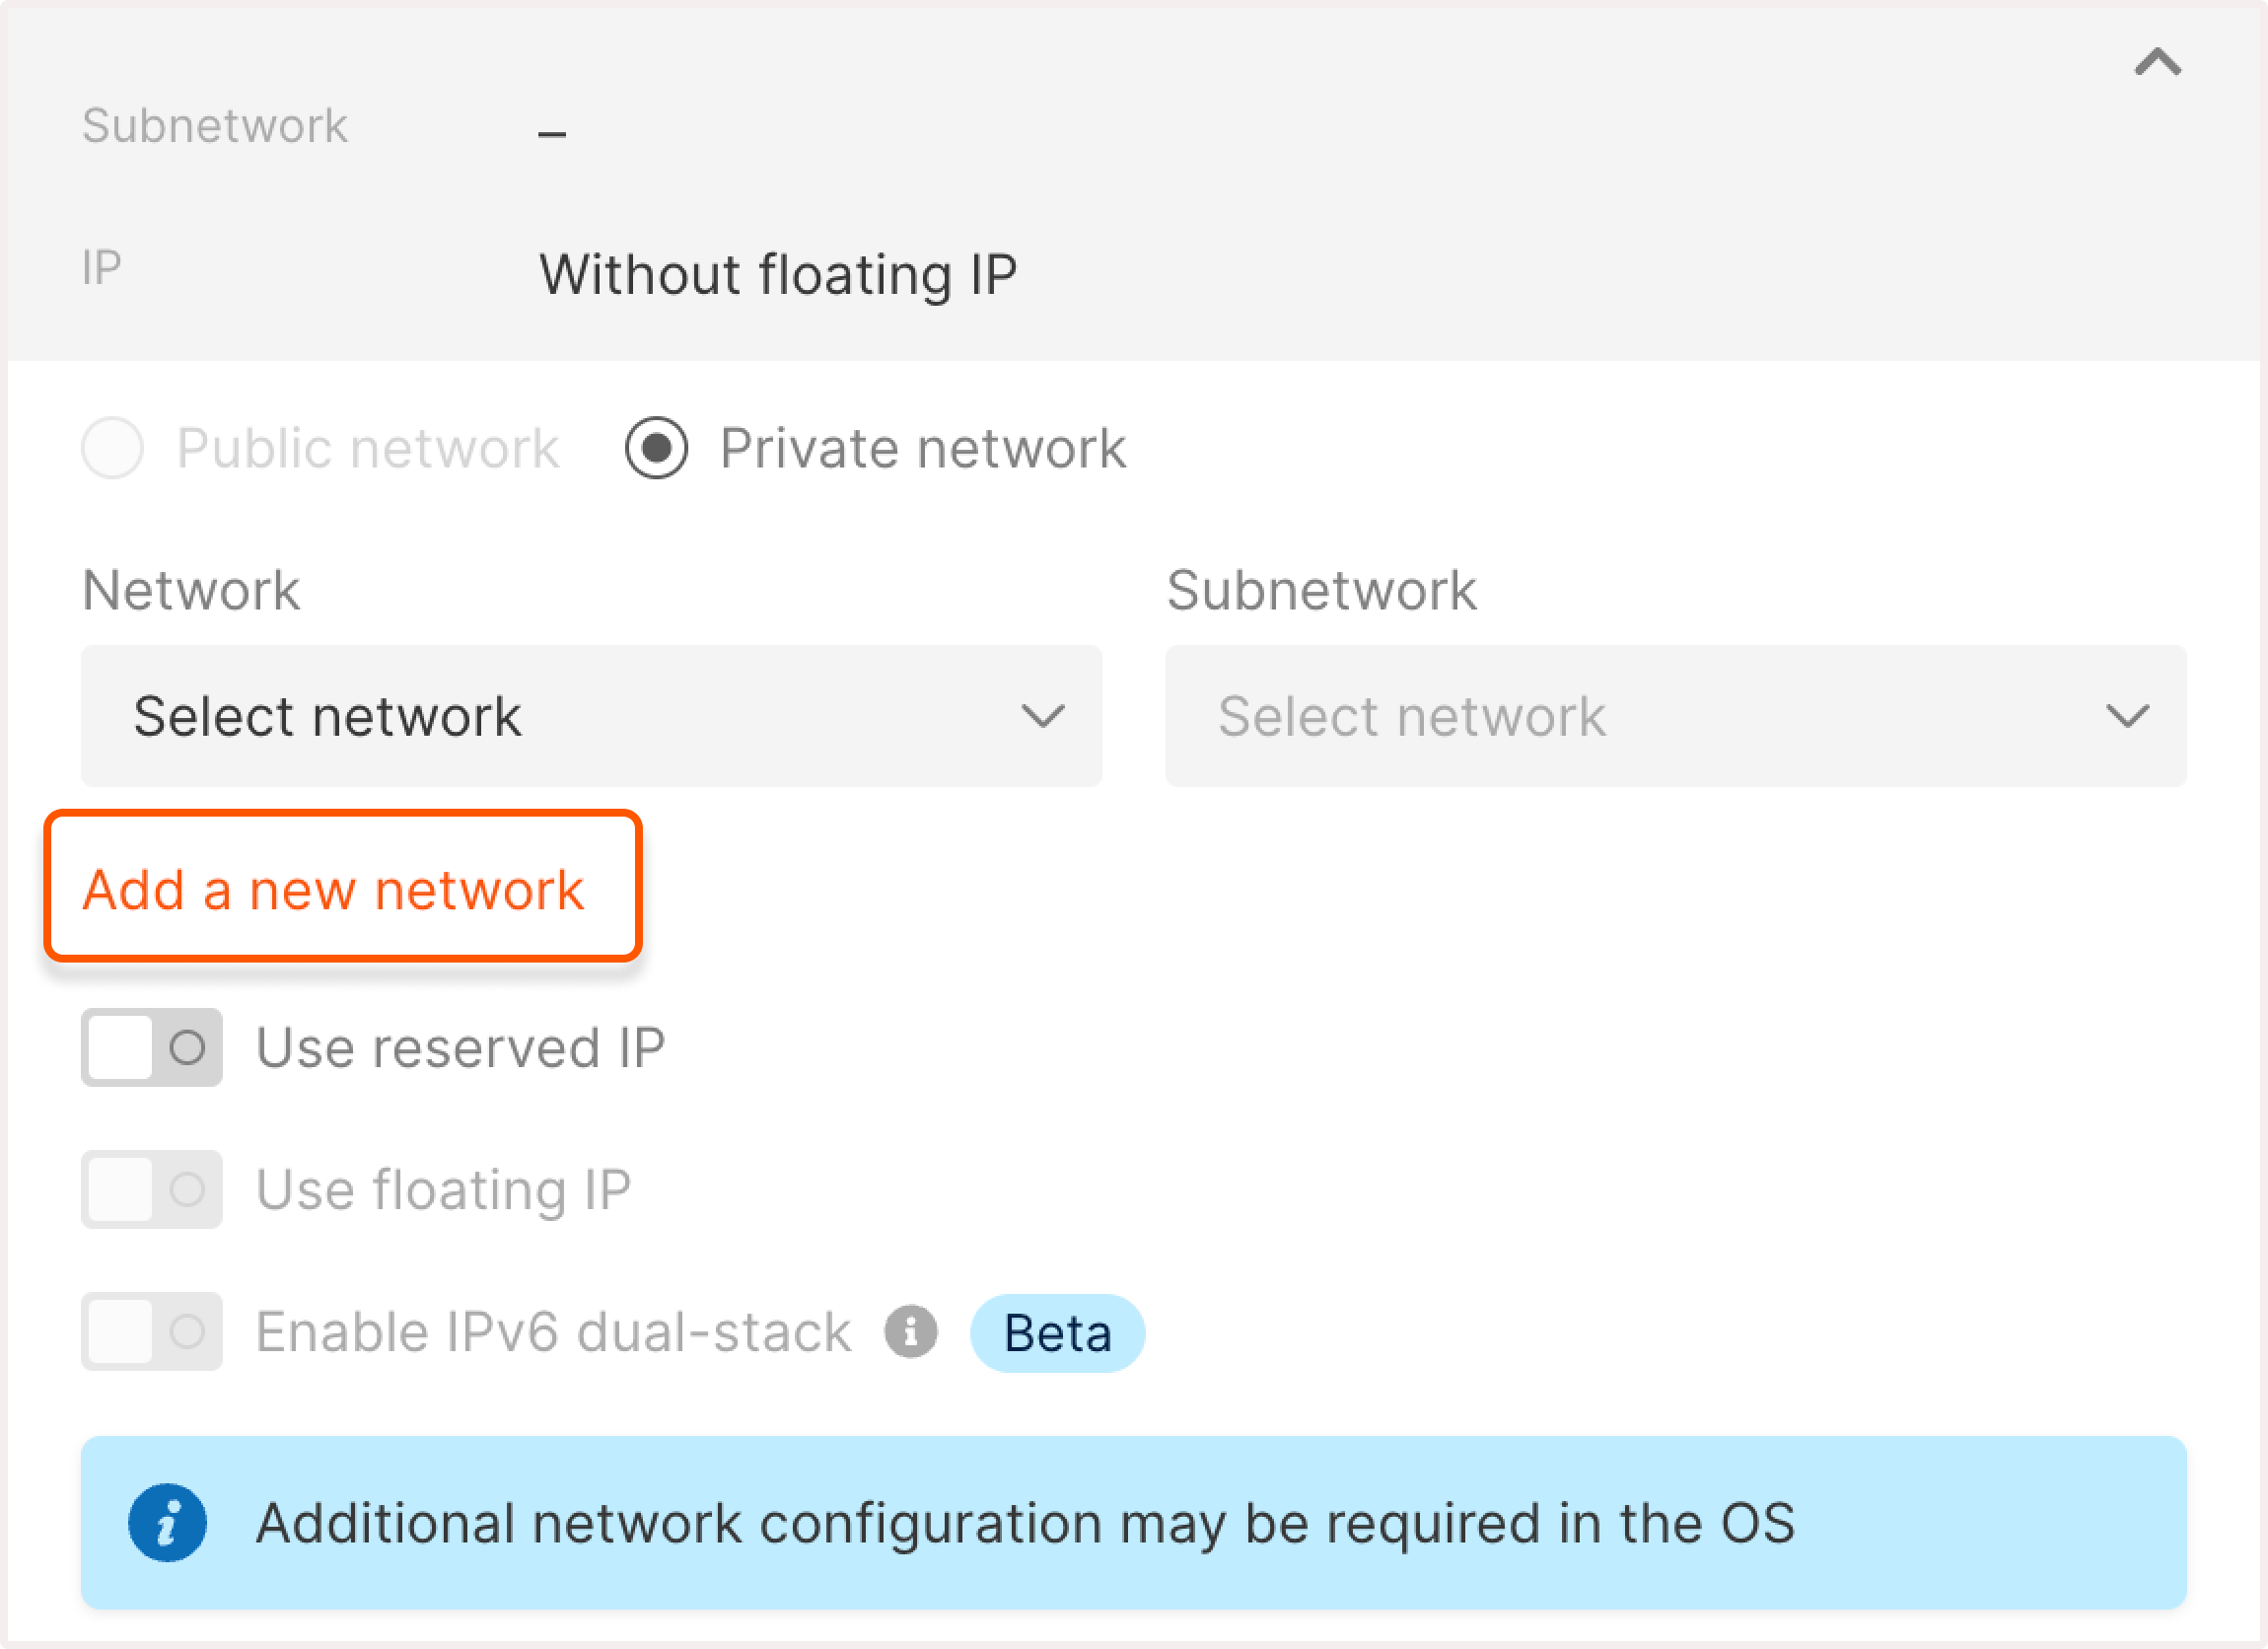 If you choose to add a new network, a new window will open where you’ll configure the network settings:1. Enter the network name.2. (optional) Turn on the Use reserved IP toggle if you want to assign a reserved IP address to the Virtual Machine. Select the desired IP from the list.3. (optional) Turn on the Use floating IP toggle if you want to assign a floating IP address and receive incoming connections to the VM.4. (optional) Turn on the Enable IPv6 dual-stack toggle to use IPv6 addresses.5. Click Create network.
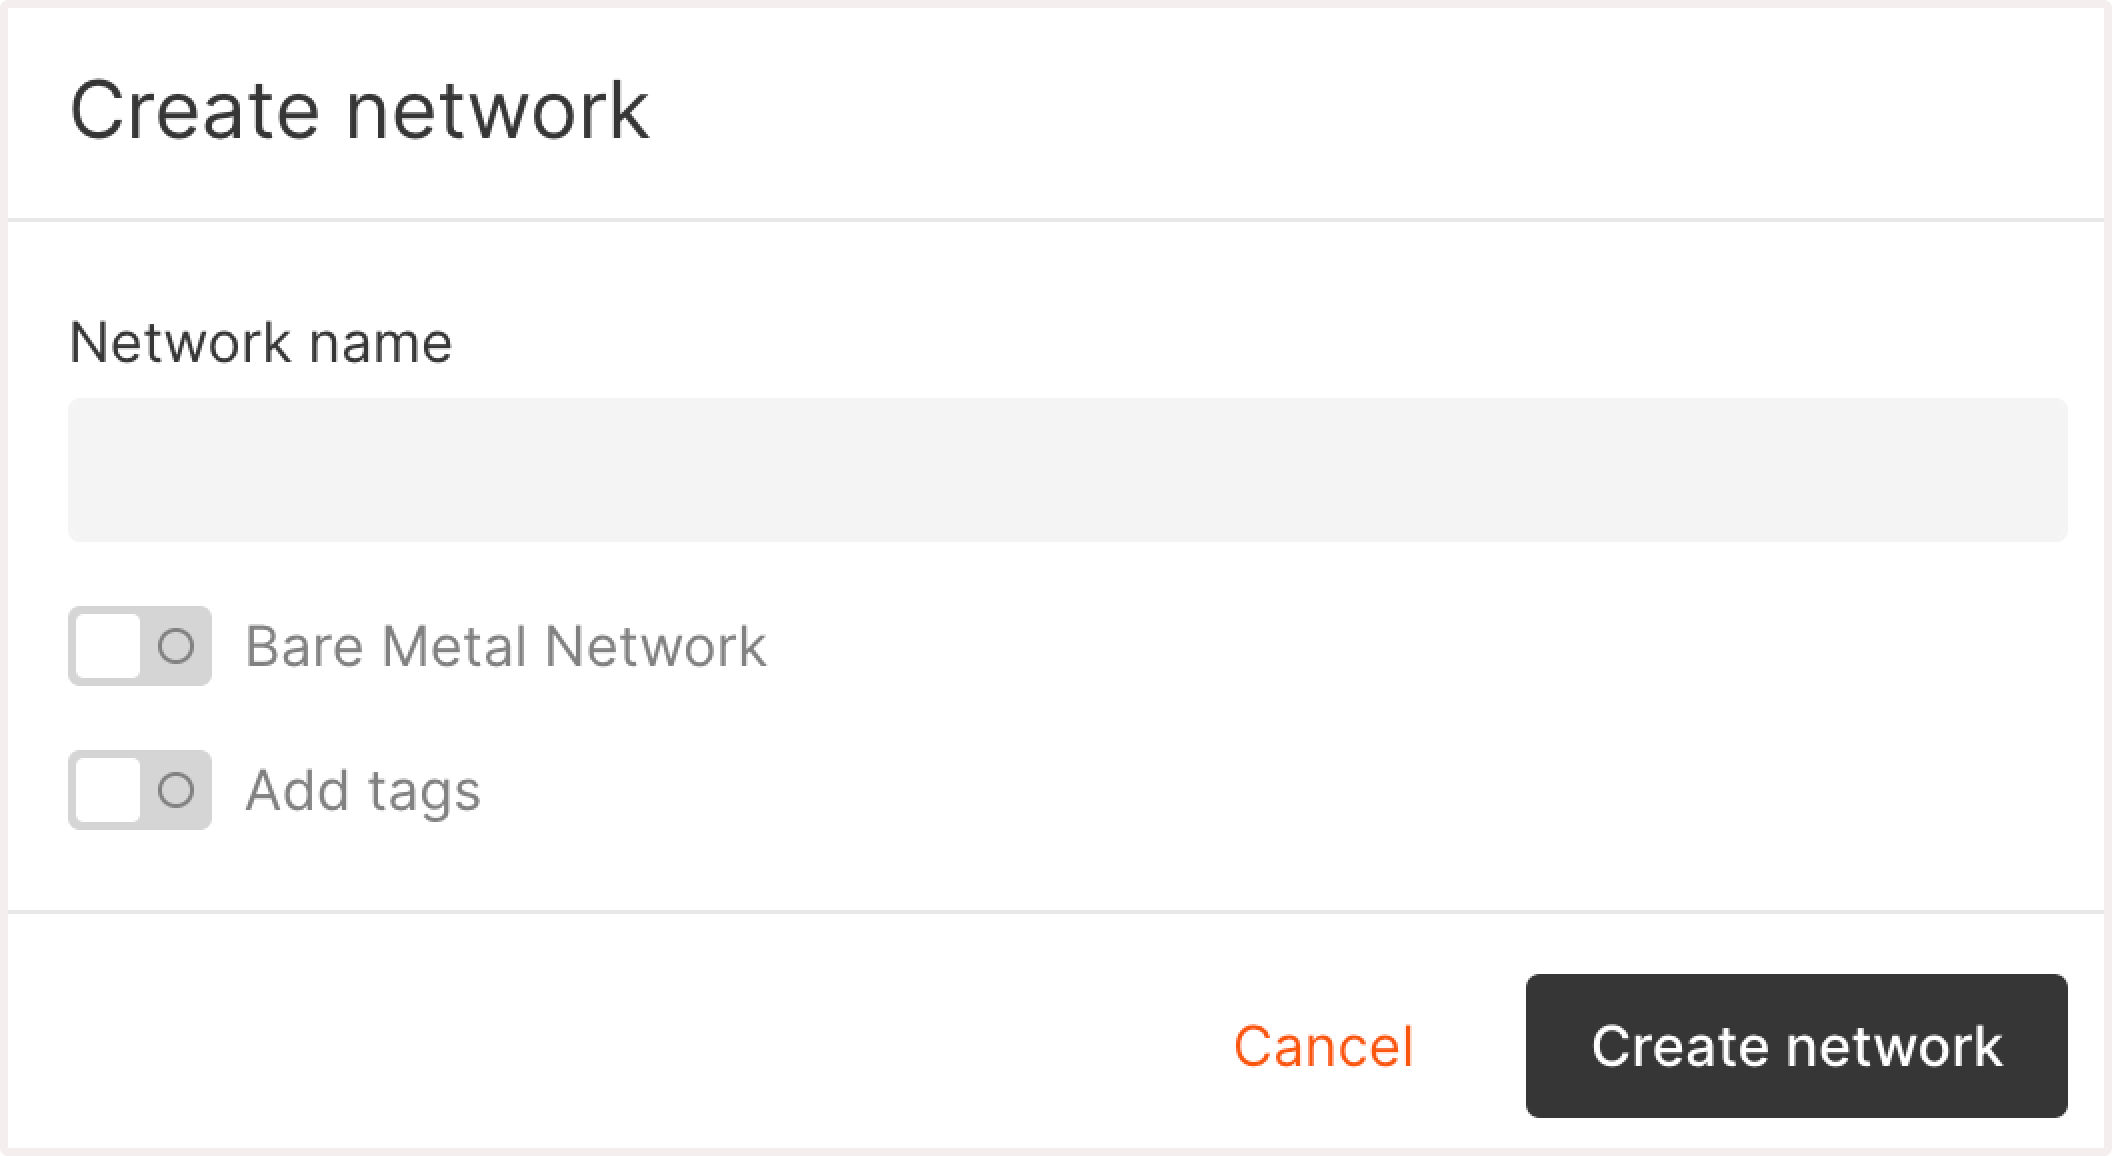
Step 6. Configure firewall settings
For Firewall settings, select the default firewall or create a new one by clicking Add firewall.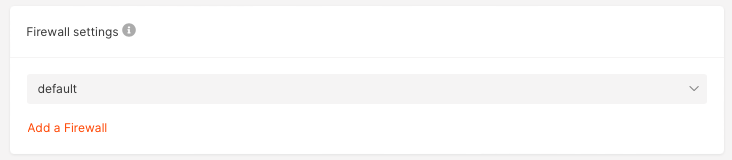
Step 7. Set up authentication
Configure an SSH key for a remote SSH connection. You can add an existing SSH key or generate a new one. For instructions on how to generate and configure the key, check out this guide: Connect to a VM via SSH.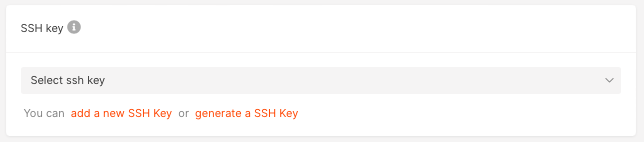 In addition to SSH keys, you can also set up a password for your Virtual Machine, as described in step 9. Setting a password is necessary if you want to connect to a Linux VM from the Customer Portal.
Step 8 (optional). Configure additional options
Enable the User data toggle to customize your VM during the initial boot by acloud-init agent.
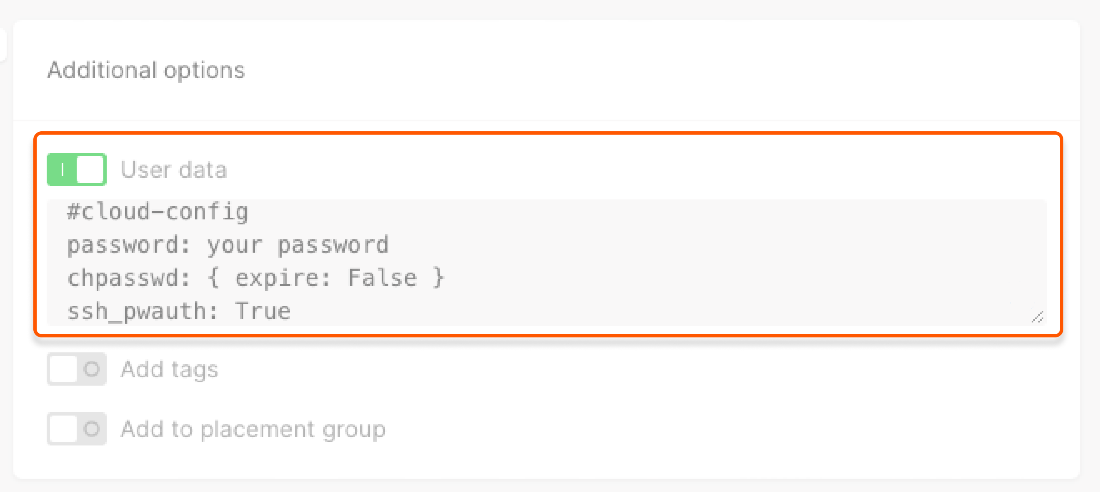
**your password** with your chosen password:
InfoOn Cloud VMs with Windows OS, you can’t use the
password parameter both in the “Access” and “User data” fields. Since the “Access” field is required, configuring user data on Windows Virtual Machines is not possible. Read more about the allowed VM parameters in our API docs.Configure a password hash
Configure a password hash
You can configure the password hash, a machine-readable set of symbols. It’ll protect your real password from being compromised. To generate a hash, use the Python script:
WarningIf a VM is only in a private subnet, DHCP must be enabled in the settings of this subnet, so you can log in with a password.
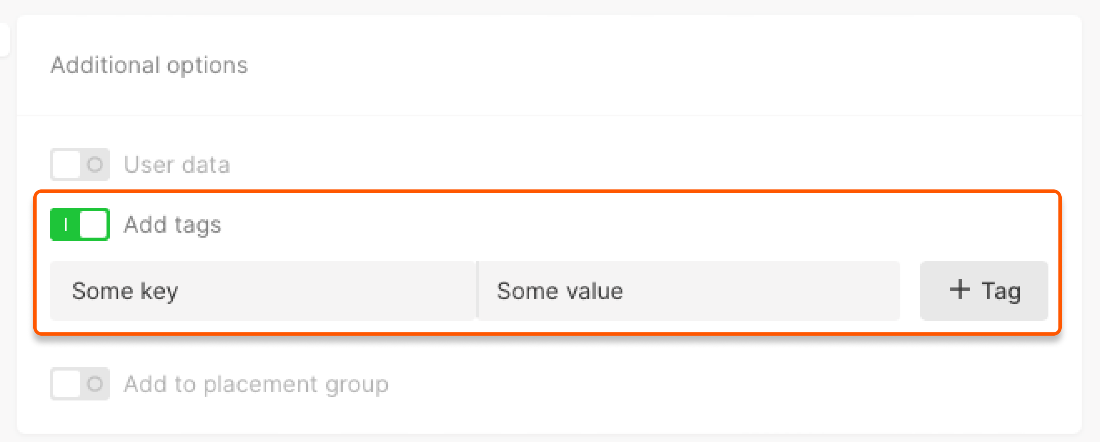
- Turn on Add tags to add a key-value pair that forms the metadata of the Virtual Machine description.
- Turn on Add to placement group to determine how to place multiple VMs.
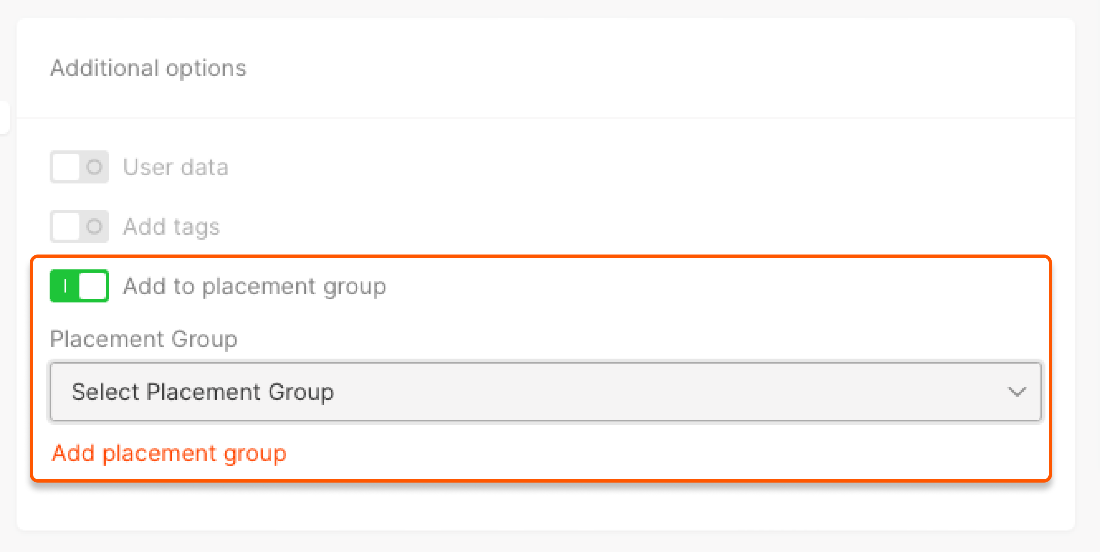
Types of placement groups
Types of placement groups
You can place your VM in one of three types of groups:
- Affinity groups assemble virtual machines on the same hardware. Machines launched in one affinity group will exchange data faster because they are located on the same server.
- Anti-affinity groups work the opposite way: All Virtual Machines in this group will be separated across different physical hardware. This increases fault tolerance of a cluster: Even if something goes wrong with one server, machines on the other servers will remain available.
- Soft anti-affinity groups encourage, but don’t strictly enforce, the separation of Virtual Machines. Unlike a strict anti-affinity policy, where machines may never be placed together, soft anti-affinity allows placement on the same hardware when it is necessary due to factors like resource constraints or high demand. It is suitable for users who want to use the anti-affinity policy by default while also avoiding machine creation failures if an unused host is not found.
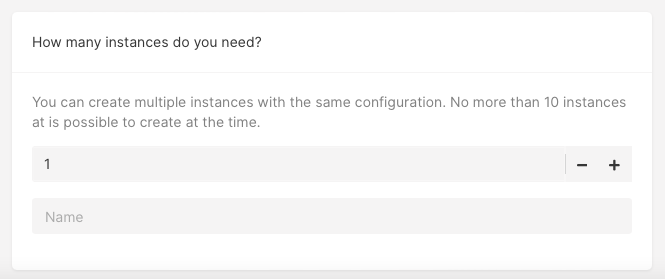
Step 9. Specify the number of VMs
Indicate how many machines with the same configuration you need and name the VMs.