Create a volume
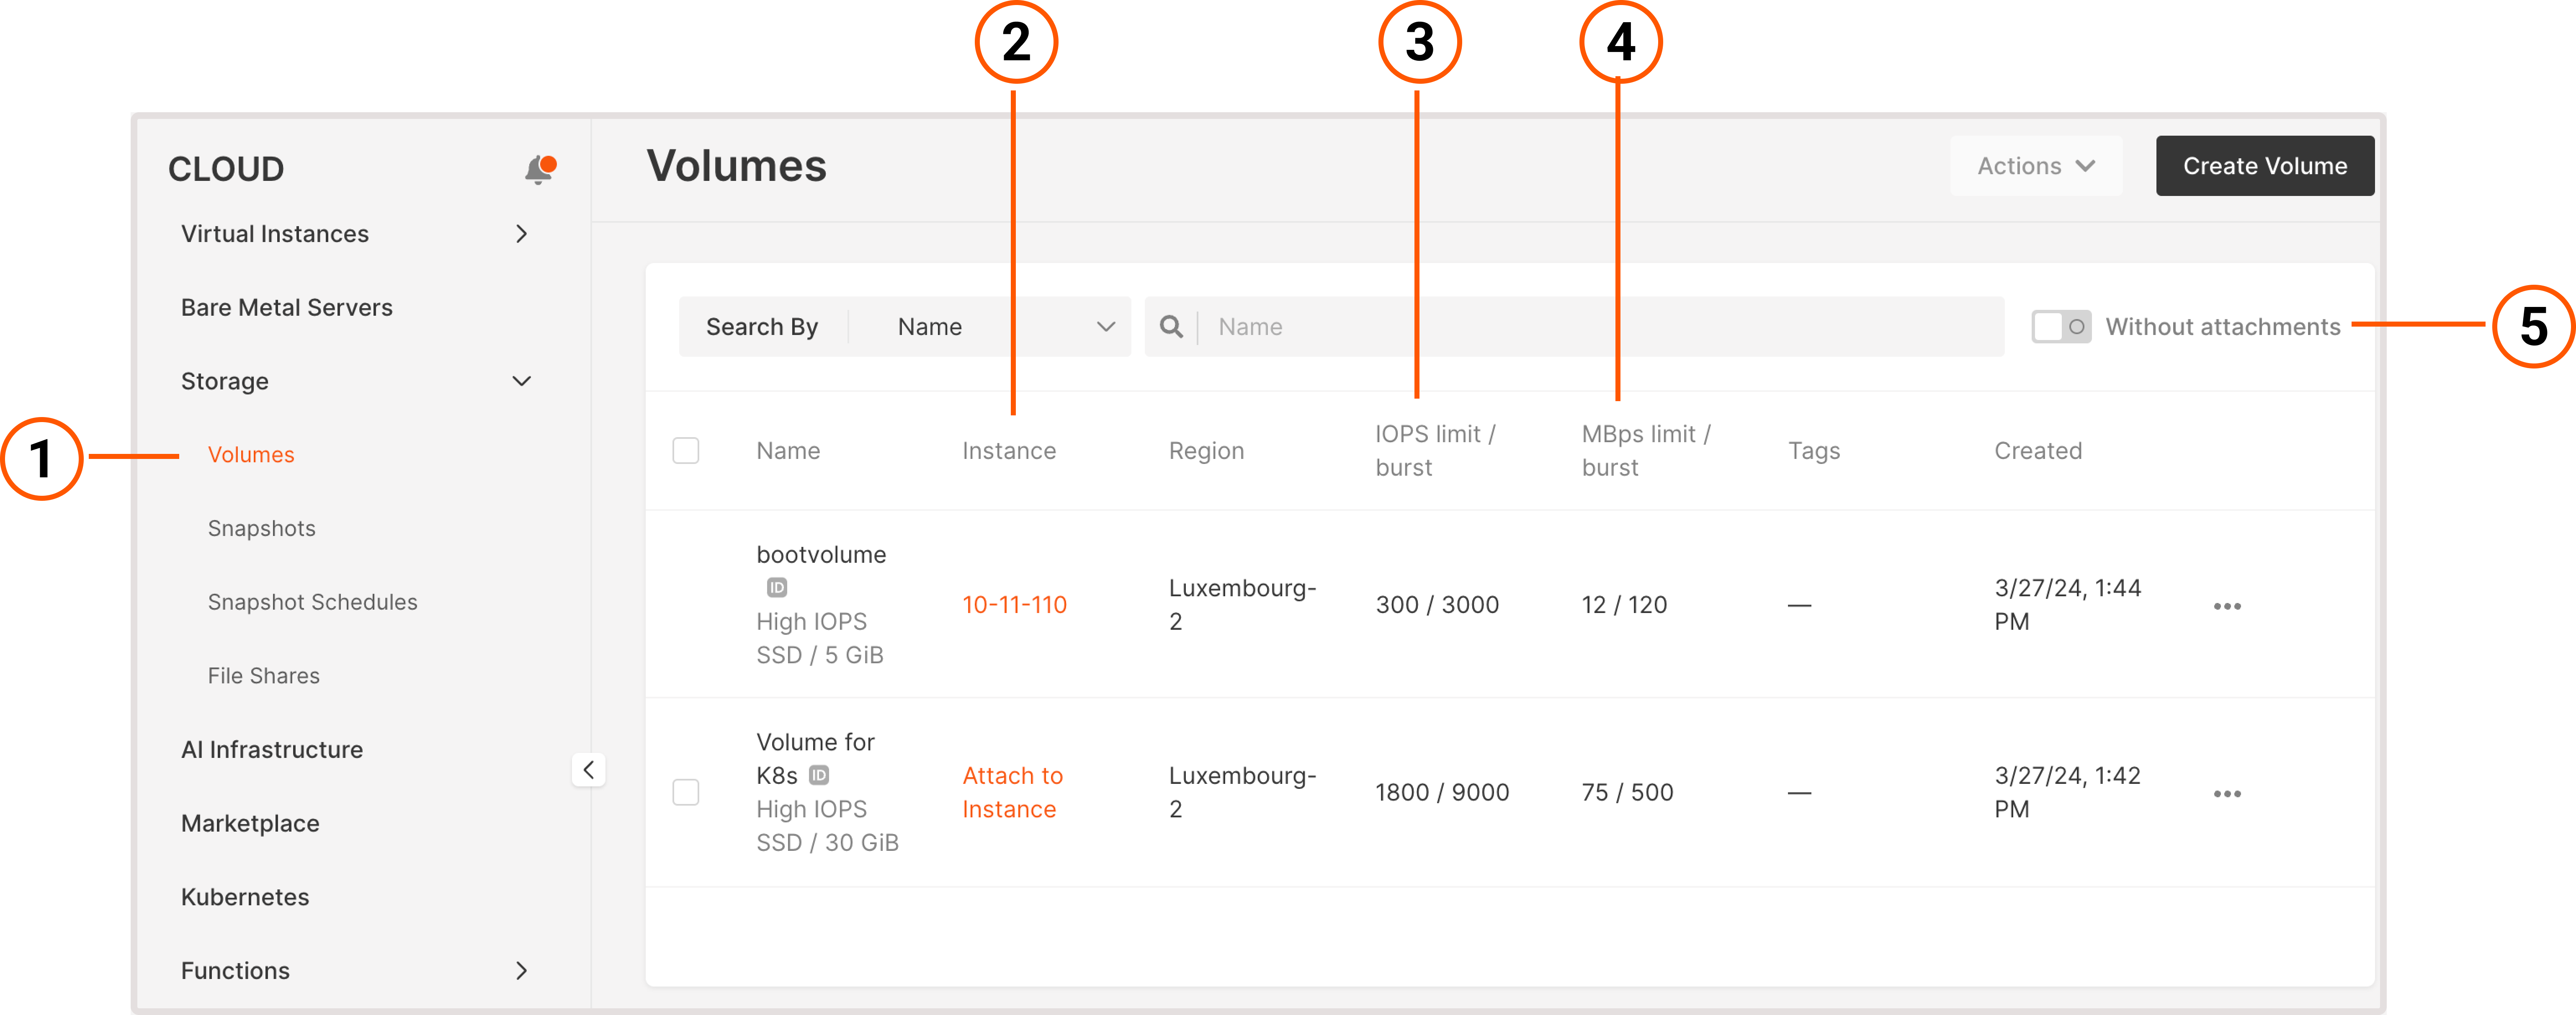
You can create volumes in several ways: when creating a Virtual Machine, from the Volumes page, or from a snapshot. The latter two approaches are described in the following sections.InfoYou can only use a volume in the same region where a Virtual Machine is created.
1. In the Gcore Customer Portal, navigate to Cloud > Storage.2. Click Create volume.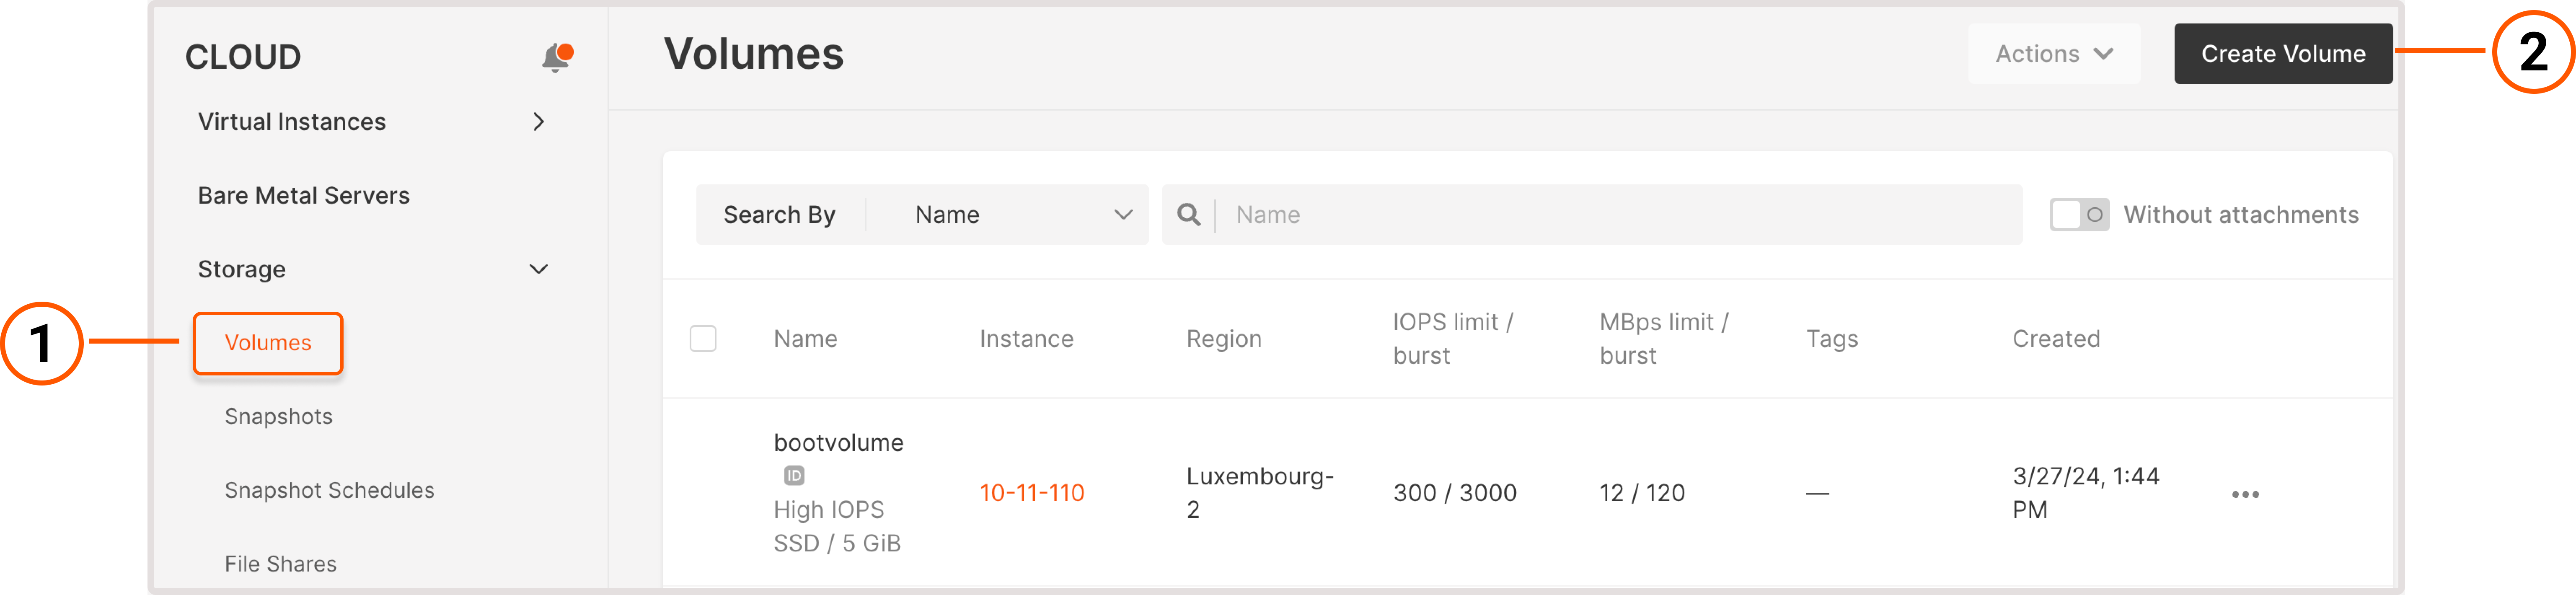 3. A new Add volume page will open. Here you can customize volume settings.
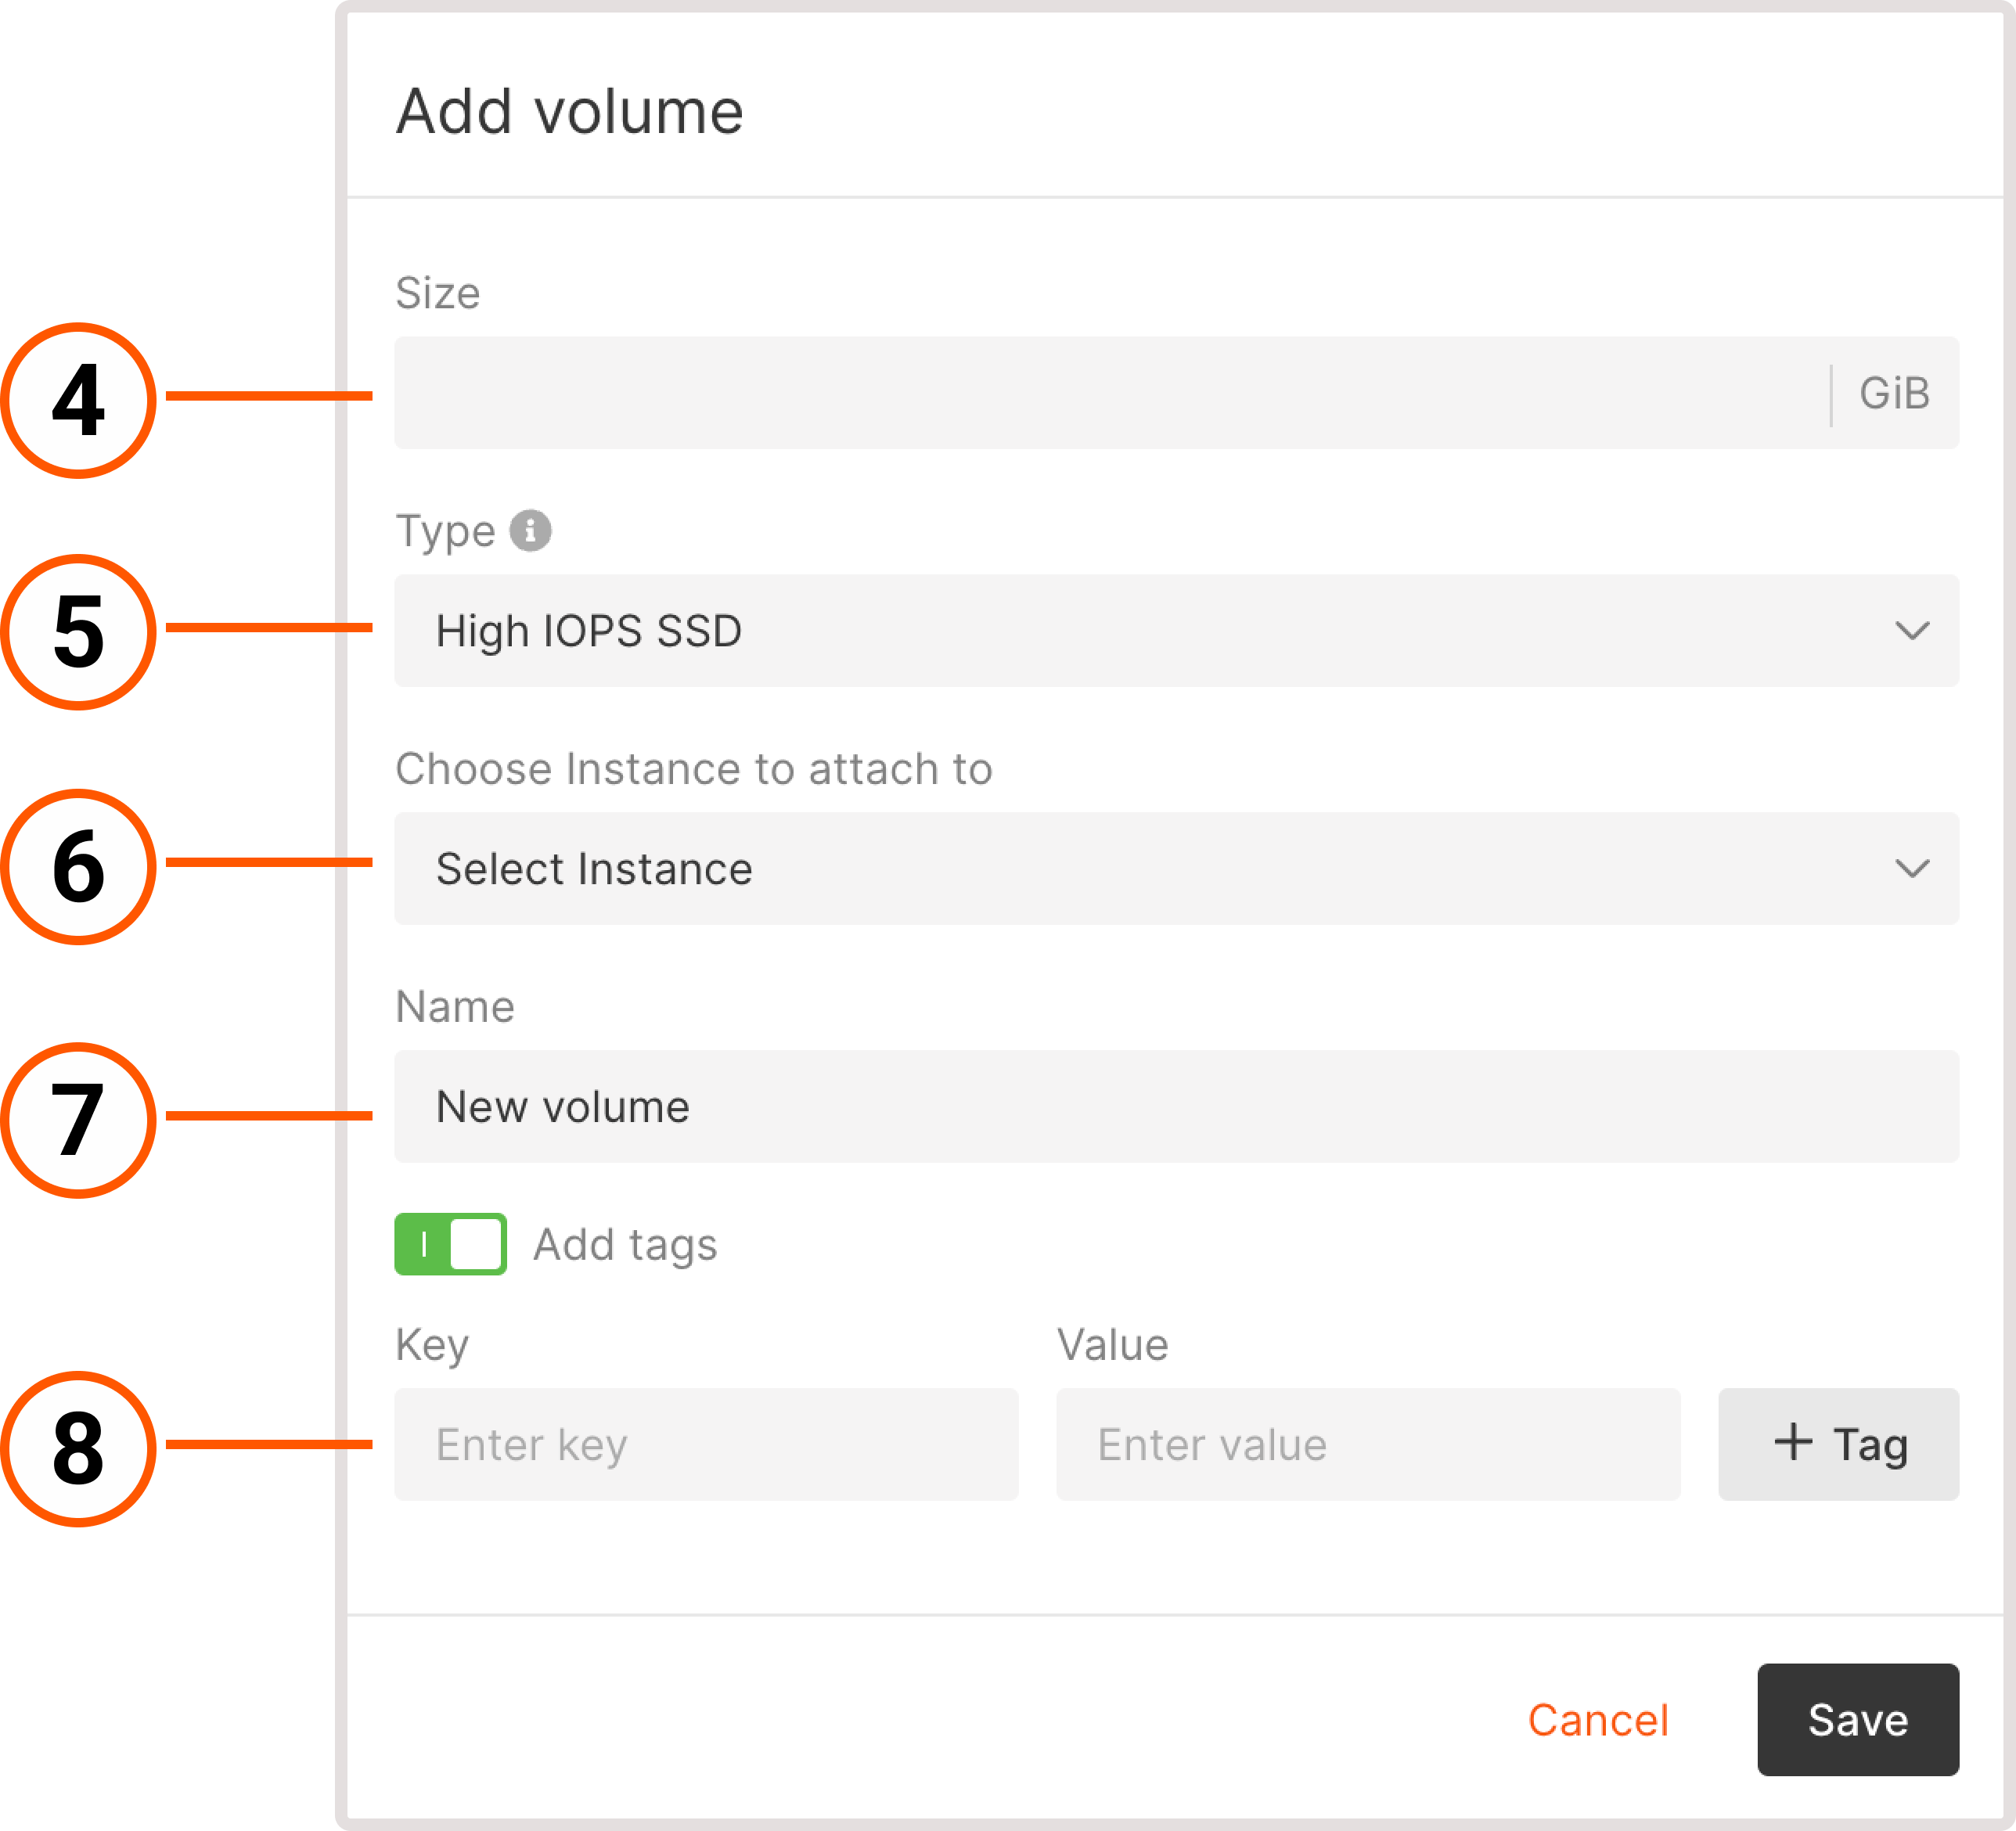 4. Specify how many GB of disk space you need. If it exceeds your current limit, send a request for quota increase.5. Select the volume type. Faster volume types are designed for latency-sensitive transactional operations and storing critical data. Slower volumes are more suitable for archived or non-critical data and for less frequent operations.6. (Optional) Attach the volume to a Virtual Machine. A volume can only be used in the same region where a VM is created.7. Create a name for the volume. You can use Latin letters, numbers, underscores, spaces, and dots. The name should be between 3 and 63 characters long.8. (Optional) To add metadata to a volume, specify tags as key-value pairs.9. Click Save.Your volume will appear on the Volumes page.
TipWhen you add volumes via the Gcore Customer Portal or API, you don’t have to keep volume names consistent in the operating system (like sda, sdb, or sdc). We recommend using Universally Unique Identifiers (UUID) instead of names for OS operations.
Attach volumes to an existing Virtual Machine
If a volume is attached to a Virtual Machine, you’ll see the VM name on the Volumes page in the Instance column. Otherwise, you’ll see the “Attach to instance” link. You can attach more than one volume to a Virtual Machine. However, volumes can only be used in the same region where the VM is created. You can attach volumes to a Virtual Machine either from the Volumes page or from the VM settings.1. In the Gcore Customer Portal, navigate to Cloud > Storage.2. Find the volume that you want to attach and click Attach to instance.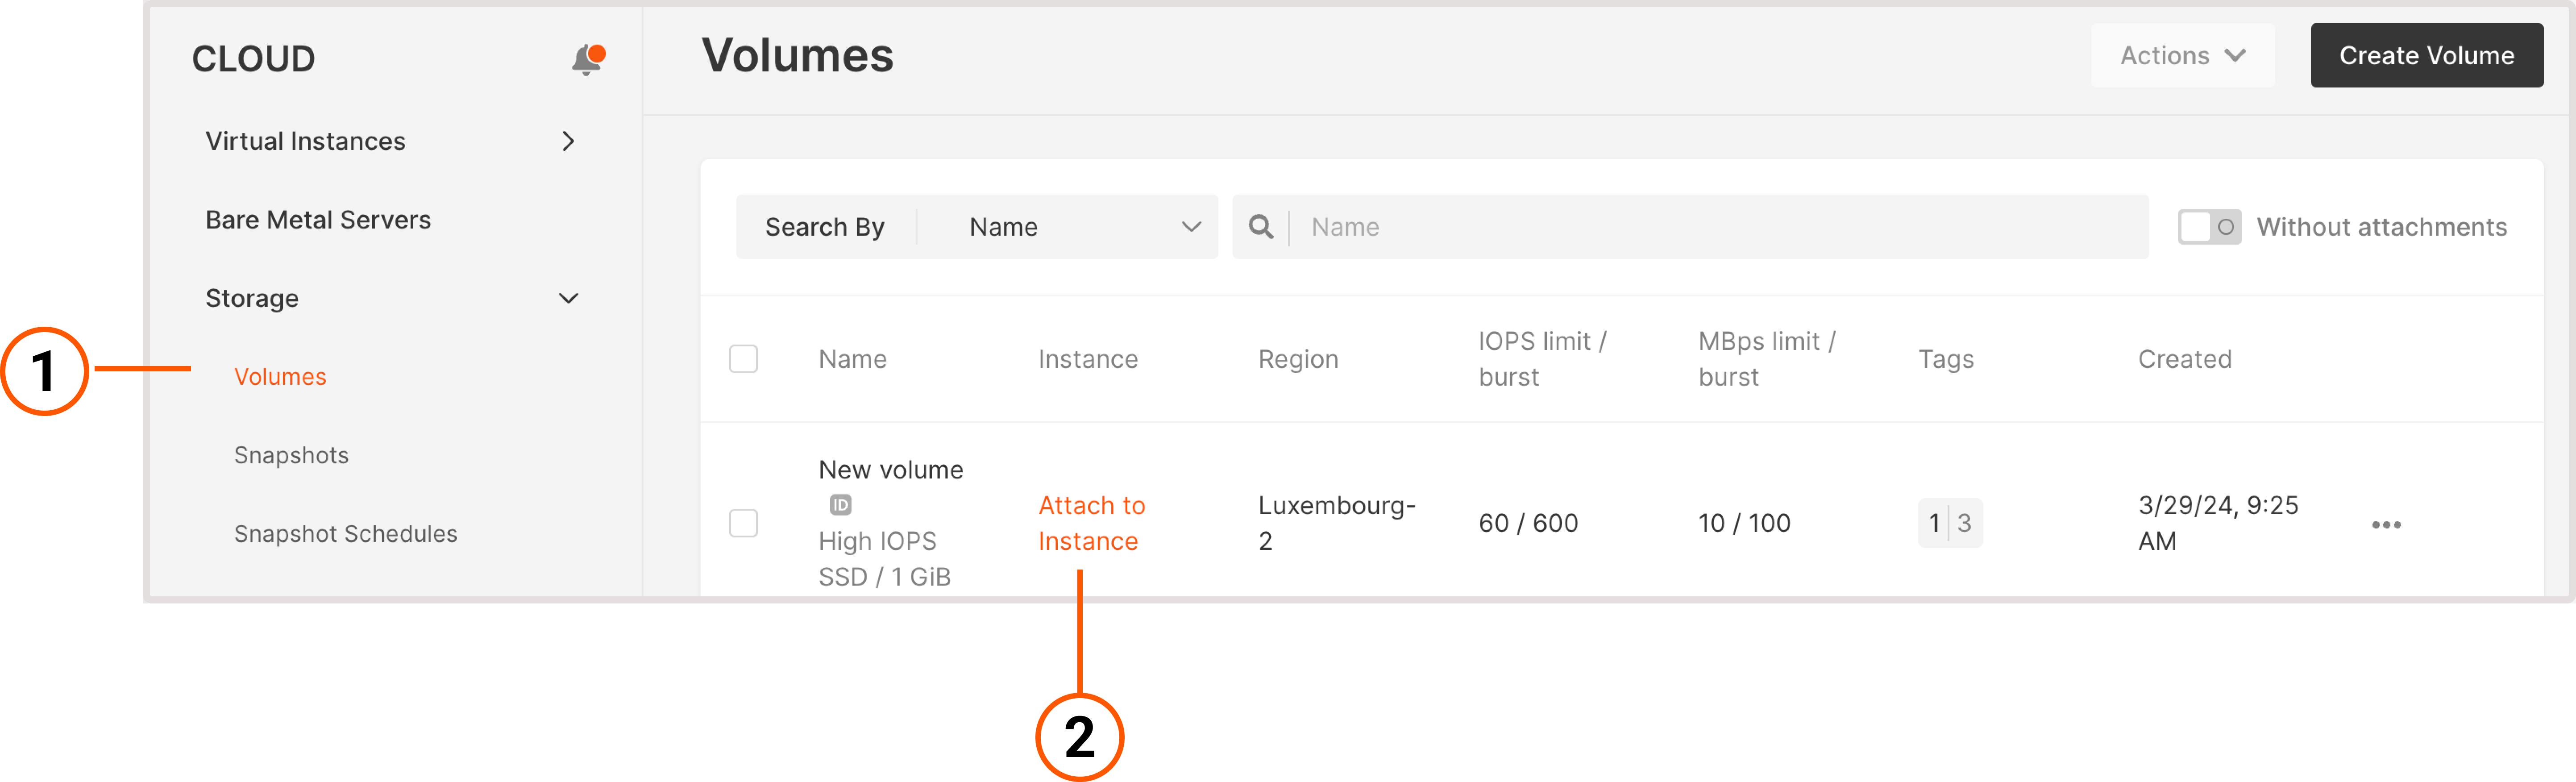 3. Select the Virtual Machine from the Choose instance to attach to dropdown.4. (Optional) Add an attachment tag.
 5. Click Attach volume.You’ve successfully attached a volume to the Virtual Machine.
Manage volumes
The options for managing volumes differ depending on the volume you want to modify: boot or regular. If you have a large number of volumes, you can also search for volumes by name or UUID values to find the one you need.Rename a volume
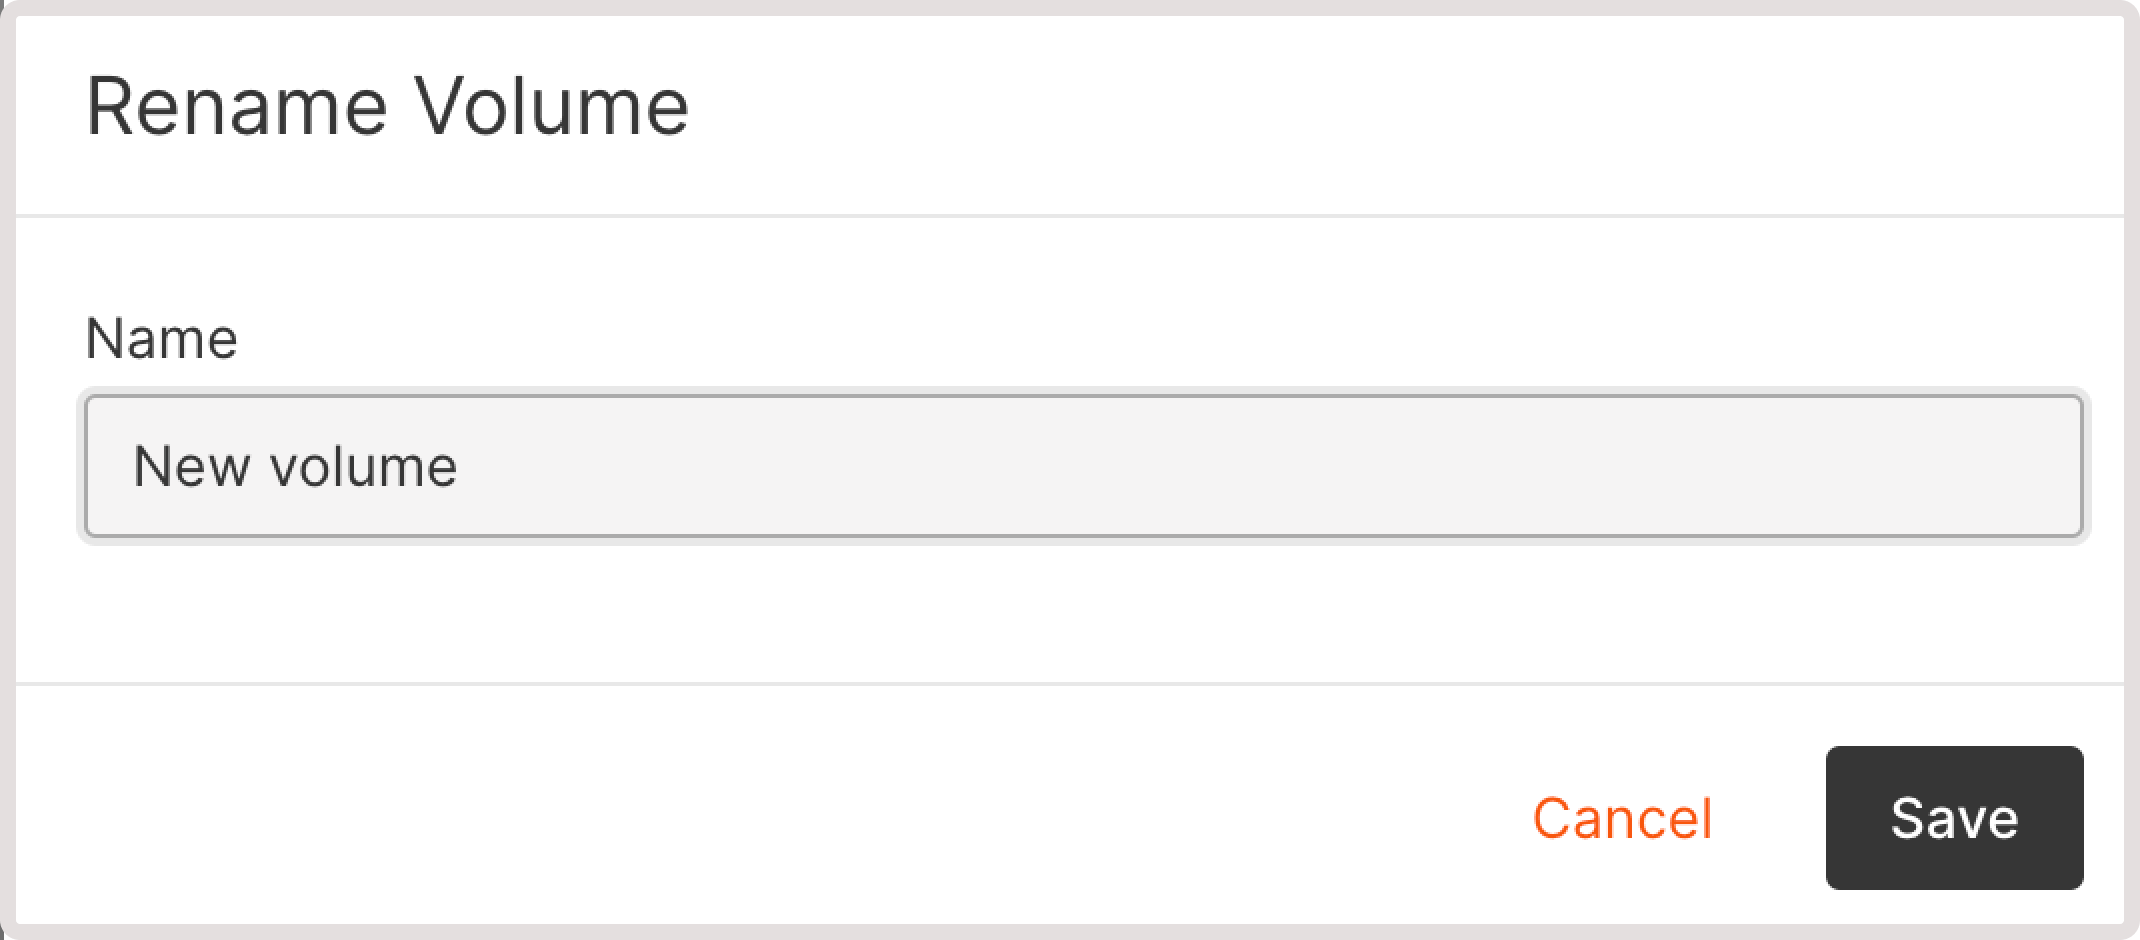
You can rename both boot and regular volumes: 1. In the Gcore Customer Portal, navigate to Cloud > Storage. 2. Click the three-dot icon next to the volume you want to rename.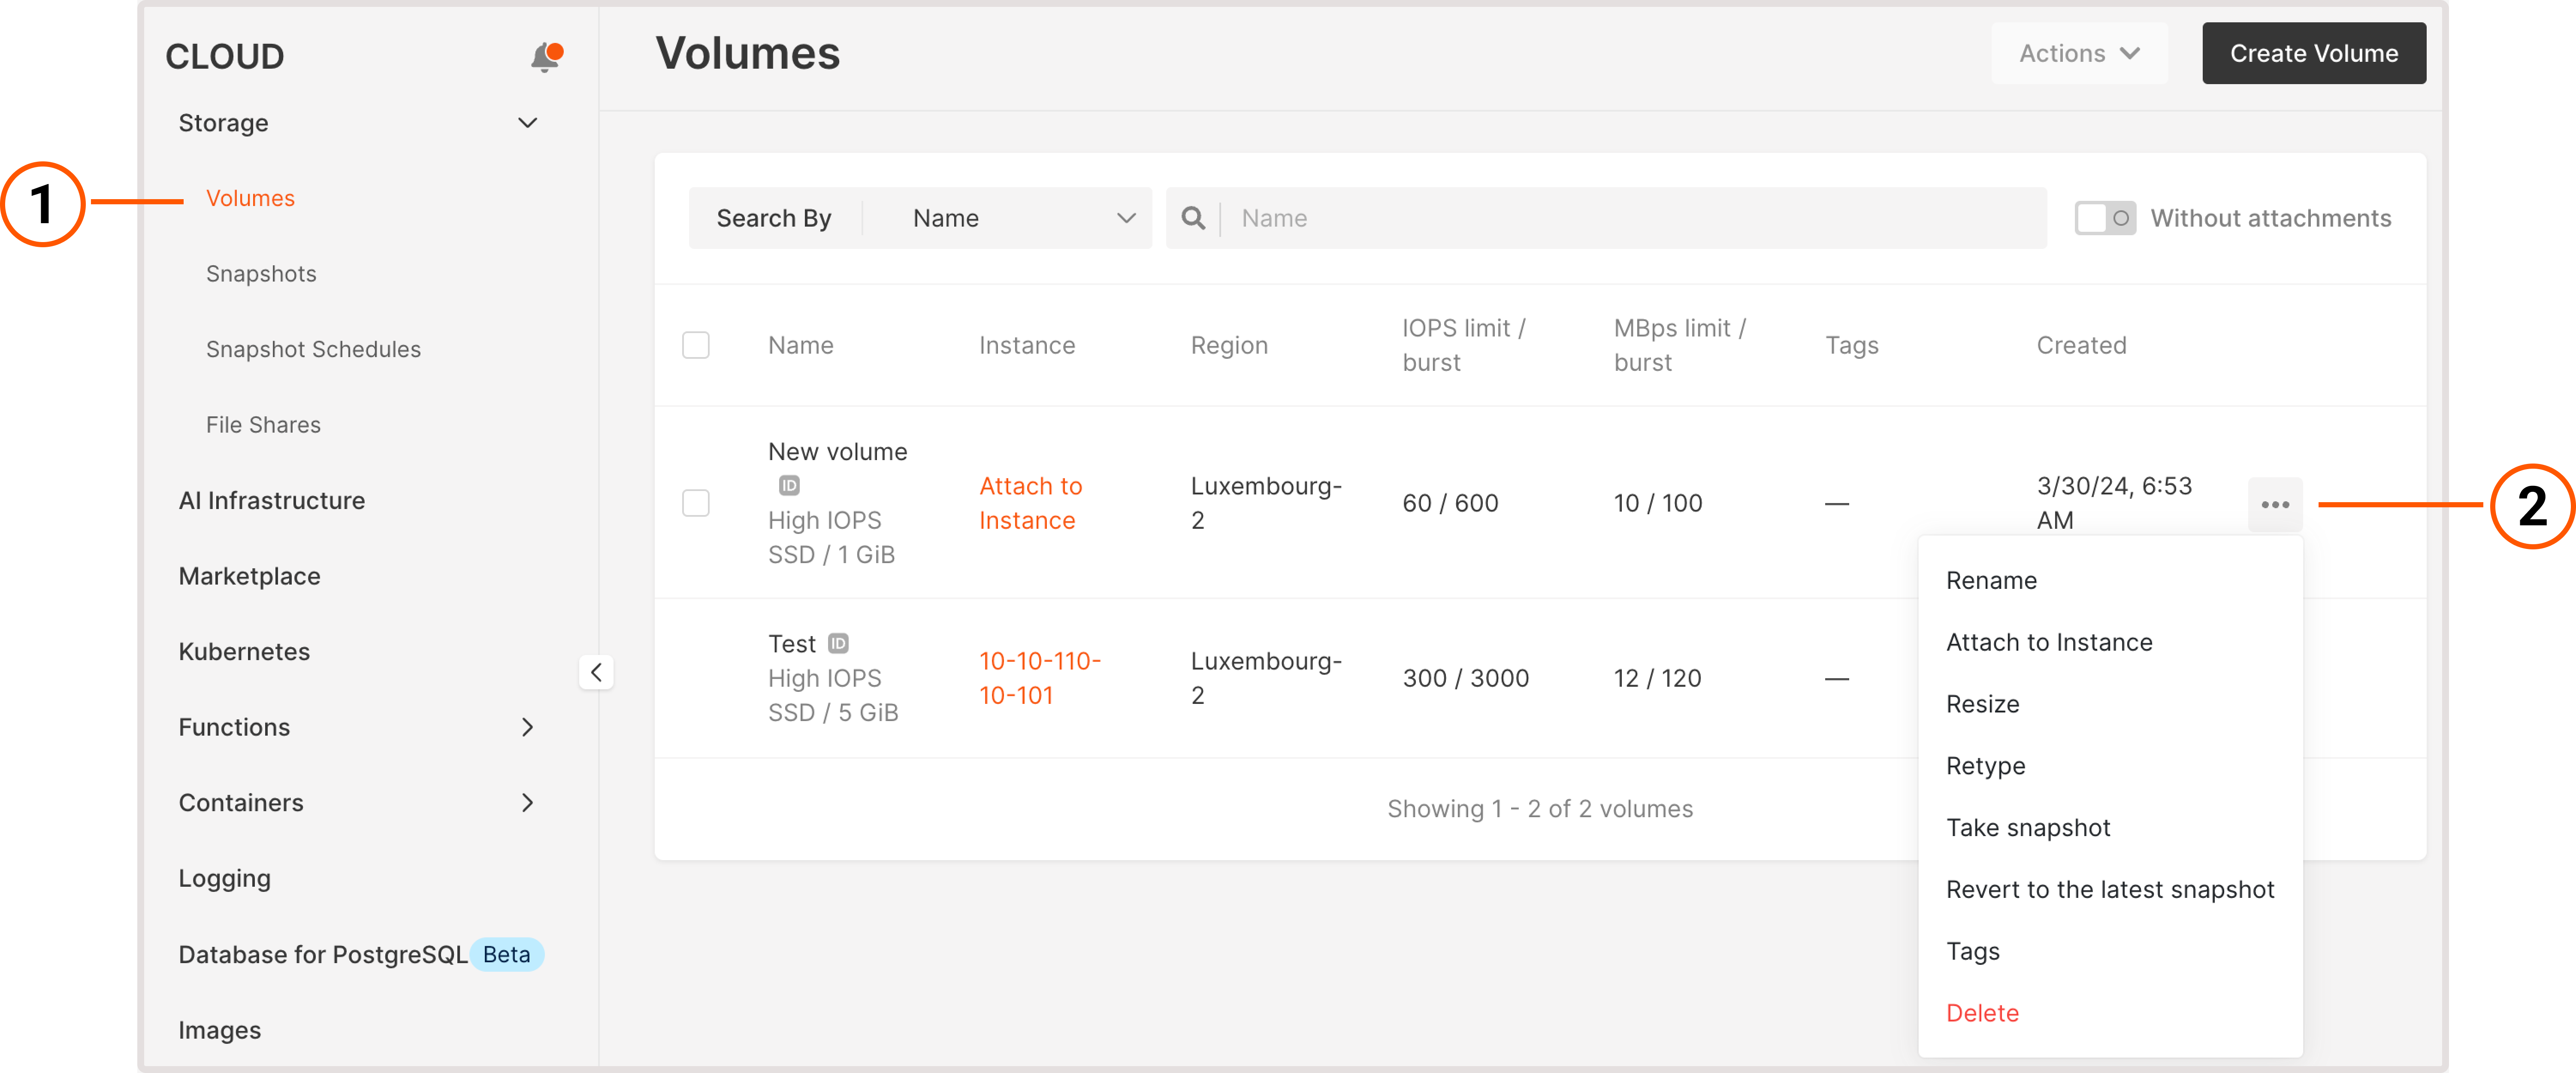
Detach a volume from a Virtual Machine
You can only detach regular volumes. The boot volume cannot be detached from an Virtual Machine as long as the VM exists. If you want to detach a boot volume, you need to delete the VM first. To detach a volume: 1. In the Gcore Customer Portal, navigate to Cloud > Storage. 2. Click the three-dot icon next to the volume you want to detach.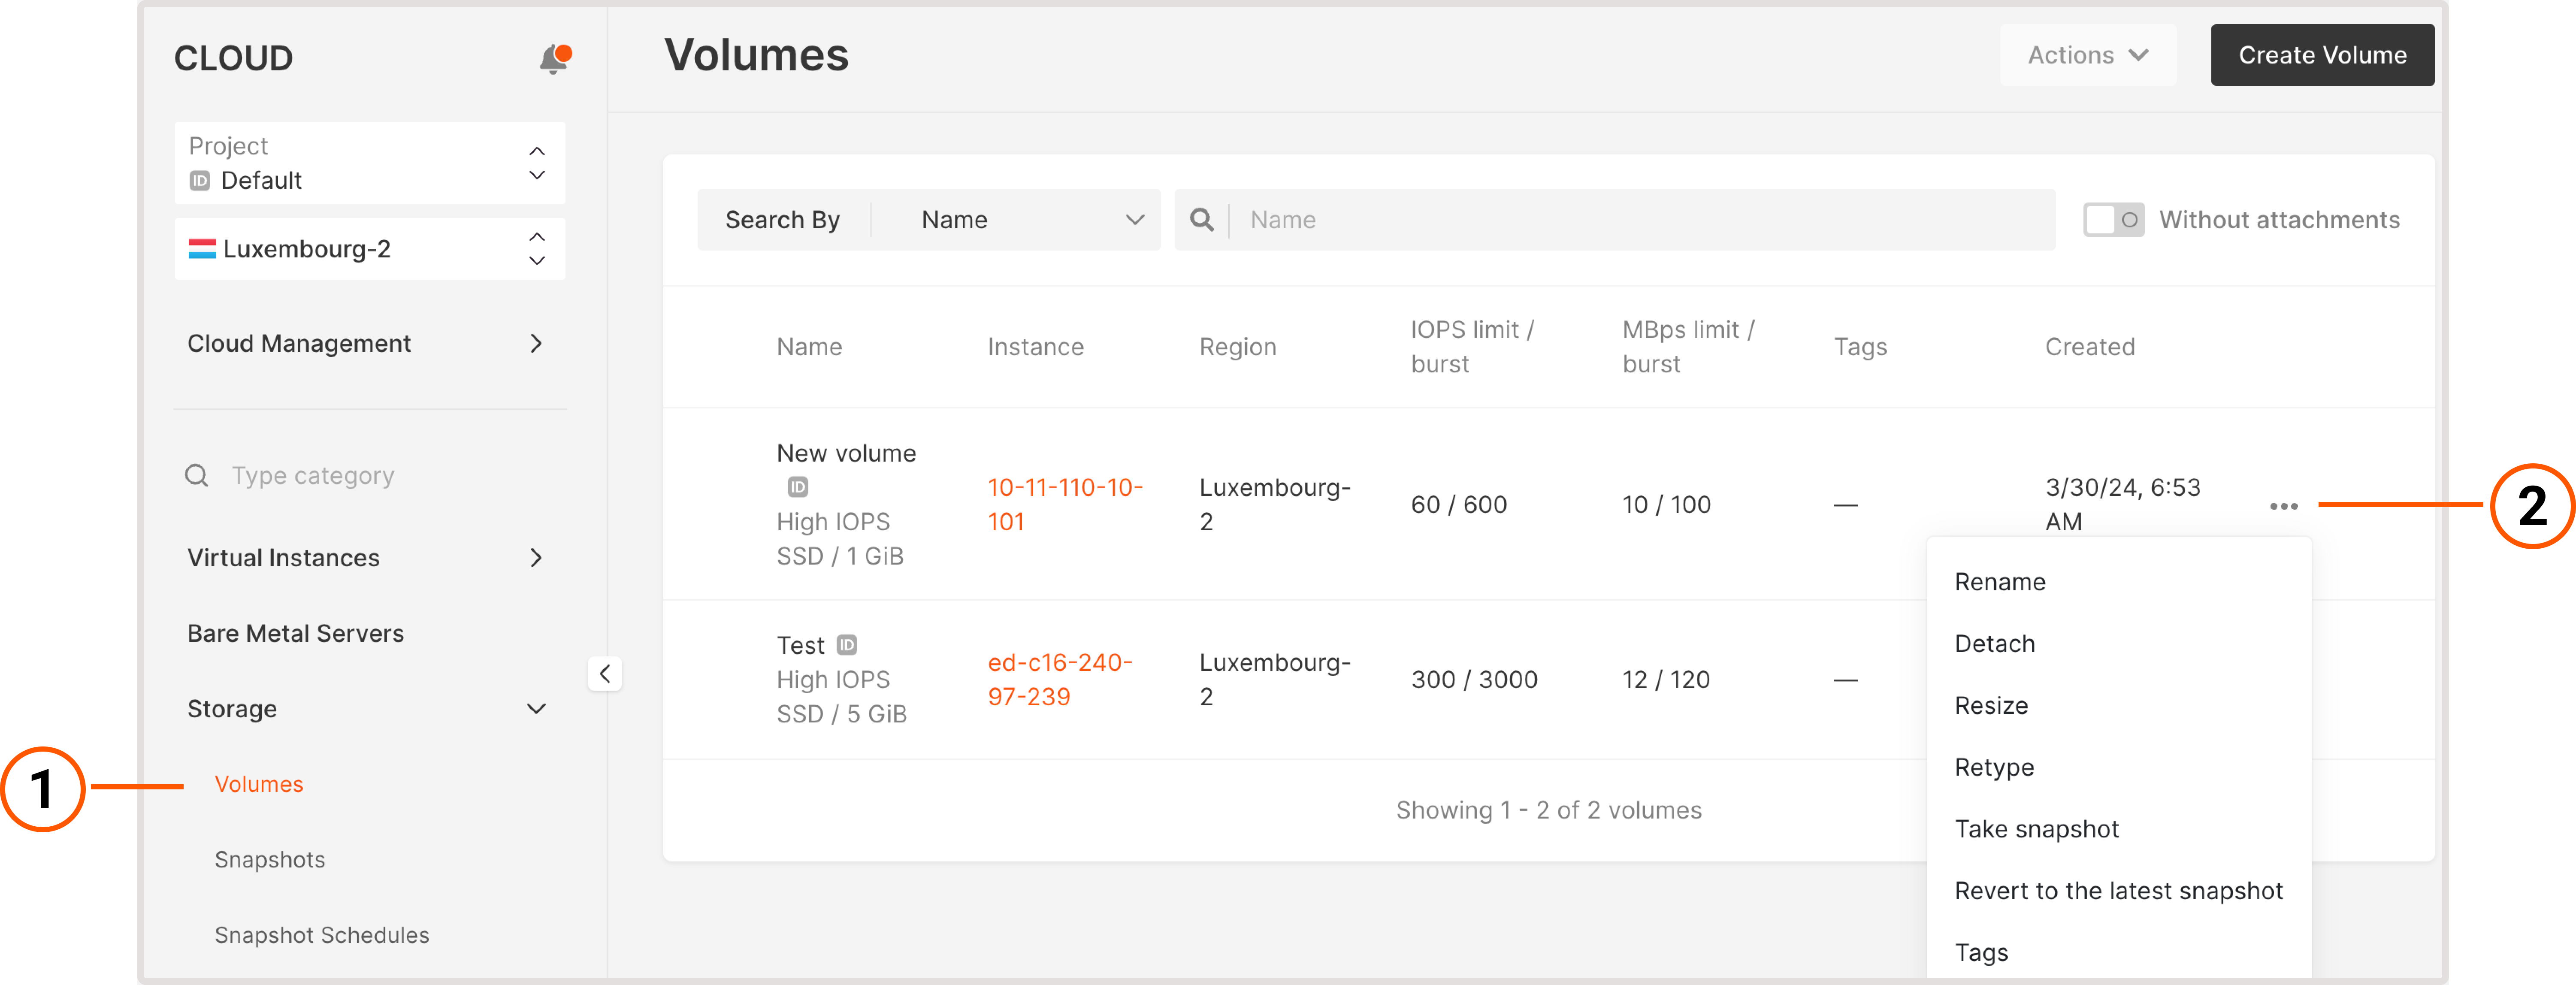
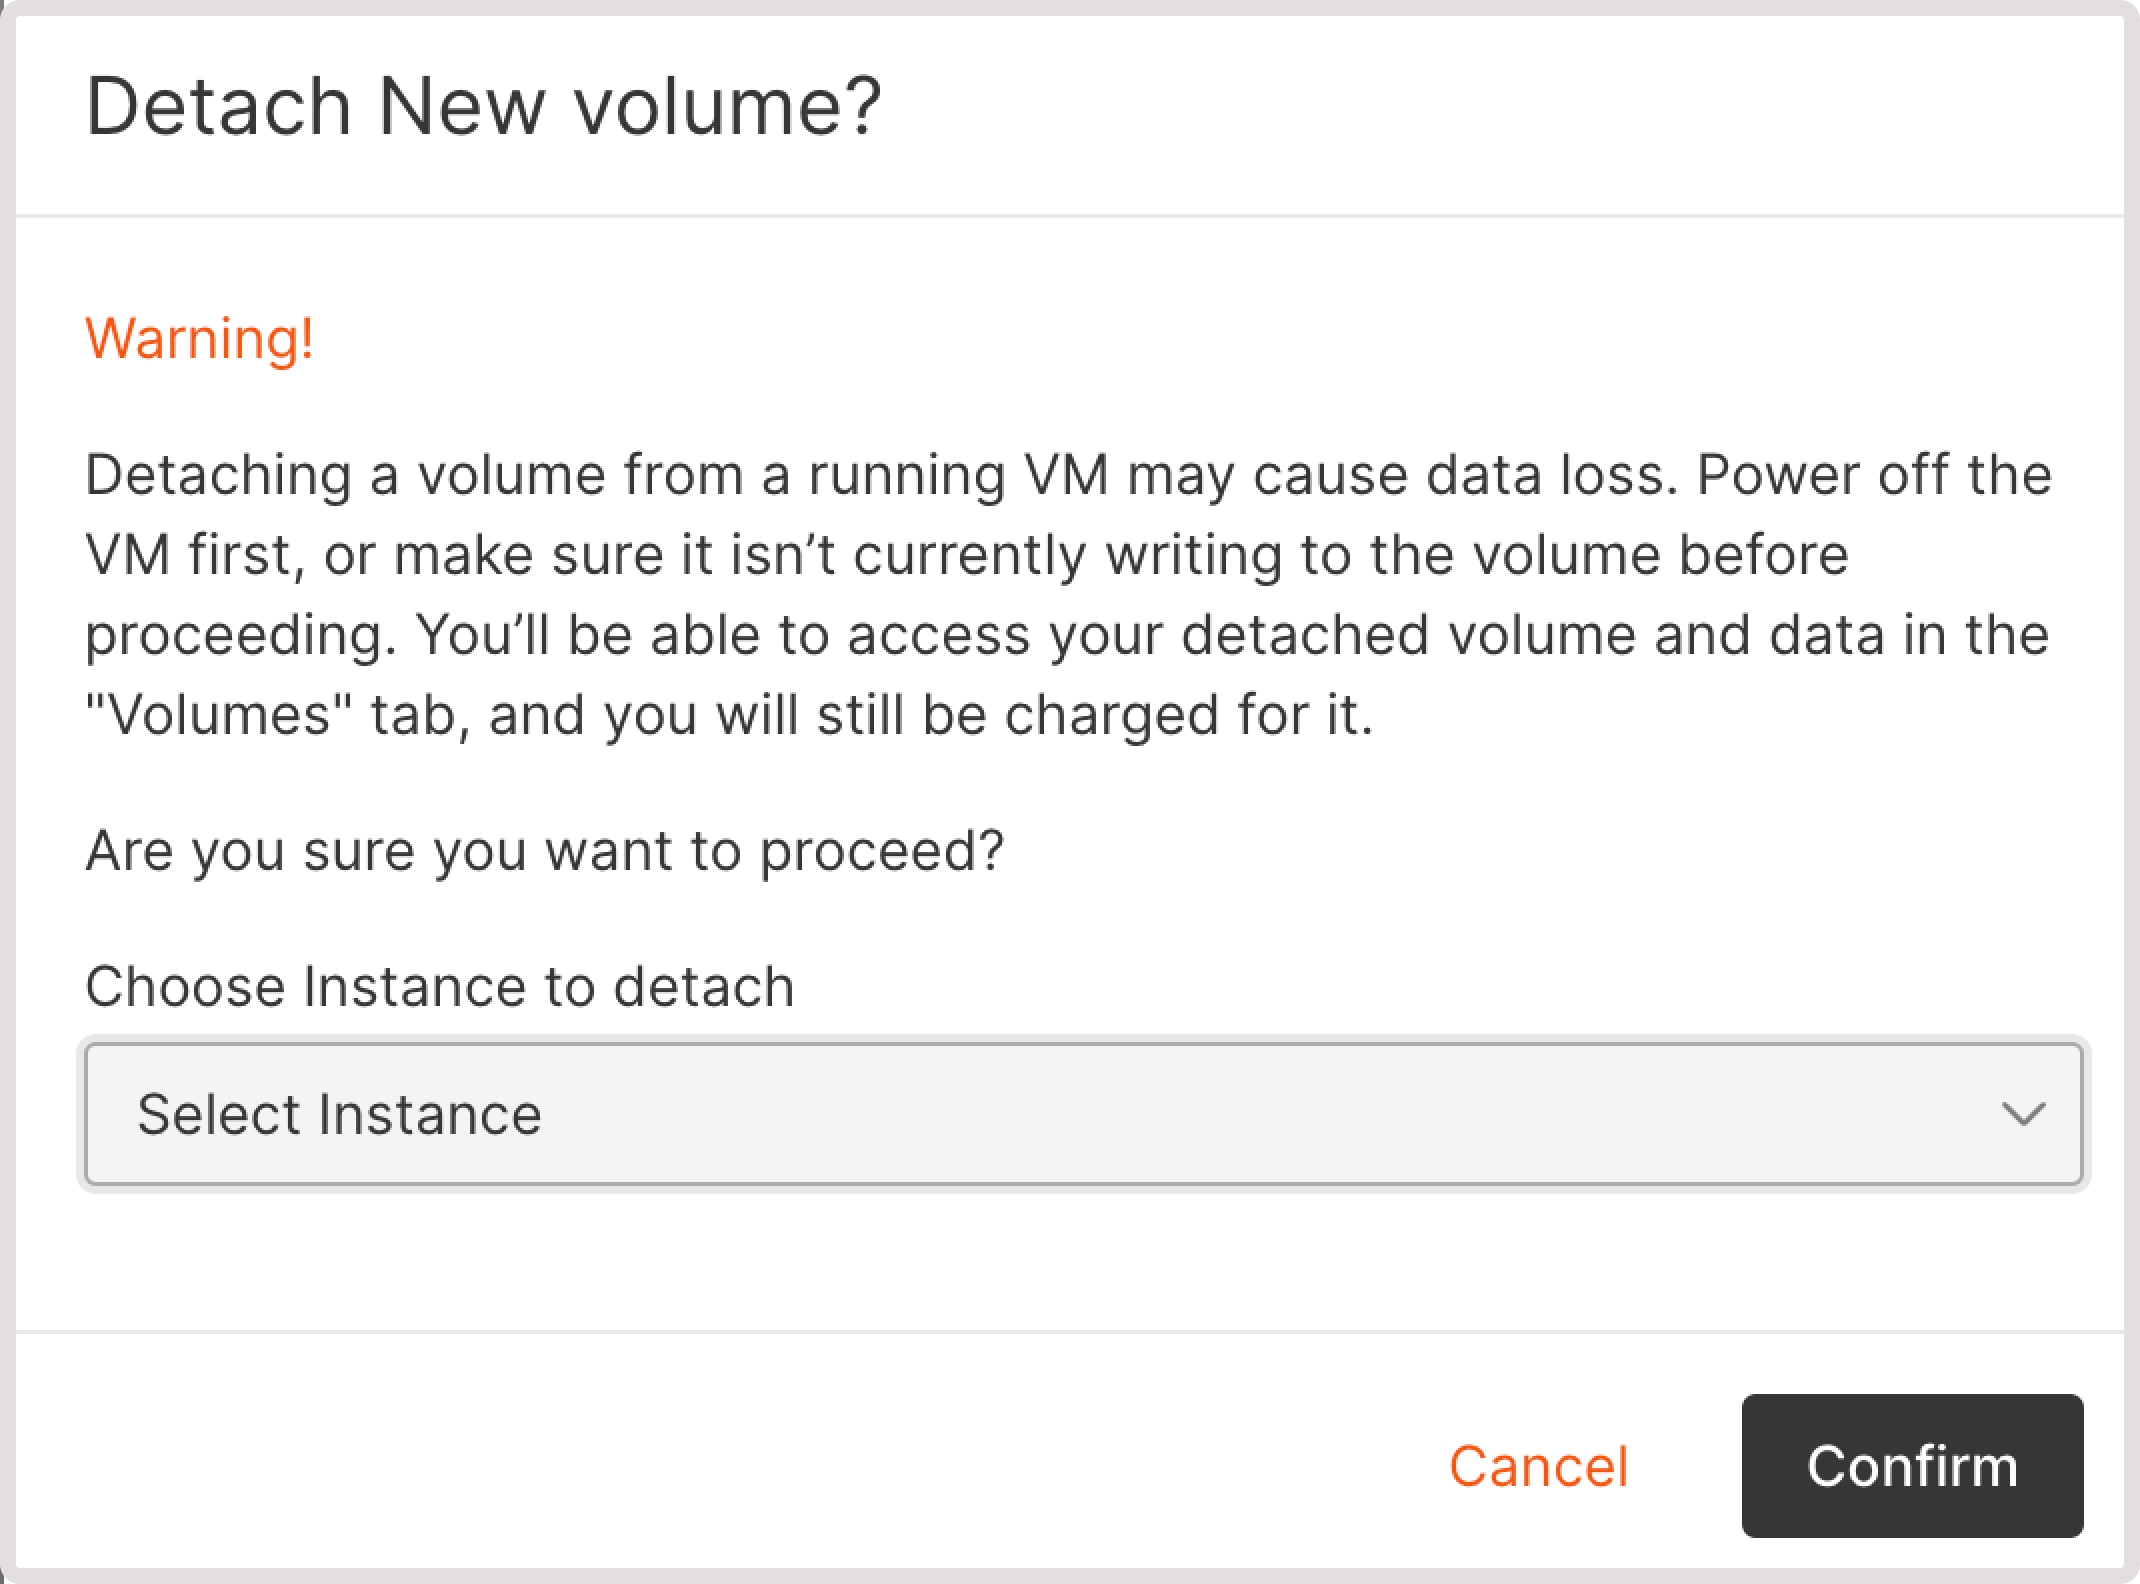
WarningDetaching a volume will not cancel your payment unless you delete the volume. You can also add a detached volume to any Virtual Machine at any time.
Resize a volume
You can resize both boot and regular volumes: 1. In the Gcore Customer Portal, navigate to Cloud > Storage. 2. Click the three-dot icon next to the volume you want to resize.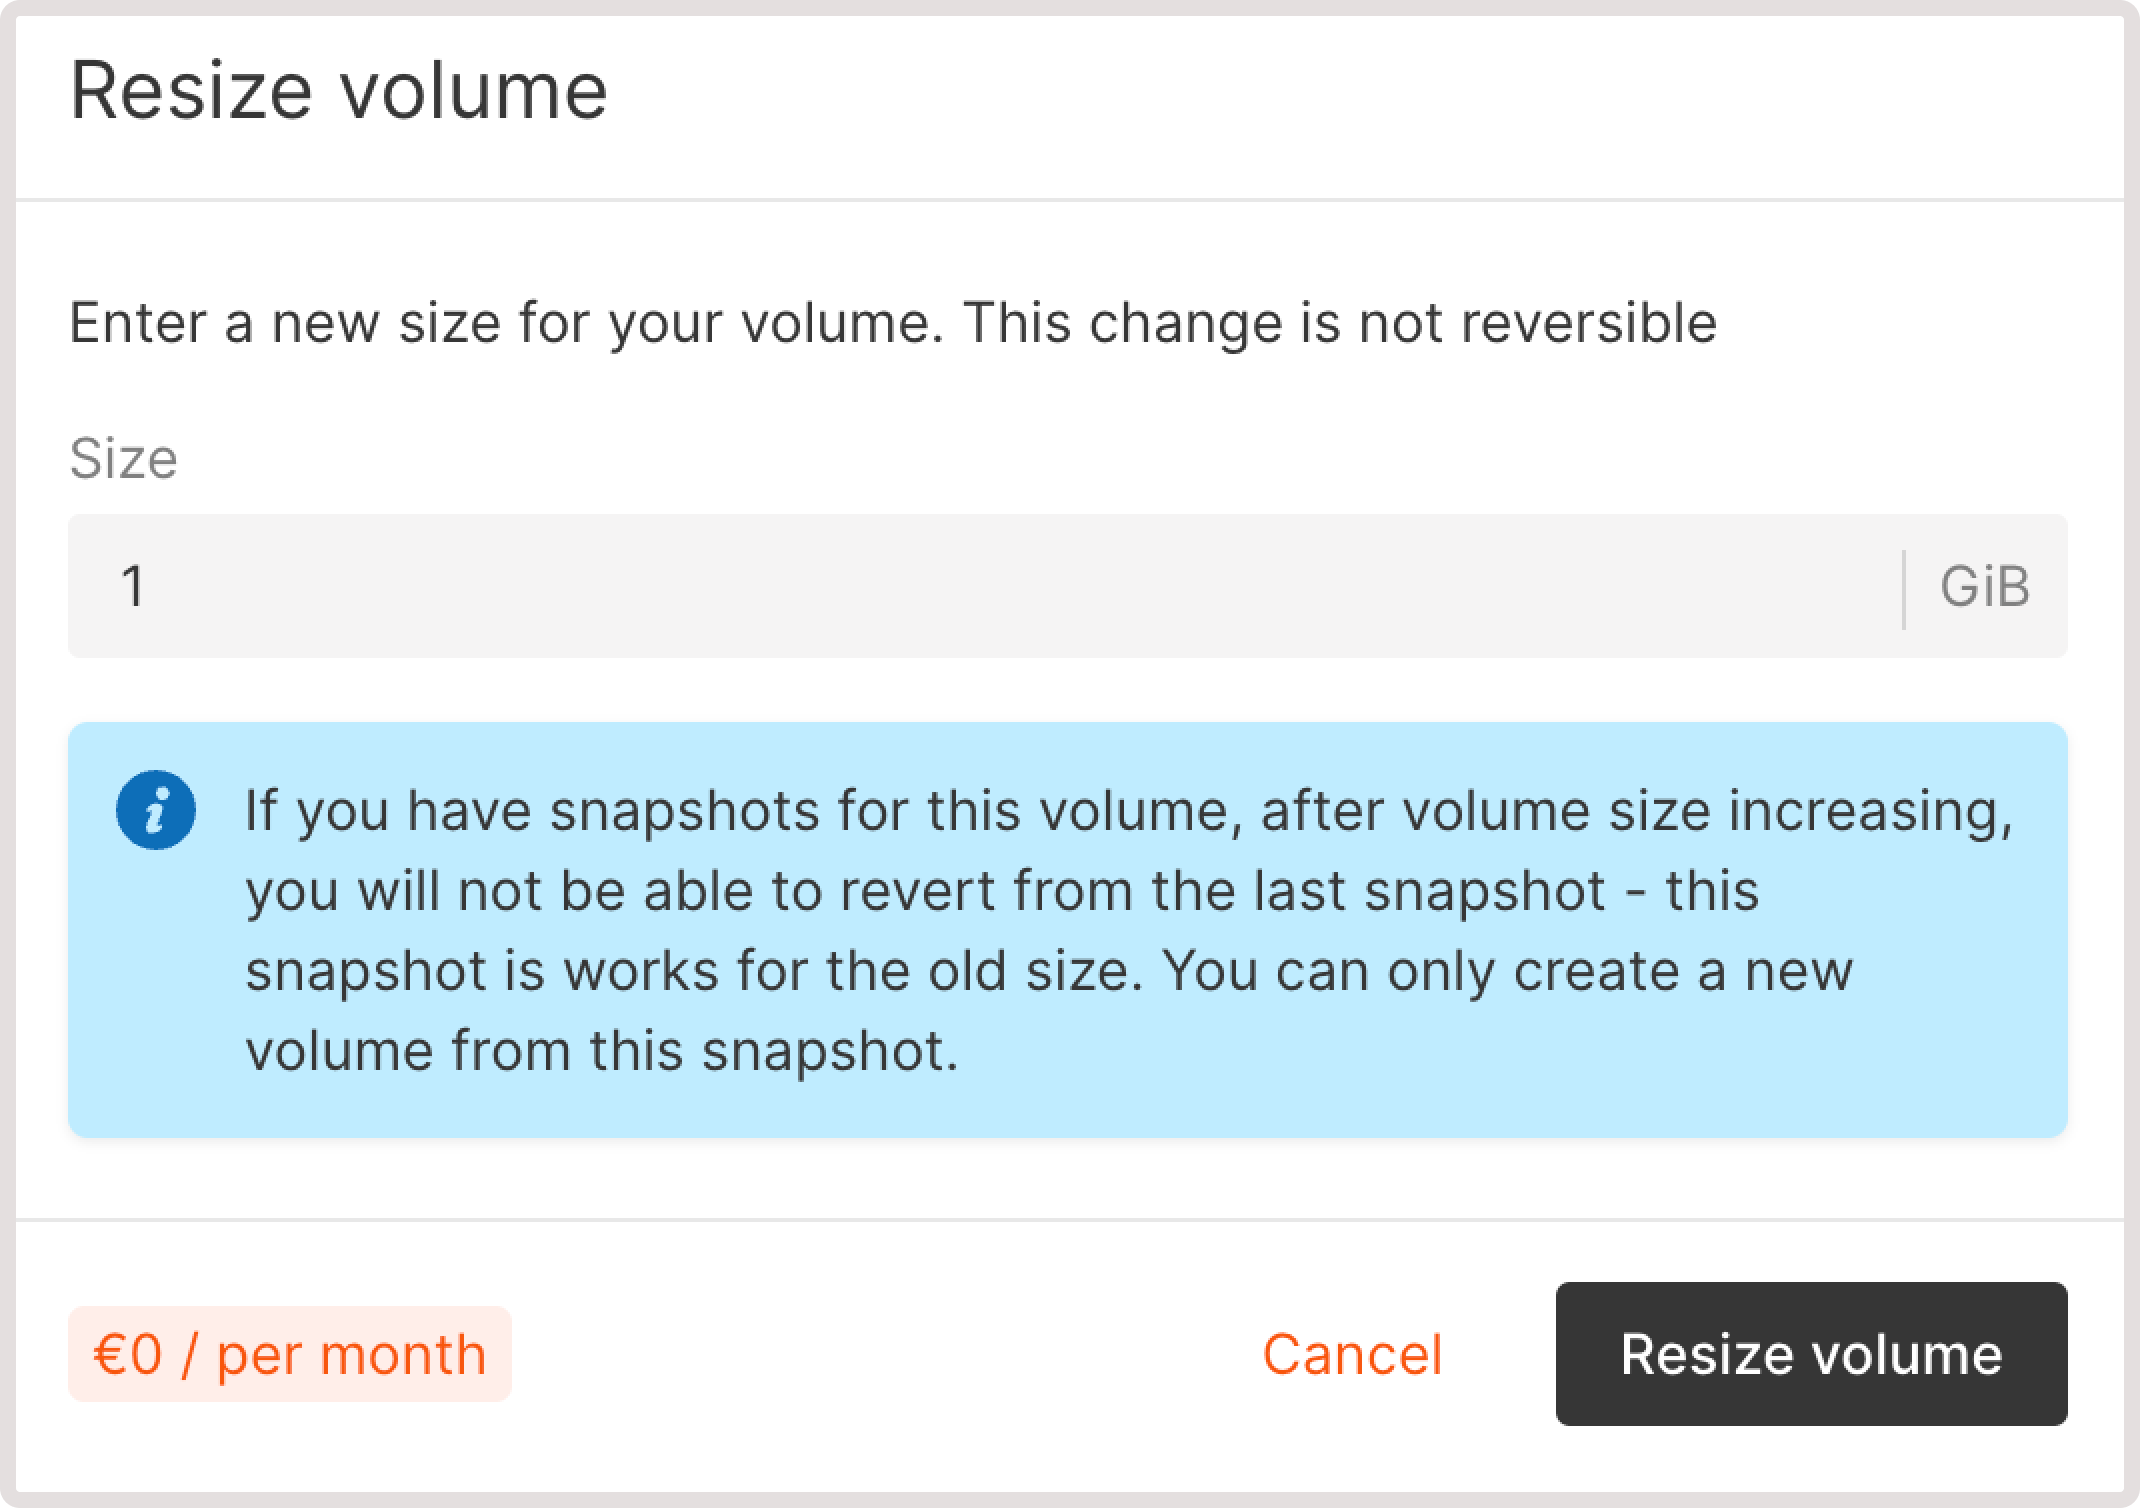
WarningIf you have snapshots for this volume, after you increase the size, you won’t be able to revert from the last snapshot. You can only create a new volume from this volume’s snapshot.
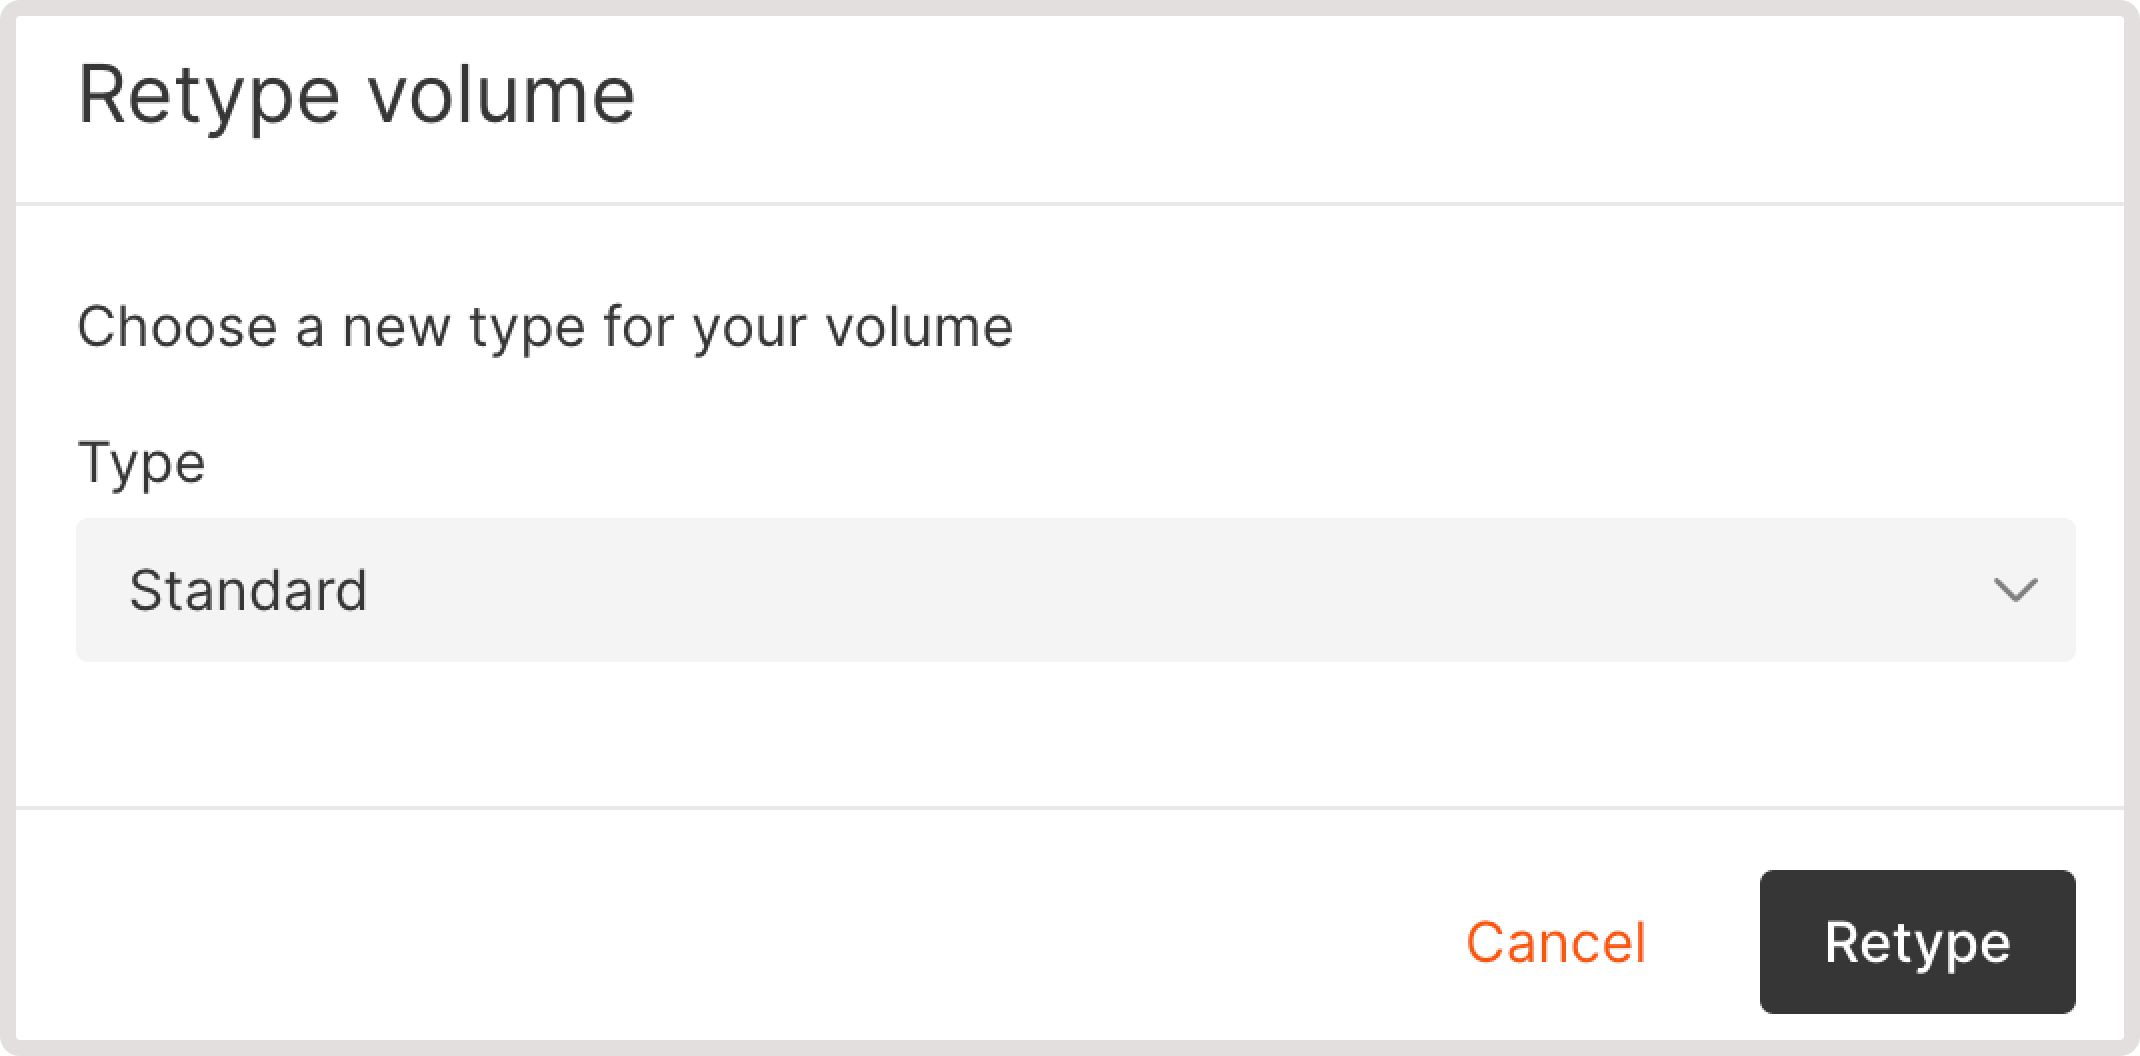
Change volume type
This option is available for regular volumes of High IOPS and Standard types. You can’t change the type of boot volume. However, you can create a new volume from a volume snapshot with the required type.InfoBefore proceeding with the following instructions, make sure that a volume is detached from a Virtual Machine. Otherwise, the Retype button won’t appear in your settings list.
rsync and cp utilities to migrate data between volumes within an operating system.
Take a volume snapshot
You can create a volume snapshot and use it later for backup, further recovery, and deploying new Virtual Machines from snapshots of boot volumes. To take a snapshot: 1. In the Gcore Customer Portal, navigate to Cloud > Storage. 2. Click the three-dot icon next to the needed volume.
Revert volume to the latest snapshot
In case of an accidental data loss or data corruption, you might need to restore a volume to its previous state. If you made a snapshot of that volume, you can roll your volume back to the state when that snapshot was taken.InfoBefore proceeding with the following instructions, make sure that the volume is detached from an instance and that you have the volume’s snapshot. Otherwise, you’ll get an error when trying to revert the volume to its previous state.
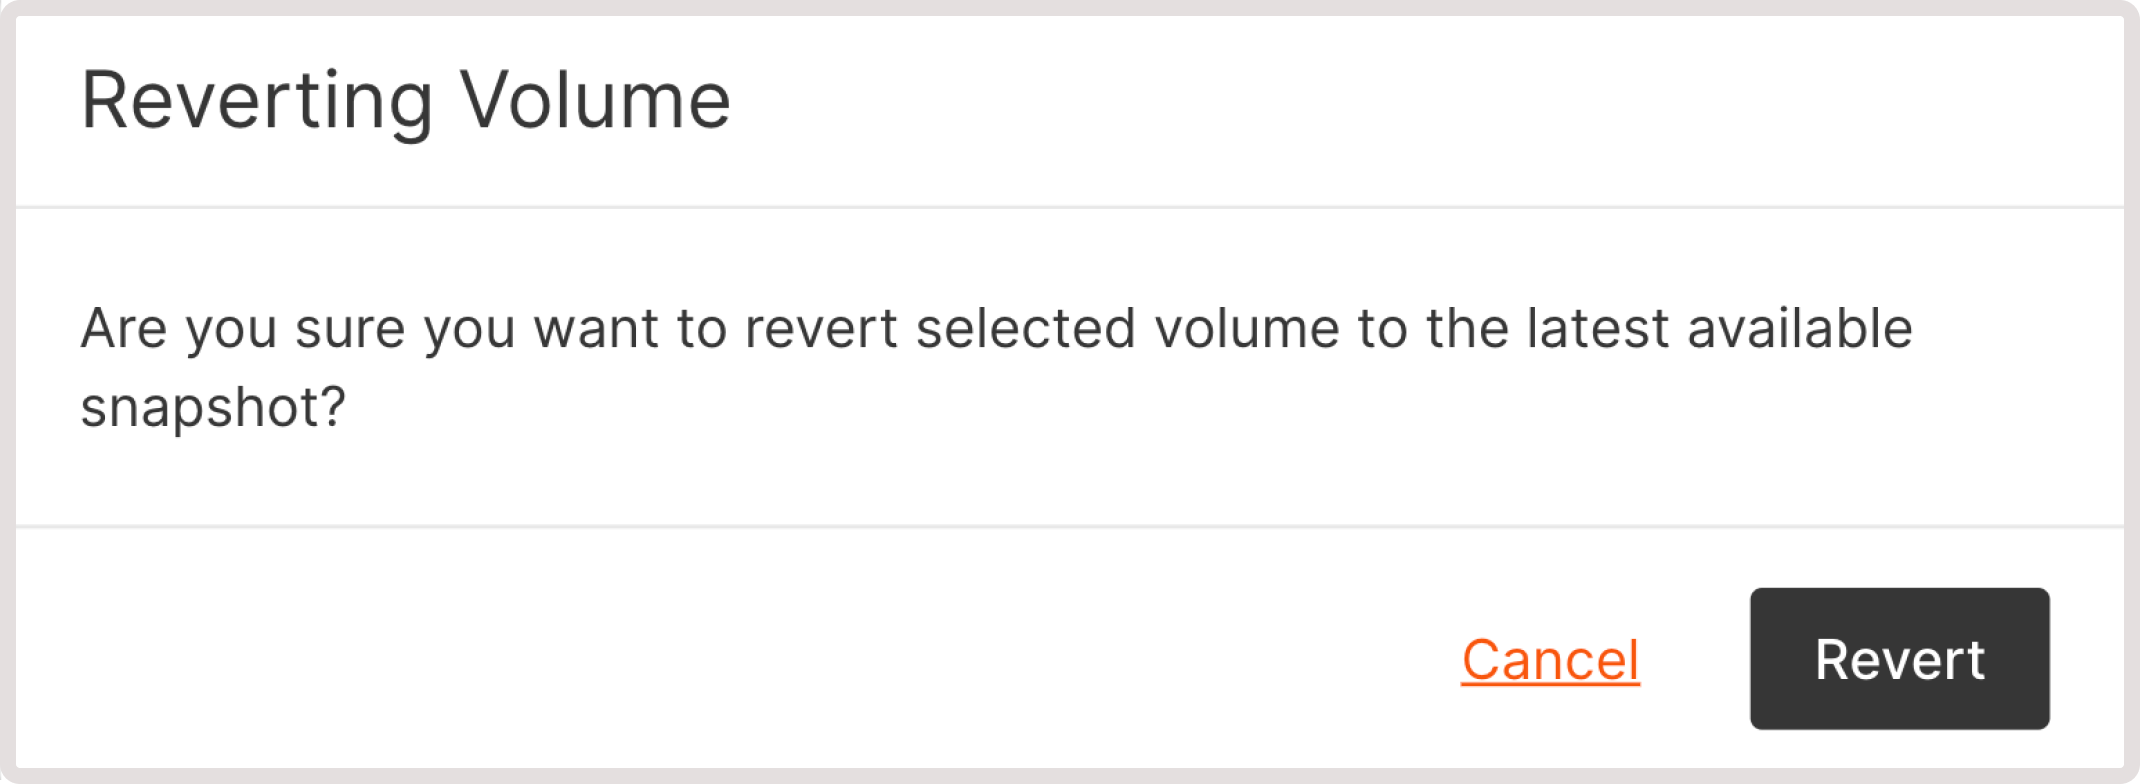
InfoAfter resizing a volume, reversion is unavailable because the latest snapshot is taken for the old size. You can only create a new volume. For the new size, create a new snapshot.
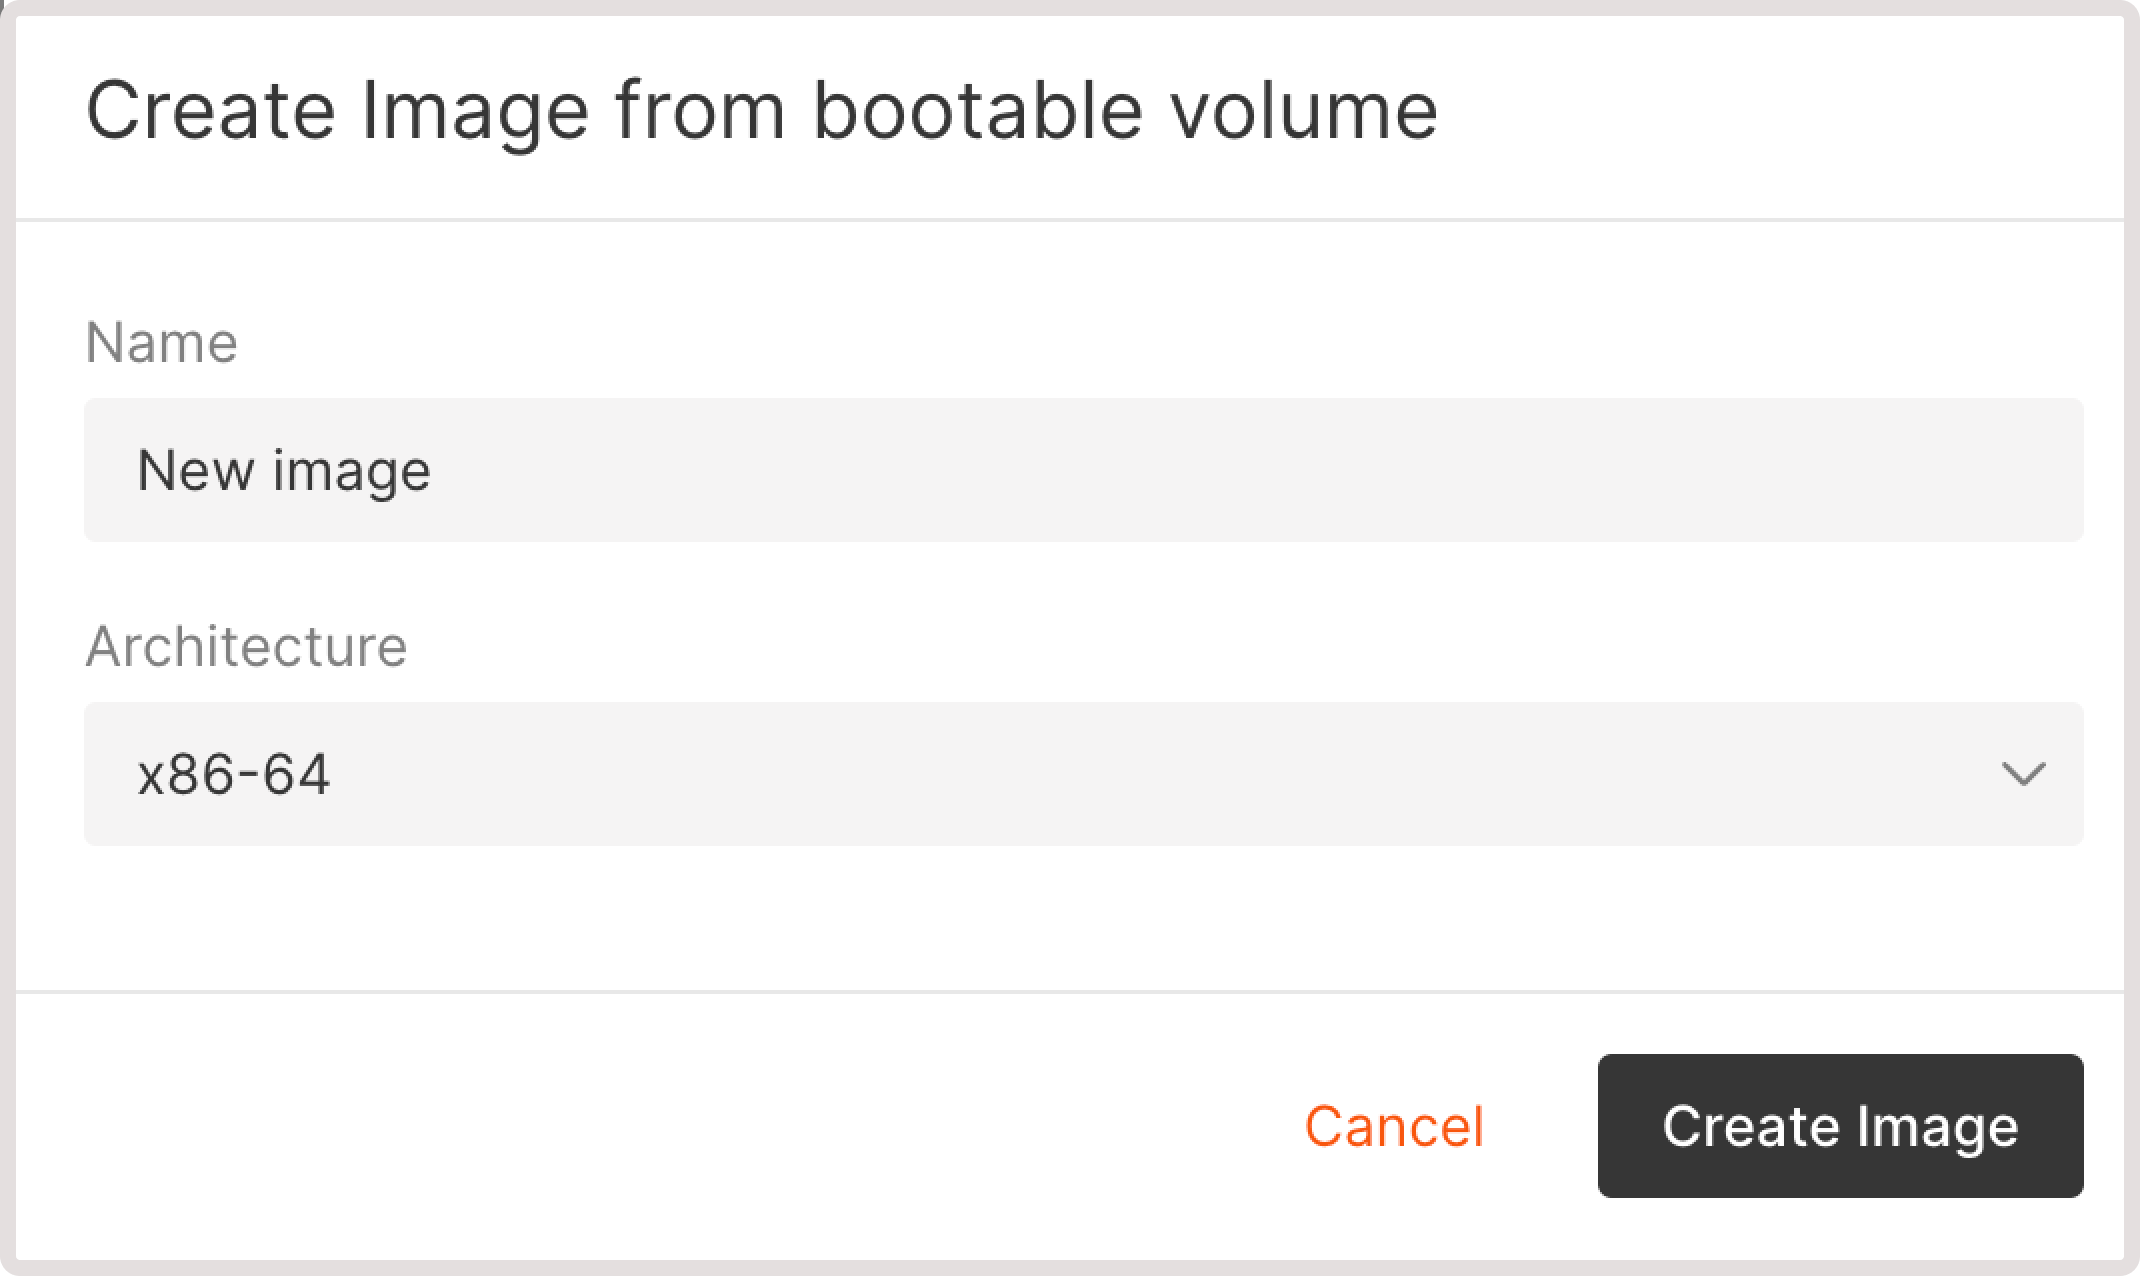
Create an image from a bootable volume
You can create an image from a boot volume and use that image to create a new Virtual Machine. 1. In the Gcore Customer Portal, navigate to Cloud > Storage. 2. Click the three-dot icon next to the volume from which you want to create an image.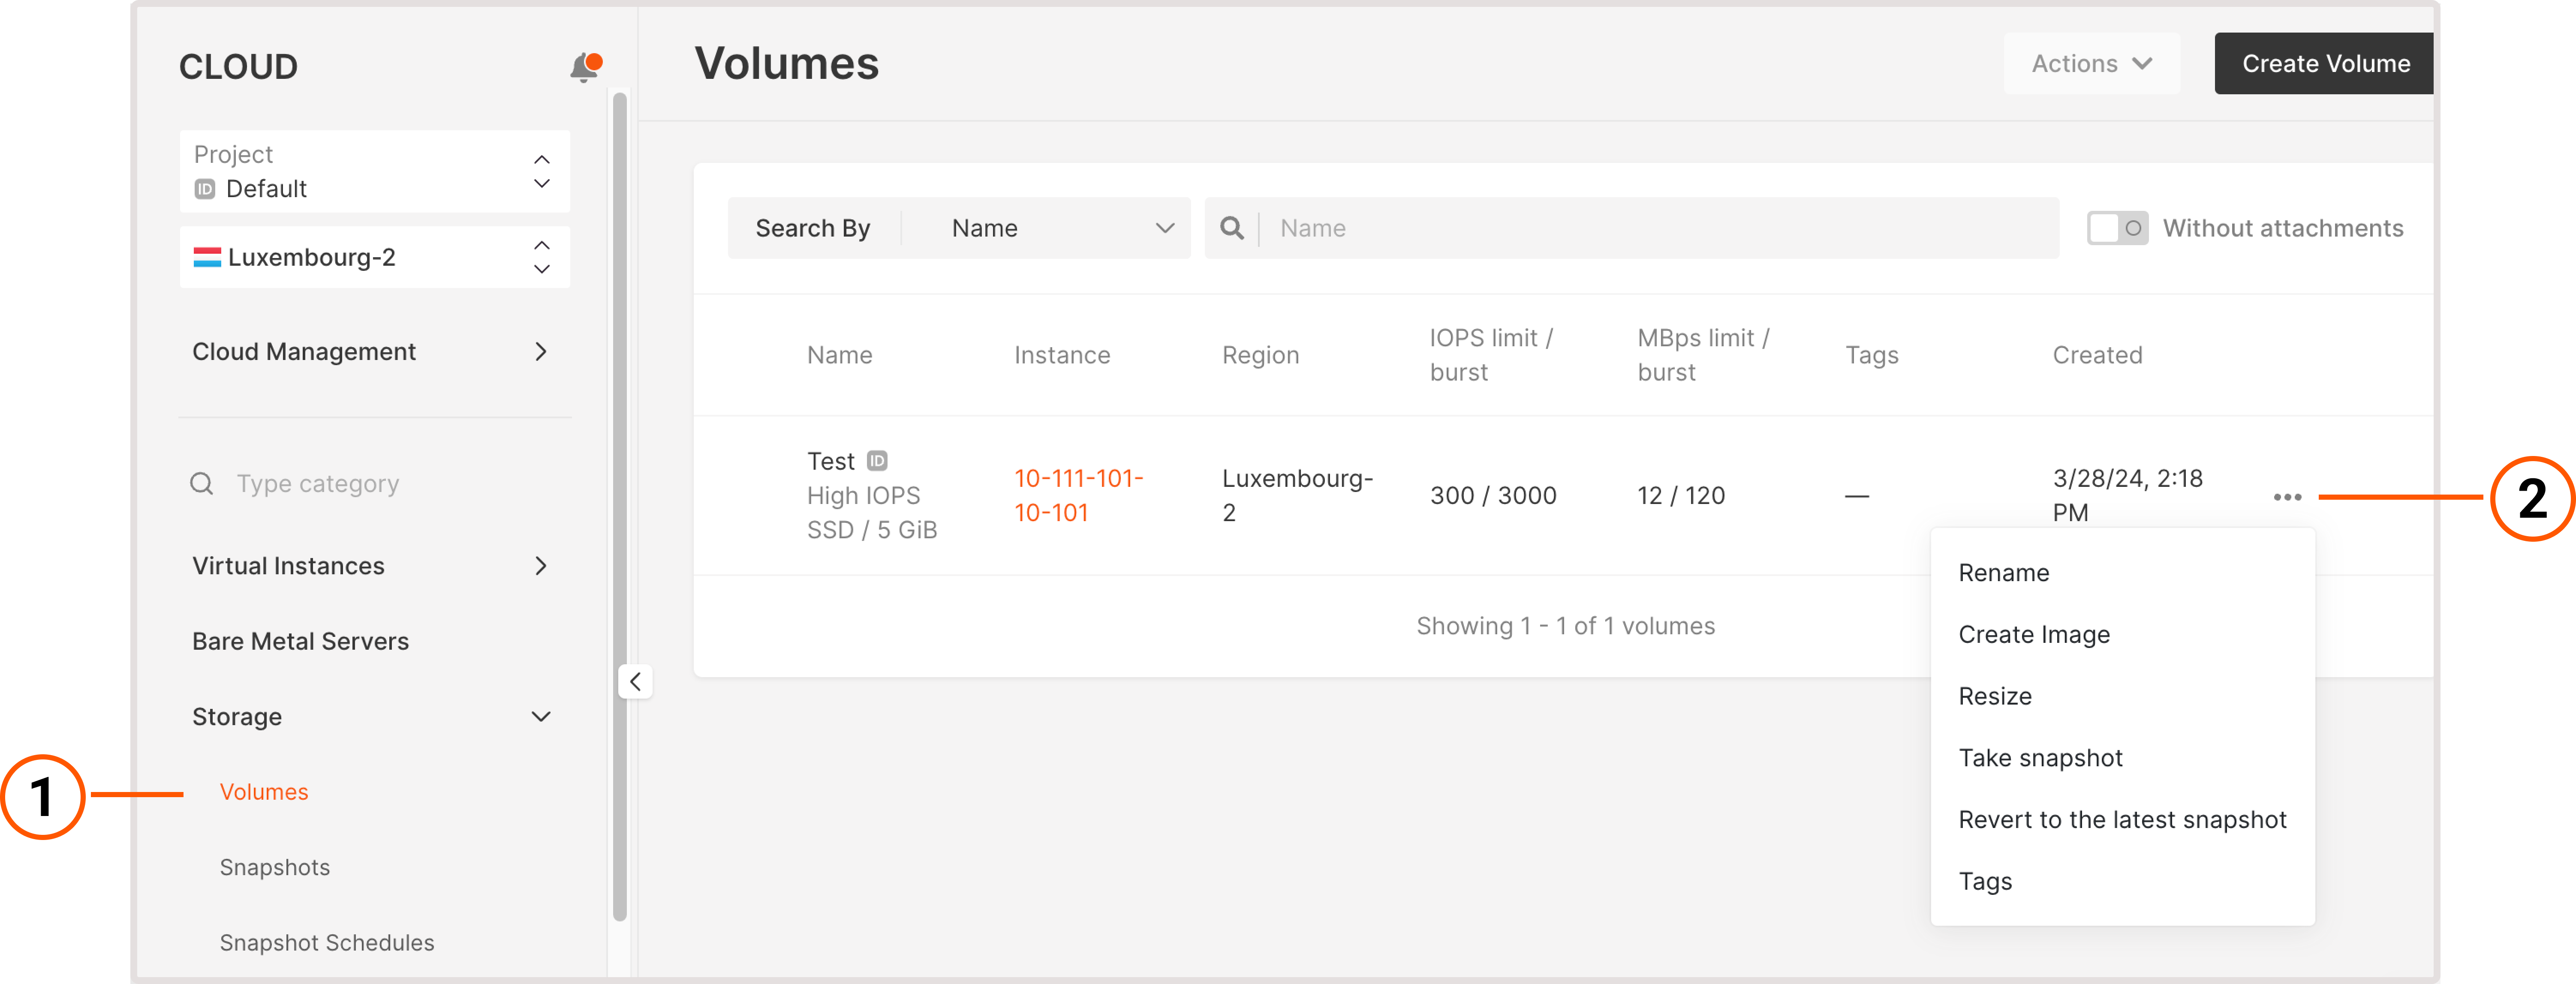
Delete volume
You can delete a regular volume that’s not attached to a Virtual Machine. Boot volumes can only be deleted together with the VM. To delete a volume: 1. In the Gcore Customer Portal, navigate to Cloud > Storage. 2. Click the three-dot icon next to the volume you want to remove.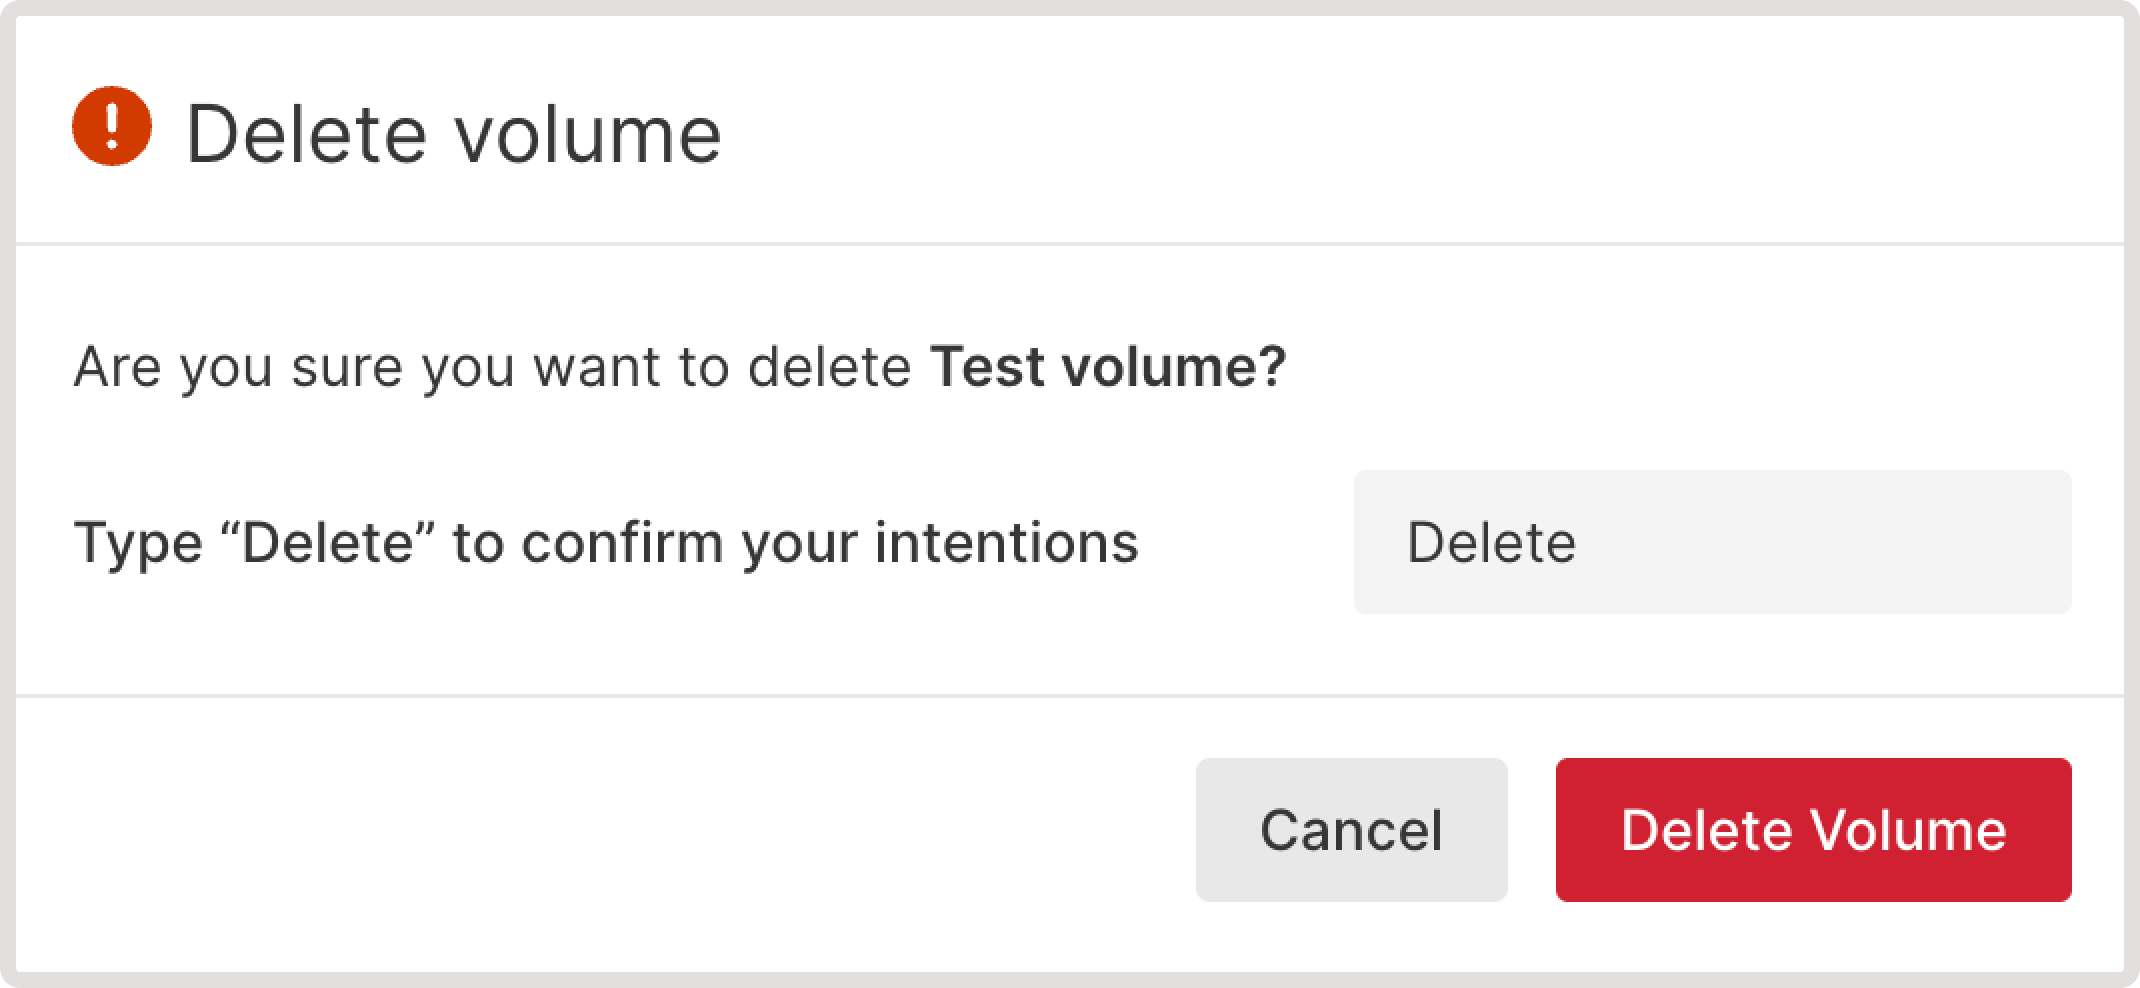
TipYou can also use the Actions dropdown to delete multiple volumes at once. For this option to be active, you must have at least one regular volume that is not attached to any Virtual Machine.